Bob's Bloggers
A community of bloggers who live and die to DIY
diy, windows, remodeling, construction
DIY Tales: Install Your Own Window and Save Big!
By DesignDreams by Anne on Oct 04, 2013
It's done! I ripped through an exterior wall, framed and installed a new window over my laundry tub. YAHOO!! Light and a view and the tiny room looks huge now!
Ever since I moved into my little 1930s cottage, I have been struggling with the tiny windows (and lack of windows) and how dark the house is inside. My laundry room is my own creation. All that was in this space when I moved in was the hookups for the washer and dryer. And those hookups were right smack in front of the only window in the space. Not what I wanted.
My kitchen reno moved the doorway to the 2nd bathroom from opening into the kitchen, to opening into the laundry/mudroom. When I renovated the bathroom, I added a window and it made such an impact on the look and the feel of the space with all the light flooding in, I just knew I had to install another window in the laundry room.
Here is the door to the bathroom. I installed a vintage door from another part of the house so there is no working lock. Oh, how I wish I had a skeleton key! I created an "Occupied" sign for the door out of a piece of wood and some Command Strips instead. LOL. I can always add an eye hook on the inside of the door for a little added security ;) Can you tell how much brighter it is with the door open and the light from the bathroom window? In person, the difference is huge.
I desperately wanted a laundry tub and a pretty laundry room to work in. It's a main floor laundry, it should be pretty as well as functional!! I messed up the design originally, installing a closet organizer where my laundry tub is now located. And of course, I didn't think to open the wall for a window when there was nothing on that wall. Oh no, let's add to the fun by trying to install a window without having access to the lower part of the wall... Oh well, I like a challenge!
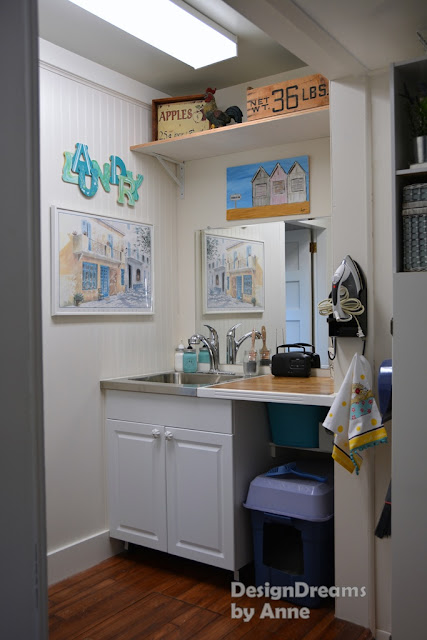
The laundry tub wall before:
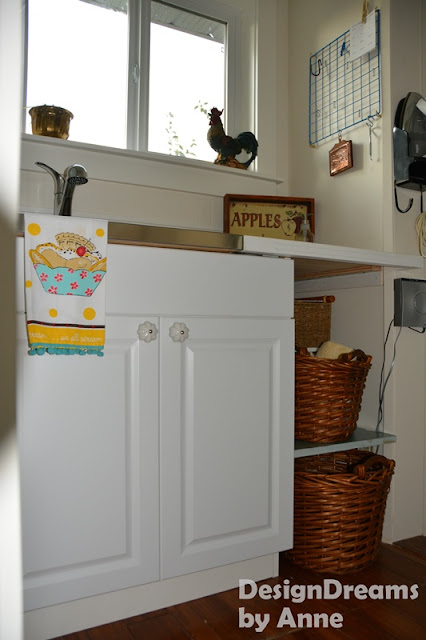
I hung a mirror over the sink to open the room up a little more. My counter is a piece of 12x48" pine from Home Depot that I cut down and glued together and then I edged it with a spindle that I had kicking around because the counter looked way too thin with my super chunky sink.
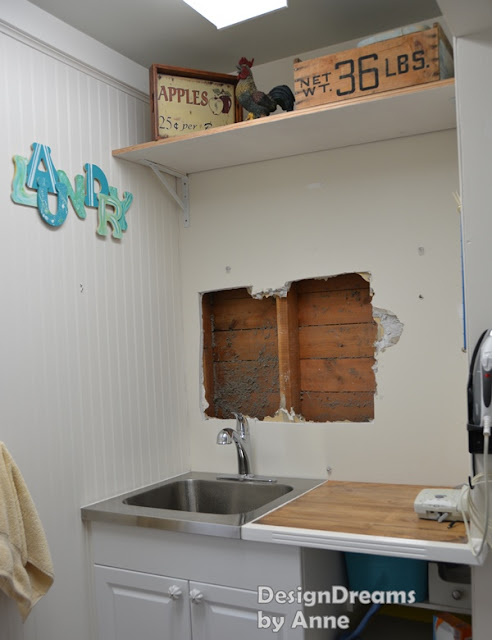
Here was my first stage of demolition, getting an idea of where the studs were so I could decide what size window to get.
At first I thought I would keep the window framing to a minimum and just put in a small window over the tub. Then I thought, why the heck would I do this much work and have only a small window to show for it. Yep, can you say glutton for punishment?
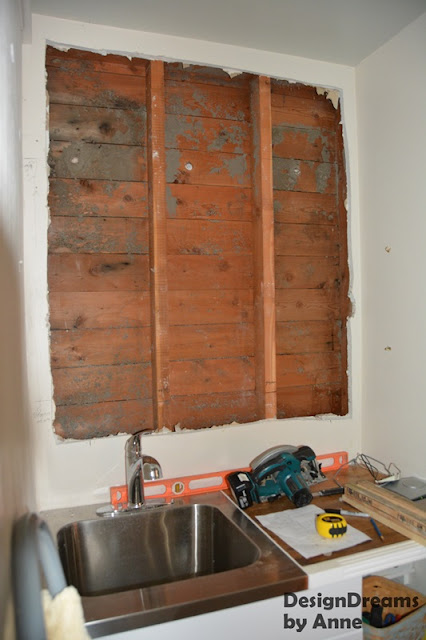
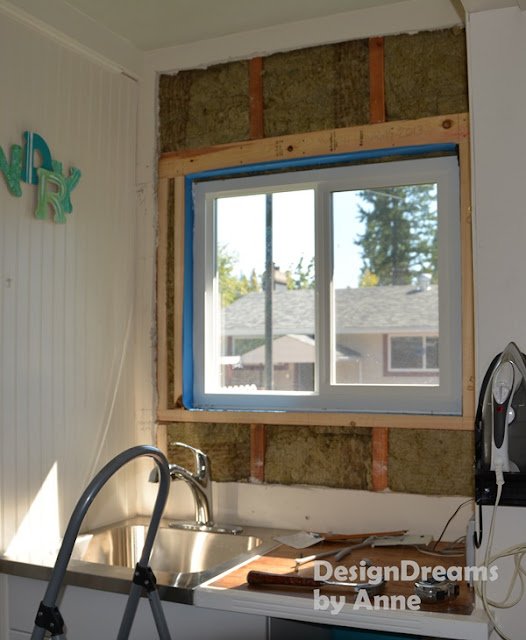
So I pulled down all the drywall above the countertop - two layers of it - and got rid of the yukky cellulose insulation. EWWW hate that stuff! I framed out the lower part of the wall by using my shop vac to vacuum out a channel in the cellulose insulation so I could slide in the 2x4 supports. In the ideal world, the 2x4s would not be cut at the window ledge but would run right up to the header (the 2 2x4s on edge that run across the top of the opening see photo below.)
Once those were in place, I cut the two center studs with a circular saw set to the depth of the stud. Then I had to knock those suckers out with a hammer. It took me about 45 minutes each one. As I told my Facebook followers, you wanna know why 1930s houses are still standing? Cause the builders used a ka-billion nails in EVERY . SINGLE. STUD and EVERY . SINGLE . BEAM. I swear that even if the wood rotted, there would be enough nails knitted together to hold the house up regardless...
Once those were out of the way, it was easy peasy to throw in the sill plate and build up from there. A window rough opening should be 1/2" wider than the actual window all around the frame - so tack on an extra inch when you're measuring your opening. Keep in mind that you want all the windows on that same side of the house to be at the same height, so you need to measure the height of the other windows as well. Another challenge was using 3" nails to secure the side pieces (jack studs) to the 100 year old fir 2x4 studs. Wow, that wood is HARD! And you can't use screws, it has to be nails. Screws are too brittle to use in framing. UGH. I really love my drill...
After being choked initially at ripping out the 1" of double drywall, I realized that I could use a layer of 1" rigid insulation before adding my bead board wall covering and buy myself an extra R5 of insulation. Yay! More insulation and sound & vapor barrier to boot. Not such a bad deal after all.
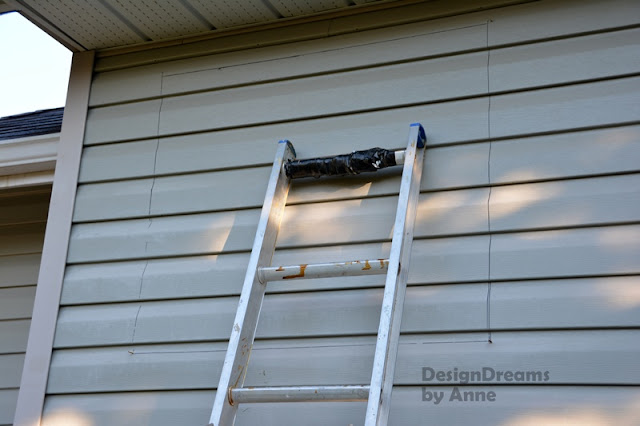
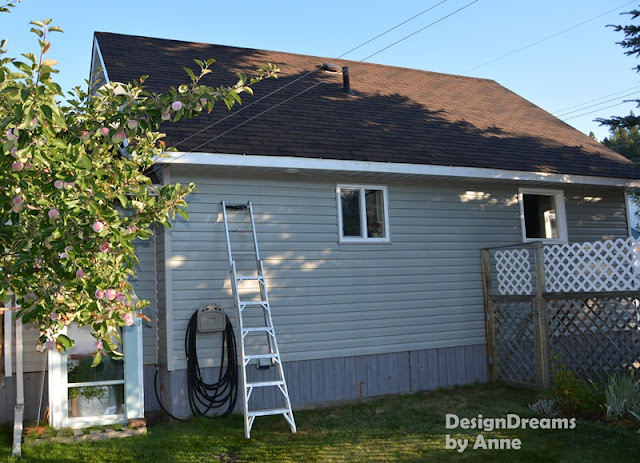
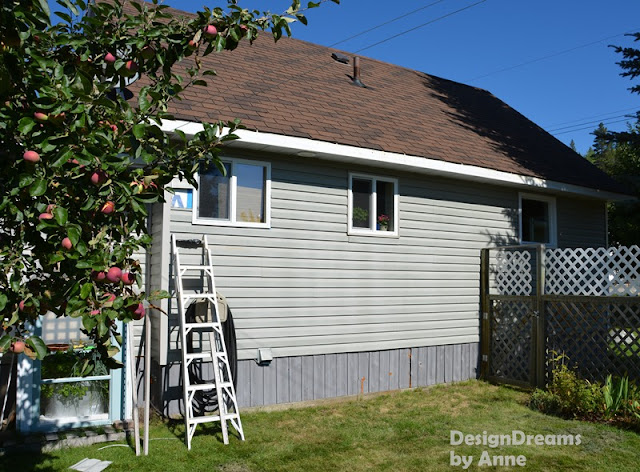
So to cut through the wall, I used long screws and ran them in each of the four corners of the inside window frame. You need to be able see them on the outside of the house. Then I used my level and drew the outline of the window on the siding with a sharpie. Then it's just a case of running a jigsaw along the lines to cut out the siding and sheathing in one fell swoop! Just don't forget to remove your screws (or nails) before you cut.
BEFORE
AFTER
To prepare for the window installation, I ran a sill gasket all around the rough opening. That is the blue stuff you see around the inner opening. It's got a rubbery liner with a tar like sticky underside that keeps any water away from the framing. I also ran the gasket all around the outer opening to seal the housewrap to the window.
To finish the seal around the inside, I ran a foam insulator called Backer Rod all around the gaps between the window and the rough opening and then ran a bead of caulking over the top of it to seal it off. Then I topped it off with the rigid insulation, sealed that with Tuck tape and ran bead board over the top. Add trim and a couple of coats of paint, and here she is!
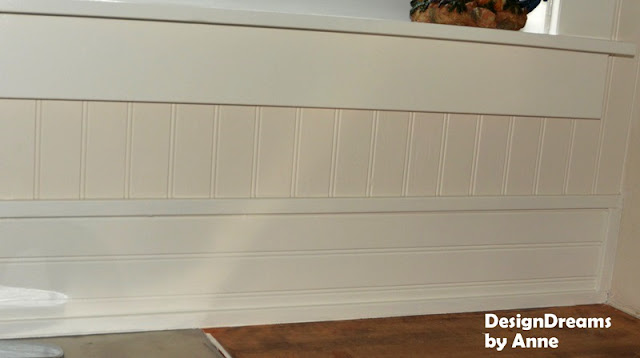
I had to get a little creative with my wall covering since I didn't have quite enough bead board for the job. This was a left over piece from my bathroom reno. I added a crown molding from a 1x4 and a couple of pieces of screen molding. Then I used a skinny piece of leftover bead board that I ran horizontally as a back splash. I trimmed that out with screen molding too.
I'm pretty proud of my window sill, too. It only took me 5 tries to get the right depth - but it looks like the original sills in the rest of the house. Notice how it wraps over the wall? That is one length of 1x4 with the edges partially cut off to the depth of the window ledge.
Only two projects left and the laundry room is done.
I'm getting to the end of the indoor projects. So close to that finish line WOOT!
Have a great day!


