Bob's Bloggers
A community of bloggers who live and die to DIY
paint, windows, how to
How To: Paint a Wood Window Sash
By The Craftsman on Oct 14, 2013
After all the hard work is done restoring a wood window, there is one final step: painting your window sash. Painting a window is by far the most important part of the process because it protects all the work underneath. It keeps sun, rain, dirt, insects, air and anything else from harming your window.
Without paint, glazing putty is no good after only a couple months, the sun’s UV rays begin breaking down the wood fibers of the window immediately, water will cause corrosion of your glazing points.
Without paint your window will fail quickly. But you already know that you have to paint your windows, right? Maybe so, but there is a very specific way that historic windows should be painted to both protect their parts AND ensure smooth operation.
Here are my 5 rules for how to paint a wood window sash.
1. Don’t Paint the Sides
The sides of the sash that slide up and down in the jambs should be left bare. No primer and no paint. This may sound odd, but it has been in practice for well over 200 years.These areas are not seen or readily exposed to the elements so there is no cosmetic reason to paint them, but there is a more practical reason NOT to paint them. By leaving these areas bare you allow both rails (horizontal parts of the sash frame) and both stiles (vertical parts of the sash frame) to expel moisture.

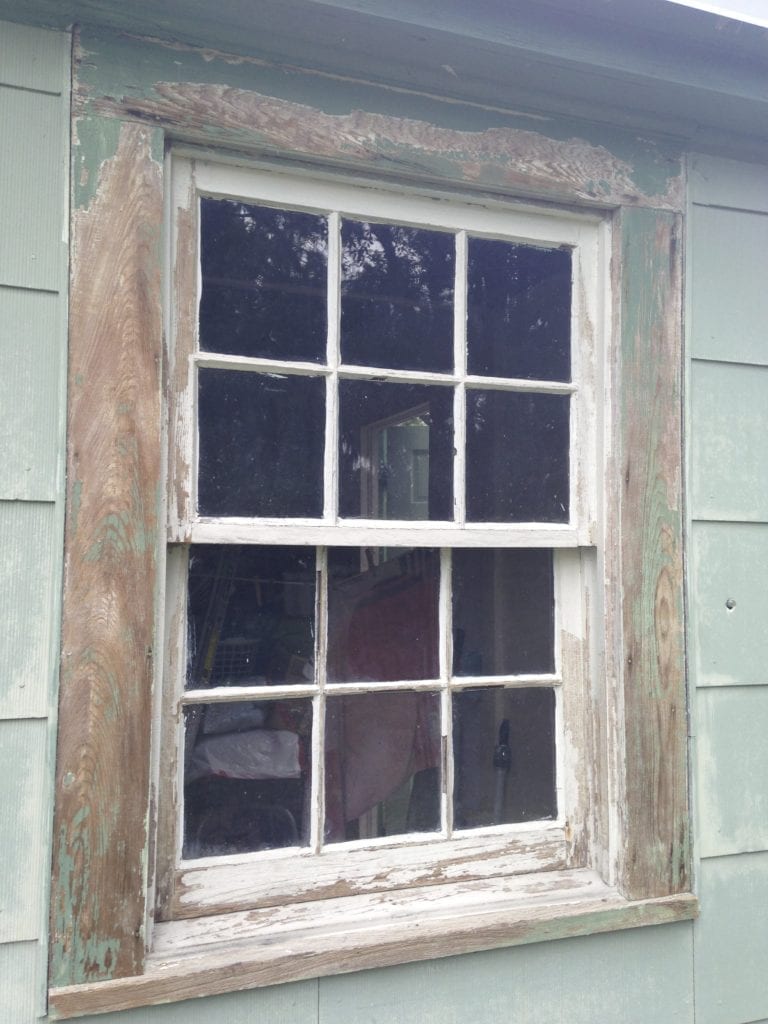
Unpainted sides and bottom on old window sash
With these sections bare, the entire sash is able to dry out if it should happen to get wet. Bare wood breathes much, much better than primed and painted wood.
In addition, these parts of the sash slide against the window jamb and if they are coated with paint (especially latex paint) they will stick and be extremely difficult to open and close. Leave it bare.
2. Don’t Paint the Bottom or Top
For the same reasons as above the top of the upper sash and bottom of the lower sash should not be primed or painted either. These parts are not visible when the window is closed and therefore not exposed to the elements. Again, this will aid in the window’s ability to dry out. Not much else to say about this so let’s move on.
3. Use Oil-based Primer
For the best performance use an exterior oil-based primer. I prefer Kilz Complete in my shop because it is hides very well, goes on easily and sands down nicely. The sash should be primed and lightly sanded with 220-grit paper to smooth out the surface before installing the glazing putty.
Use a brush and work the primer into the wood. Spraying on primer is fine, but be sure to work it in with a brush as you spray. Brushing ensures a better bond between the wood and primer than spraying alone.
4. Apply 2 Coats of Quality Paint
Whether you decide to go with oil-based paint or water-based doesn’t matter to me. The point is the get at least two coats of paint on the inside and outside. Don’t skimp on this paint either. Use a top-notch enamel paint. I prefer Sherwin-Williams Porch & Floor because it is an easy to work with water-based paint and since it is formulated for floors it gets very hard, very quickly.
The technique for painting your window sash is difficult to describe in a blog post so I’ve put together a short video to show you how it should be done.
5. Finishing Up
Once the windows are painted let them sit aside and cure for at least a few days. This may sound pretty elementary and I’m sure you would never try to put windows with wet paint back in, right? It’s not about the windows being dry. It’s about the paint having time to cure.
Water-based and oil-based paints can take up to 30 days to fully cure. Until that time the paint is more prone to being damaged by scuffs, knicks, and water. Don’t try to wipe down new latex paint or clean it until that 30 days has passed. Otherwise you run the risk of messing up your paint job.
Once the paint is cured enjoy the finished product by opening those windows as much as you’d like. You deserve it!
If you have more questions about the rest of the process of restoring a wood window visit my resource page How To: Repair Old Windows
The post How To: Paint a Wood Window Sash appeared first on The Craftsman Blog.
blog comments powered by Disqus