Bob's Bloggers
A community of bloggers who live and die to DIY
diy, installation
DIY Baseboard Installation
By Picardy Project on Mar 13, 2013
To get move the TV room even closer to being done, Chris and I figured we might as well get to installing that five-foot baseboard. (Remember that little sliver of baseboard that wasn't installed?)
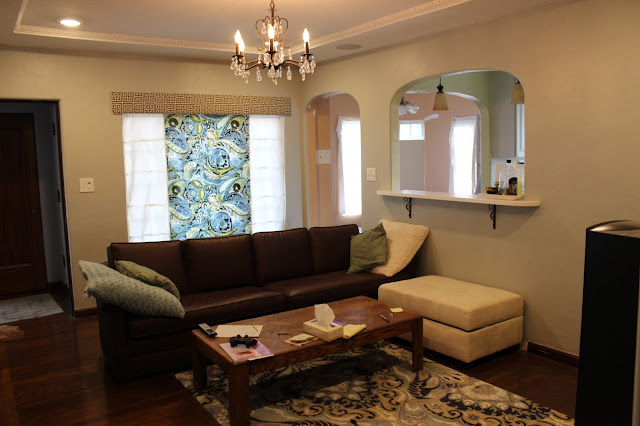
Well, the couch and ottoman got pulled out, and we got to work

It really could have been done so much sooner, because we already had it mostly cut down and stained. Which I had forgotten about since we apparently did those two things so long ago. That's what you get for procrastinating. We found out, however, that the little corner piece we had already cut was slightly incorrect, so Chris measured for the correct angle

Once we got the angle around the curve correct, it went pretty quickly. The angled piece went in along with a smaller piece attached to it

Chris used a scarf joint to attach a longer piece

And seriously it was installed in about an hour. But the job wasn't completely done. The baseboards had already been stained, but I hadn't poly'd them yet. Also, the existing baseboard had a gouge in it where it met the new one

(Don't even get me started on what IDIOT painted the tops of all of the house's existing baseboards)
The gouge was no big deal though; I just brought in some wood filler to patch the hole

It looks messy and terrible, but it's easy to sand down and make smooth. Once sanded, I brought in the custom stain that I'd mixed to match the existing baseboards throughout the house

After the stain was dry I taped off the floor and gave the baseboards two coats of wipe-on satin poly.
Just as I was about to call it a day and move the furniture back into place to cover this faceplate-less outlet with the ottoman

I sighed and got off my lazy ass and went to the garage to get an outlet cover. These are seriously the things I NEVER do. But we're trying to actually finish this room, so I tried to not be completely worthless

(We like to keep the cord plugged in for our computer or phone chargers. It stays hidden behind the ottoman but is really convenient)

You can't really actually tell much of a difference...
But it's nice to know that it's done.
All we've got left is finishing and hanging the picture frames!
blog comments powered by Disqus