Bob's Bloggers
A community of bloggers who live and die to DIY
how to, landscaping
Birdbath Makeover Tutorial
By Top This Top That on Jul 06, 2012
Happy Friday Everyone! I hope the week has been good to you and that you have great things planned for your weekend.
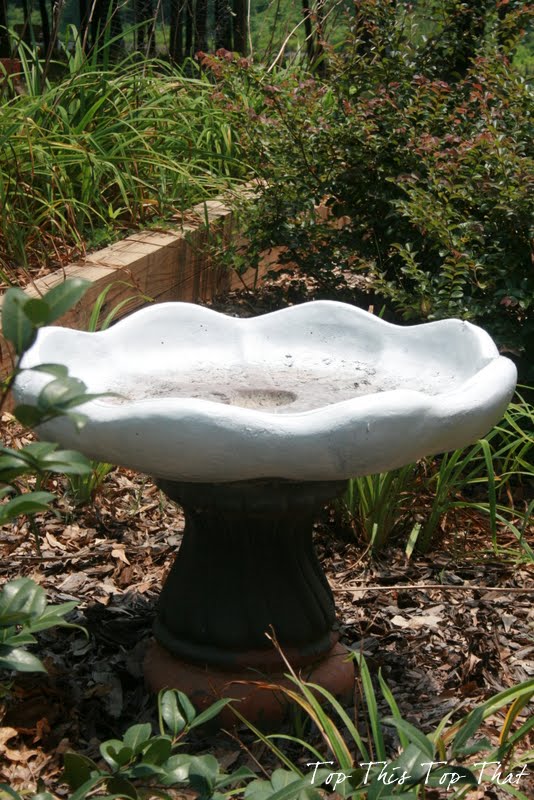
Remember when I told you how my birds were not very happy with this here

Come on, would you be?
So, I decided to give the ole birdbath a makeover, this was a first and won't be a last based on the beautiful results.

Supplies Needed for this project:
- Nasty bird bath that needs some TLC
- Old plates or tiles for inset- for this project I used 6-8 small plates
- Hammer to break up tile or ceramic plates
- Non-Toxic spray paint for stone birdbath. I used some left over White Ultra Hard Enamel Appliance Epoxy from Rust-oleum since it is moisture resistant
- quick set concrete to secure tiles or ceramic
- Safety glasses to eliminate flying debris in your eyes
- Work gloves to help minimize sharp pieces piercing your skin
- Small bucket for your pieces
First step is to clean and sand down your birdbath. Remove any dirt,water or loose paint
Spray the inside and outside edge of the birdbath with your spray paint. You do not need to cover the inside of the birdbath since your concrete will be covering it. Let dry

Next you will want to begin smashing your tile or plate pieces with a hammer. Safety glasses are suggested so you don't get flying debris in your eyes.

Do NOT smash your plates from the front side or this will happen

Smashing from the back side reduces sharp pieces from flying and cutting body parts - yes that's blood from a cut on my finger.
This is the proper way to smash the plate

Gather your pieces with your gloves on and place them in a bucket

Prepare your concrete mixture according to directions. I used Quick Set for this project. Pour a small to medium layer on the bottom of your birdbath.

Smooth out the concrete on the bottom of your birdbath making sure to not cover up your sides. Your painted sides should be exposed.

Place your tile or broken plate pieces in the concrete with any sharp edges submerged in the concrete, as we don't want to hurt the birds

Let dry. Paint the remainder of the birdbath base, being careful not to paint the inside of your birdbath.

Last thing, fill with water and watch your birds enjoy there amazing space!

Perhaps this will be your weekend project. If so, let me know how it turned out!


An error has occurred. Please try again later.