Bob's Bloggers
A community of bloggers who live and die to DIY
electrical
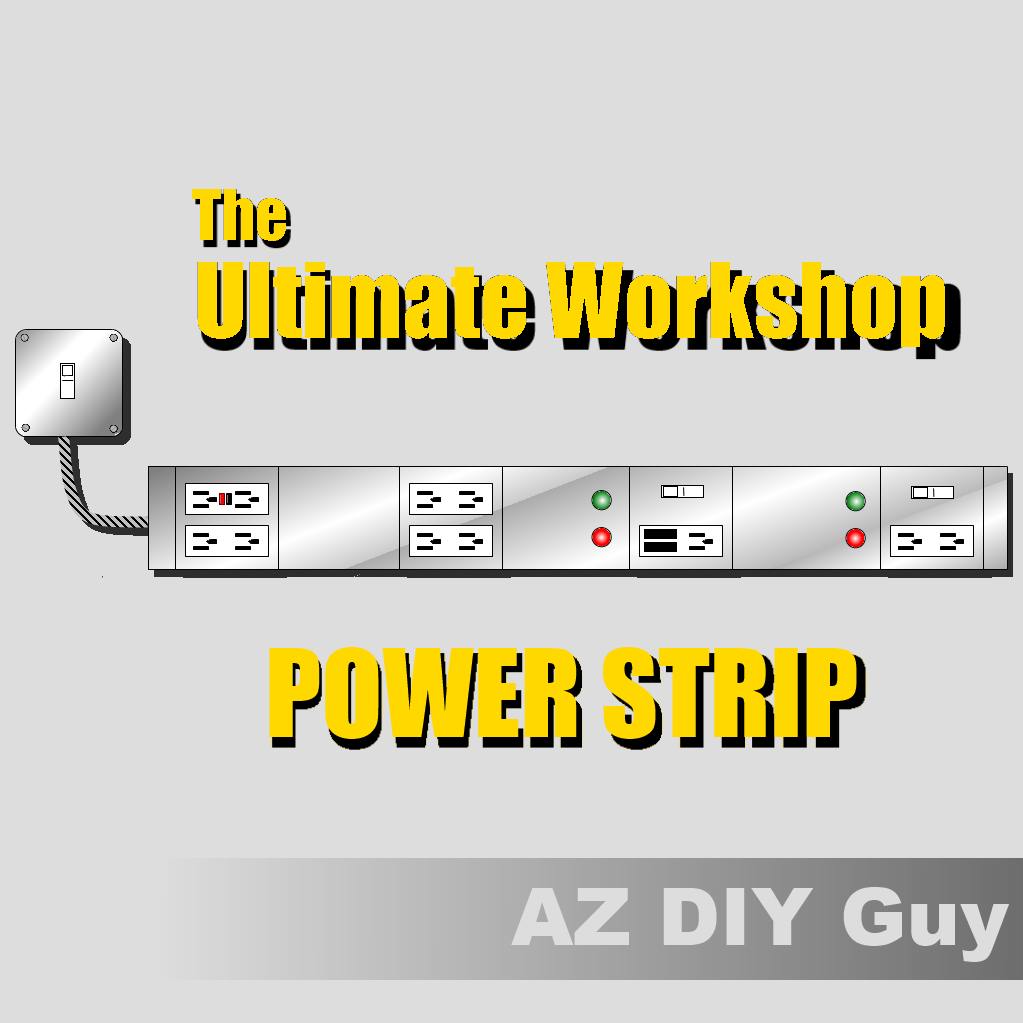
Building the Ultimate Workshop Power Strip: More Power!
By AZ DIY Guy's Projects on Nov 10, 2013
Do you have one of those multi-plug power strips over your work bench that allows you to simultaneously plug in an assortment of power tools? Or perhaps a simple surge suppressor strip? Just one old, stained ivory plug?
Well I hear your cry for MORE POWER!!!! I built The Ultimate Workshop Power Strip in response to this need. If you want to spend a stupid amount of money to build the Ultimate Power Strip, I'm here to give you a tour of the custom-built monster that dominates my work bench.
I installed most of this beast a couple years ago, but never finished. I'm attacking my list of loose ends, so today's the day to take the project to 100% completion!
The Ultimate Workshop Power Strip is a beast indeed, built from Wiremold 4000*— a surface mounted wireway product by Legrand.
Because I'm a mad tinkerer, I went overboard with features. It starts with how I fed power to the Ultimate Power Strip. It's an extension box with an industrial cover to pull existing power from where I'd removed a wall plug.

|
| Excuse the nasty wall. I'm going to cover it at some point. Not my work. |
A small piece of MC cable feeds the strip. Unlike rubbery, plastic-jacketed "Romex" Type NM (Non-Metallic) cable, it's armored, better suited for an exposed environment. You have to be careful working with it to ensure you don't nick the conductors inside.

If your're going to do anything like this, see:
AZ DIY Guy's Scary Warning - Electrical Edition
I started today by turning off the power, and popping all the covers off the partially compete unit. Since it's such a dusty/ dirty workshop environment, I wanted to swap out all the grubby receptacles from standard, old-school duplex "snowmen" to nice, clean Decora style receptacles. I bought a box of Leviton's preferred grade plugs. I'll use them around the house too.

These Decora style outlets install the same way as the old ones; properly attach the ground, the neutral, the hot...

...and screw it in. I like to zap it in with a cordless for speed, being careful not to strip out the screws.

The Wiremold 4000 covers snap into place. The tricky part is that you have to cut them to fit first. Cutting this stainless steel is murder. The regular paint grade steel is much easier.
You can see here where I've added some indicator lights (more on that later).

I also added this sweet Leviton USB Charger / Outlet. It's half USB charger for iPod's, cell phones, tablets, etc. and half 120 volt power. It installs simply, like a standard plug.

Working with all this cut stainless steel is best done with gloves, trust me. I don't know when I nicked myself, but when I started noticing blood smears on my brand-new, bright-white receptacles, I realized a smarter guy would be wearing his gloves. Let no one accuse me of being a "smarter guy". Too late.

|
| Just a wee nick. It could have been worse. |

|
| Now, there's a face made for radio. |
*Wiremold, and products like it, are surface-mounted electrical raceways. You can buy the basic, narrow plastic stuff and sometimes a metal variety at any home center or hardware store.
My gorgeous, 5" tall, stainless 4000 series was substantially recovered in a lucky dumpster dive on a construction site several years ago (thus saving serious cash!). I was lucky enough to recover a 44" piece with a cover, in the stainless steel finish. I picked up end caps and a couple device mounting brackets in the dive, but had to order the rest. I see that you can get some 4000 series through Amazon, but the best source for a full-line of product would be though a local, professional electrical supply store.
Legrand also makes dividers in order to run data cables in half the channel and electrical wiring in the other. There are other accessories available including covers, corners, couplings, and even special cutting tools that slice the stuff, a bit like a guillotine.

|
| This roomy wire-way is much easier to work in than a normal in-wall box. |
I drilled and screwed the unit to a wooden piece of 1x4, to hold it off the wall a bit. I want it to stand proud of the pegboard that will eventually cover the wall.... or maybe cork-board...hmmm...
With the devices in and the wiring complete, I installed the last of the Wiremold covers.

I decided not to order the Wiremold special fit device covers, opting to pick up standard wall plate covers locally a couple nights ago so I could get done 100% today. I couldn't find the exact profiles I wanted in the same stainless finish, so I tried a "brushed satin nickel" finished plate, with included, matching screws. I really can't see the difference. They look absolutely beautiful!

Alright. Full disclosure time. I mentioned I bought the plates a couple nights ago, right? Well I just couldn't stop myself from going out to see how the satin brushed nickle looked against the stainless steel. I opened the package and tried it out. Perfect!
Then, today I noticed that...like an absolute know-nothing DIY amateur, newbie-weenie... I had lost the special screws for the last cover plate.
Time to take a time out AZ DIY Guy.

|
|
An absolute "know-nothing DIY amateur, newbie weenie" in his natural habitat. (Stupidicus Loose-stuff-icus Moron-icus) |
I can't find the screws anywhere. I had to use four standard 6/32 screws to put the plate on. I'll replace them, if I ever come across the original baggie of fancy-schmancy brushed satin nickle screws that match the plate. But this means I will only get to 99.375% done today. Still a fail.
Almost there folks. This bad boy needs a sound system. I used heavy-duty hook-and-loop / Velcro to attach a pair of computer speakers.

I fed the cord from my cordless battery charger in the cabinet above through a hole I'd drilled in the back down to the strip.

Done!!! (or 99.375% done anyway) I've loaded my collection of dust collecting doodads, widgets, and knickknacks on top and am calling it good.
Ladies and Gentlemen,.. I present The Ultimate Workshop Power Strip!!!

THE ULTIMATE WORKSHOP POWER STRIP FEATURE TOUR!!!

- The industrial covered switch box is the location where power comes from the wall and is fed to The Ultimate Workshop Power Strip. The strip could be fed directly from behind, but this feed box doubles as a switch. The switch kills power to the entire strip with one flip; I can de-energize everything in one quick, movement.

- The left quad receptacle holds two duplex Decora devices. The top one is a GFCI (Ground Fault Circuit Interrupter) which provides ground fault protection to all the devices to the right of this location. GFCI receptacles can offer protection to slave devices down stream through a second set of termination screws. The bottom receptacle is independent, without GFCI protection. I use it to power larger motor loads, which could trip the GFCI, like the table saw and air compressor.

- A standard, quad arraignment of GFCI protected, general-use outlets. There is a 2" hole in the counter top below it that I feed an extension cord down through and into the room or out the garage door to work in the yard.

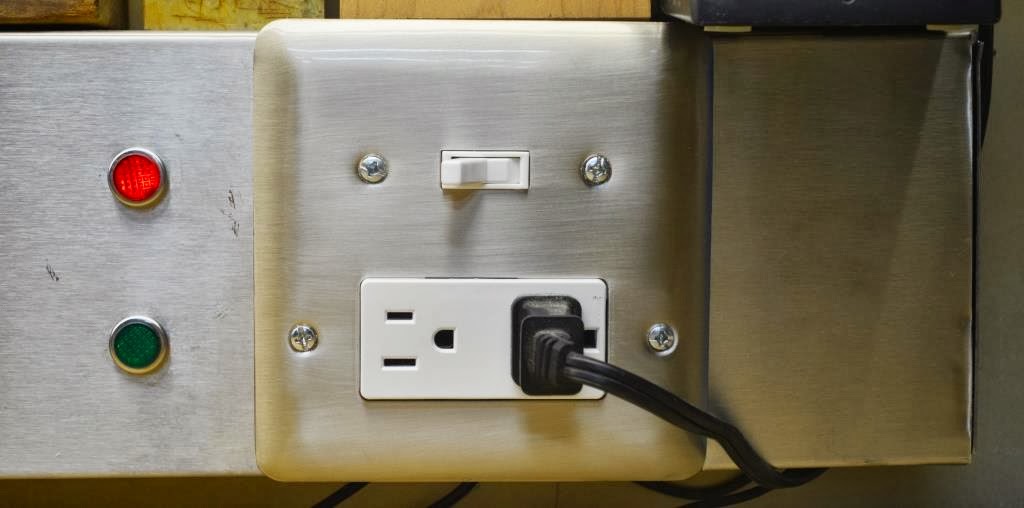
- This is the USB charger / 120 v combo outlet. It is able to charge and iPod, cell phone, or tablet while I'm working. The switch is a tricky little device I installed for fun. It's actually a three-way switch used to divert power on two opposite paths. One direction turns on a red indicator light and kills power to the plug, the other way turns on the green indicator and sends power to the device. I can tell from across the room if I have power to the plug.

- A duplex version of the same configuration as number 4. This switch combo is handy to turn on a shop vac / dust collector and power to a tool when I'm ready to go. I like to run my router and planer through this one due to the switch / indicator light set up. I can be positive that power is off if I'm making an adjustment to the tool. Plus, this is the plug I have the cordless tool battery charger on. A flip of the switch when I notice the green light is still on and I'm not wasting juice, overcharging for days.
- Nothing can be called "Ultimate" with out a serious sound sytem. These stereo speakers plug into a portable device and blast tunes appropriate to the needs of whatever project I'm working on. I usually have them plugged into one of the switched receptacles so I can kill the sound with a quick flip, rather than fool around with the tiny slide switch on the side.

- All the little extras you may have spotted with sharp eyes. Yes, you do see a shuriken - (throwing star), a 35-year-old elephant key to the Detroit Zoo, an ancient level and hand plane, the original 1979 electrical inspector's green-tag for the house, a photo of the kids with Goofy, a nice piece of cherry wood, a oriental dragon thingie, and many more mysterious marvels. Obviously, they all help this Power Strip reach the lofty title of "Ultimate".
What do you think? Is it the "Ultimate"? I'm ready to add other cool devices and extend the capabilities of this technological marvel of modern engineering well into the future. What do I add next?
"Don't be too proud of this technological terror you've constructed. The ability to destroy a planet is insignificant next to the power of the force" - Darth Vader
This is not a sponsored post.
blog comments powered by Disqus