Bob's Bloggers
A community of bloggers who live and die to DIY
interior design, walls, diy
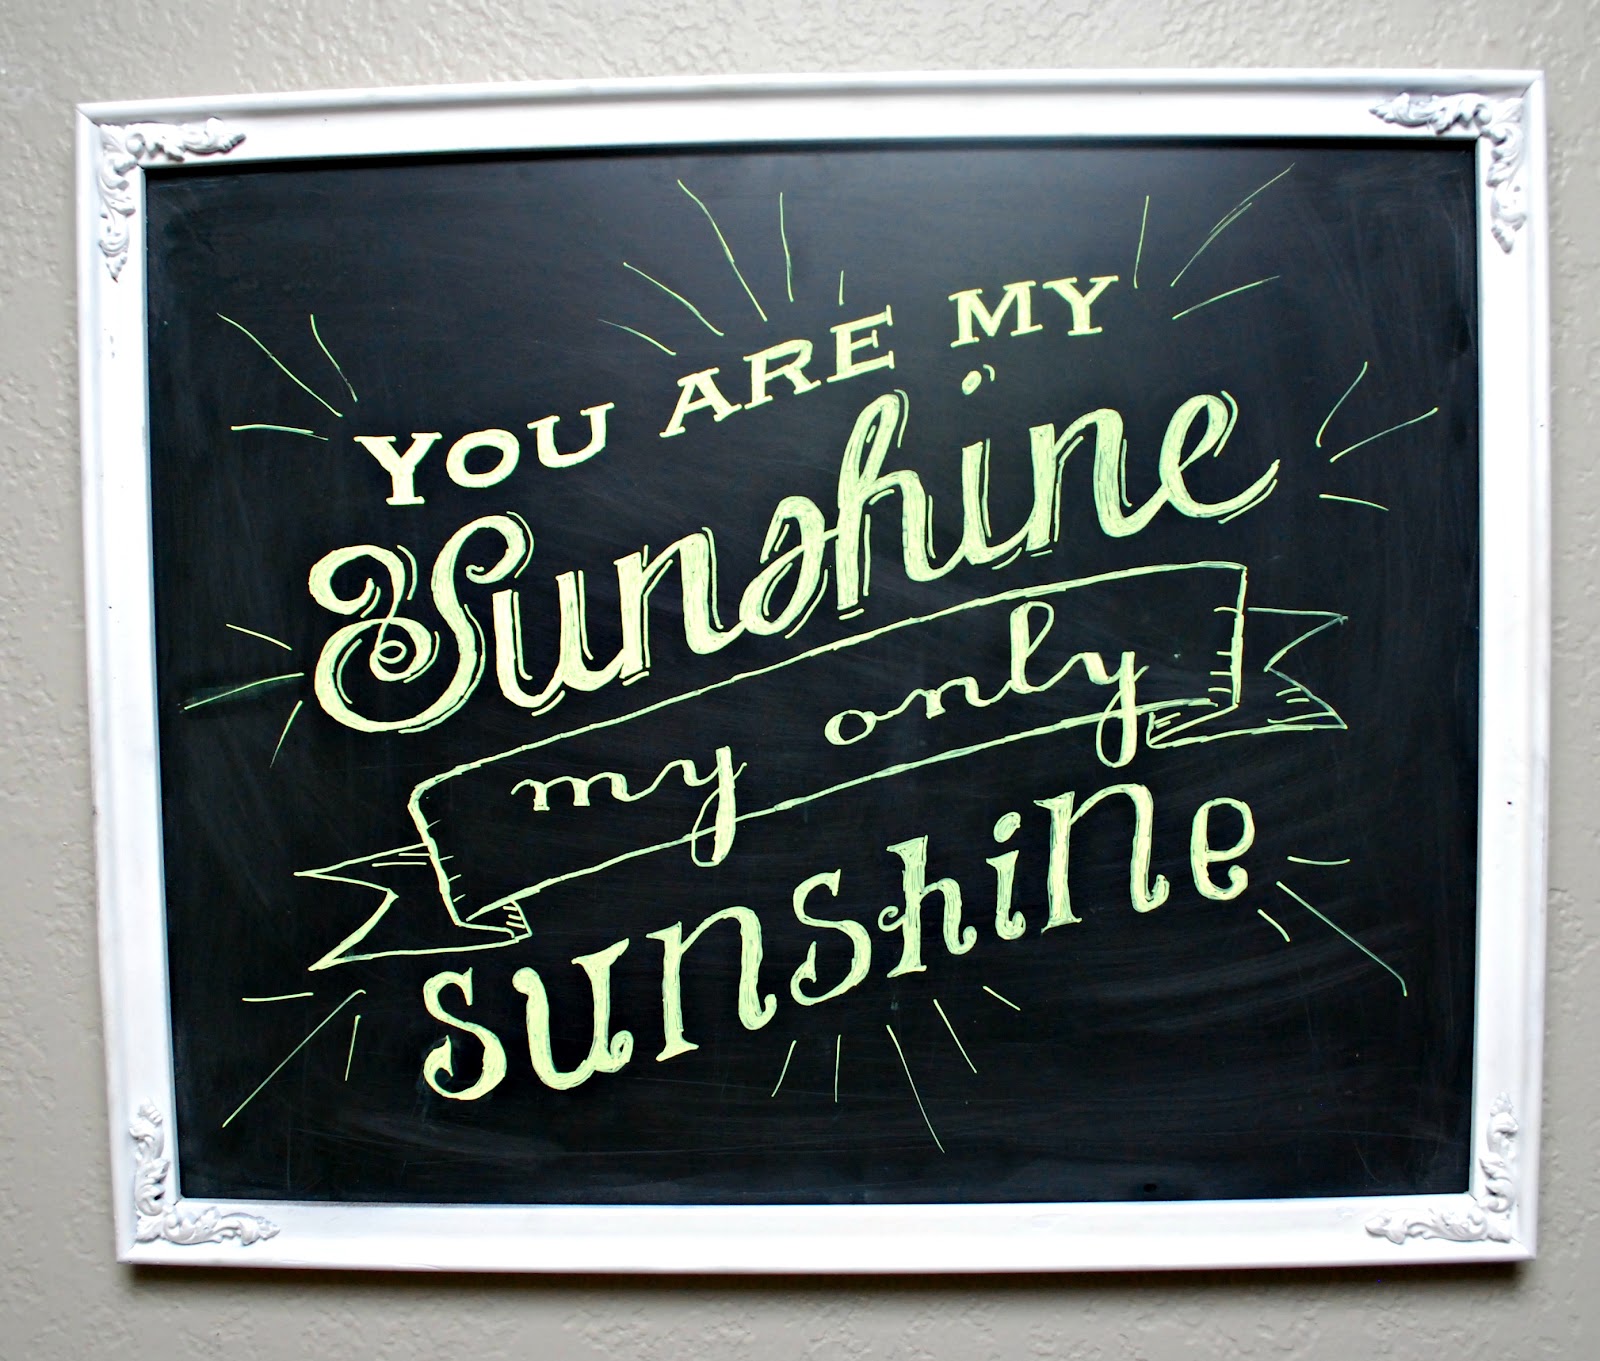
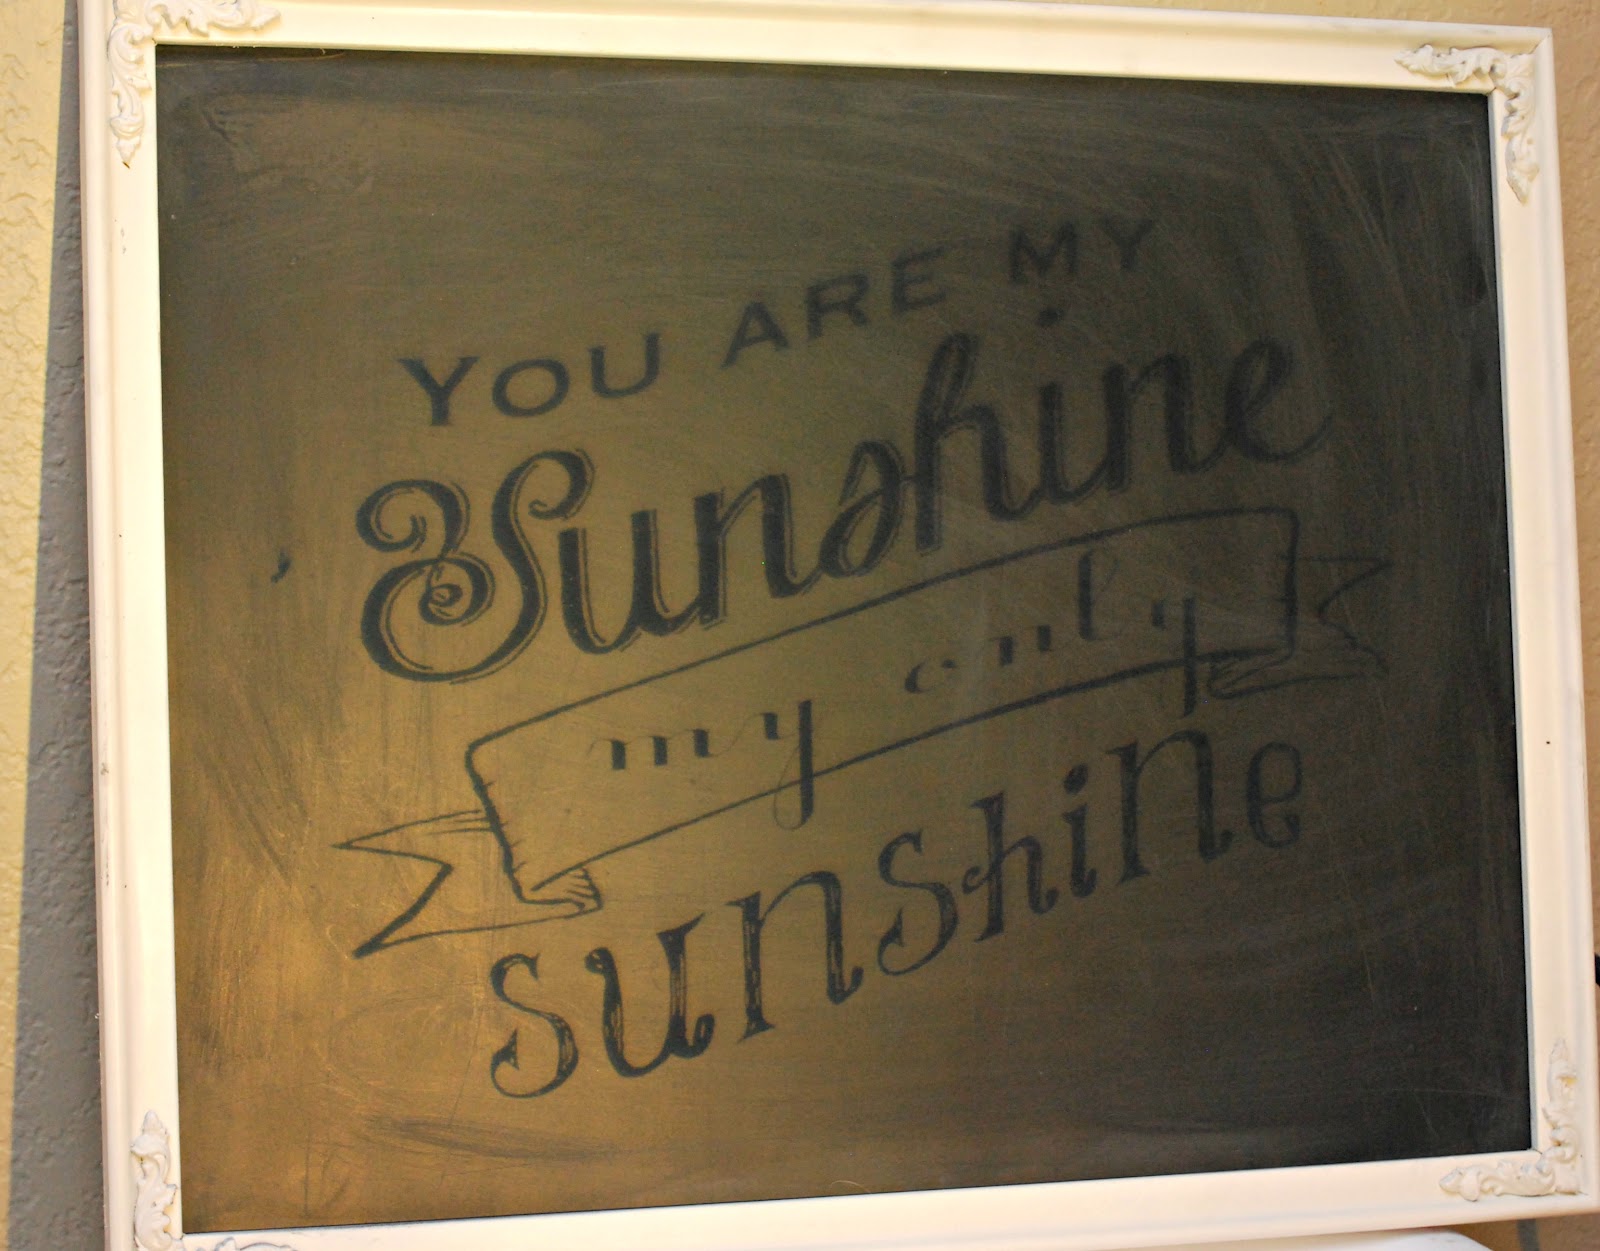
Chalkboard Lettering (The Easy Way)
By Classy Clutter on Sep 06, 2012
I have wanted to learn how to do the chalkboard typography FOREVER now!
But lets be honest its a true art form and it takes real artist to do it!
So I cheated a bit...
I used my Projector to create this chalkboard artwork!
People listen VERY CAREFULLY... Every person needs a PROJECTOR
in there craft supplies!
I have used my projector in sooooo many ways!!!!!
And many friends have borrowed it... you will not be sorry if you make this purchase!
Brand new they are around $300... check out craigslist for overhead projector... they are out there!
I got mine for $25 dollars and the guy even sold me the transparencies paper for $10
(which at the store its around $40)
Now back to this chalkboard lettering!
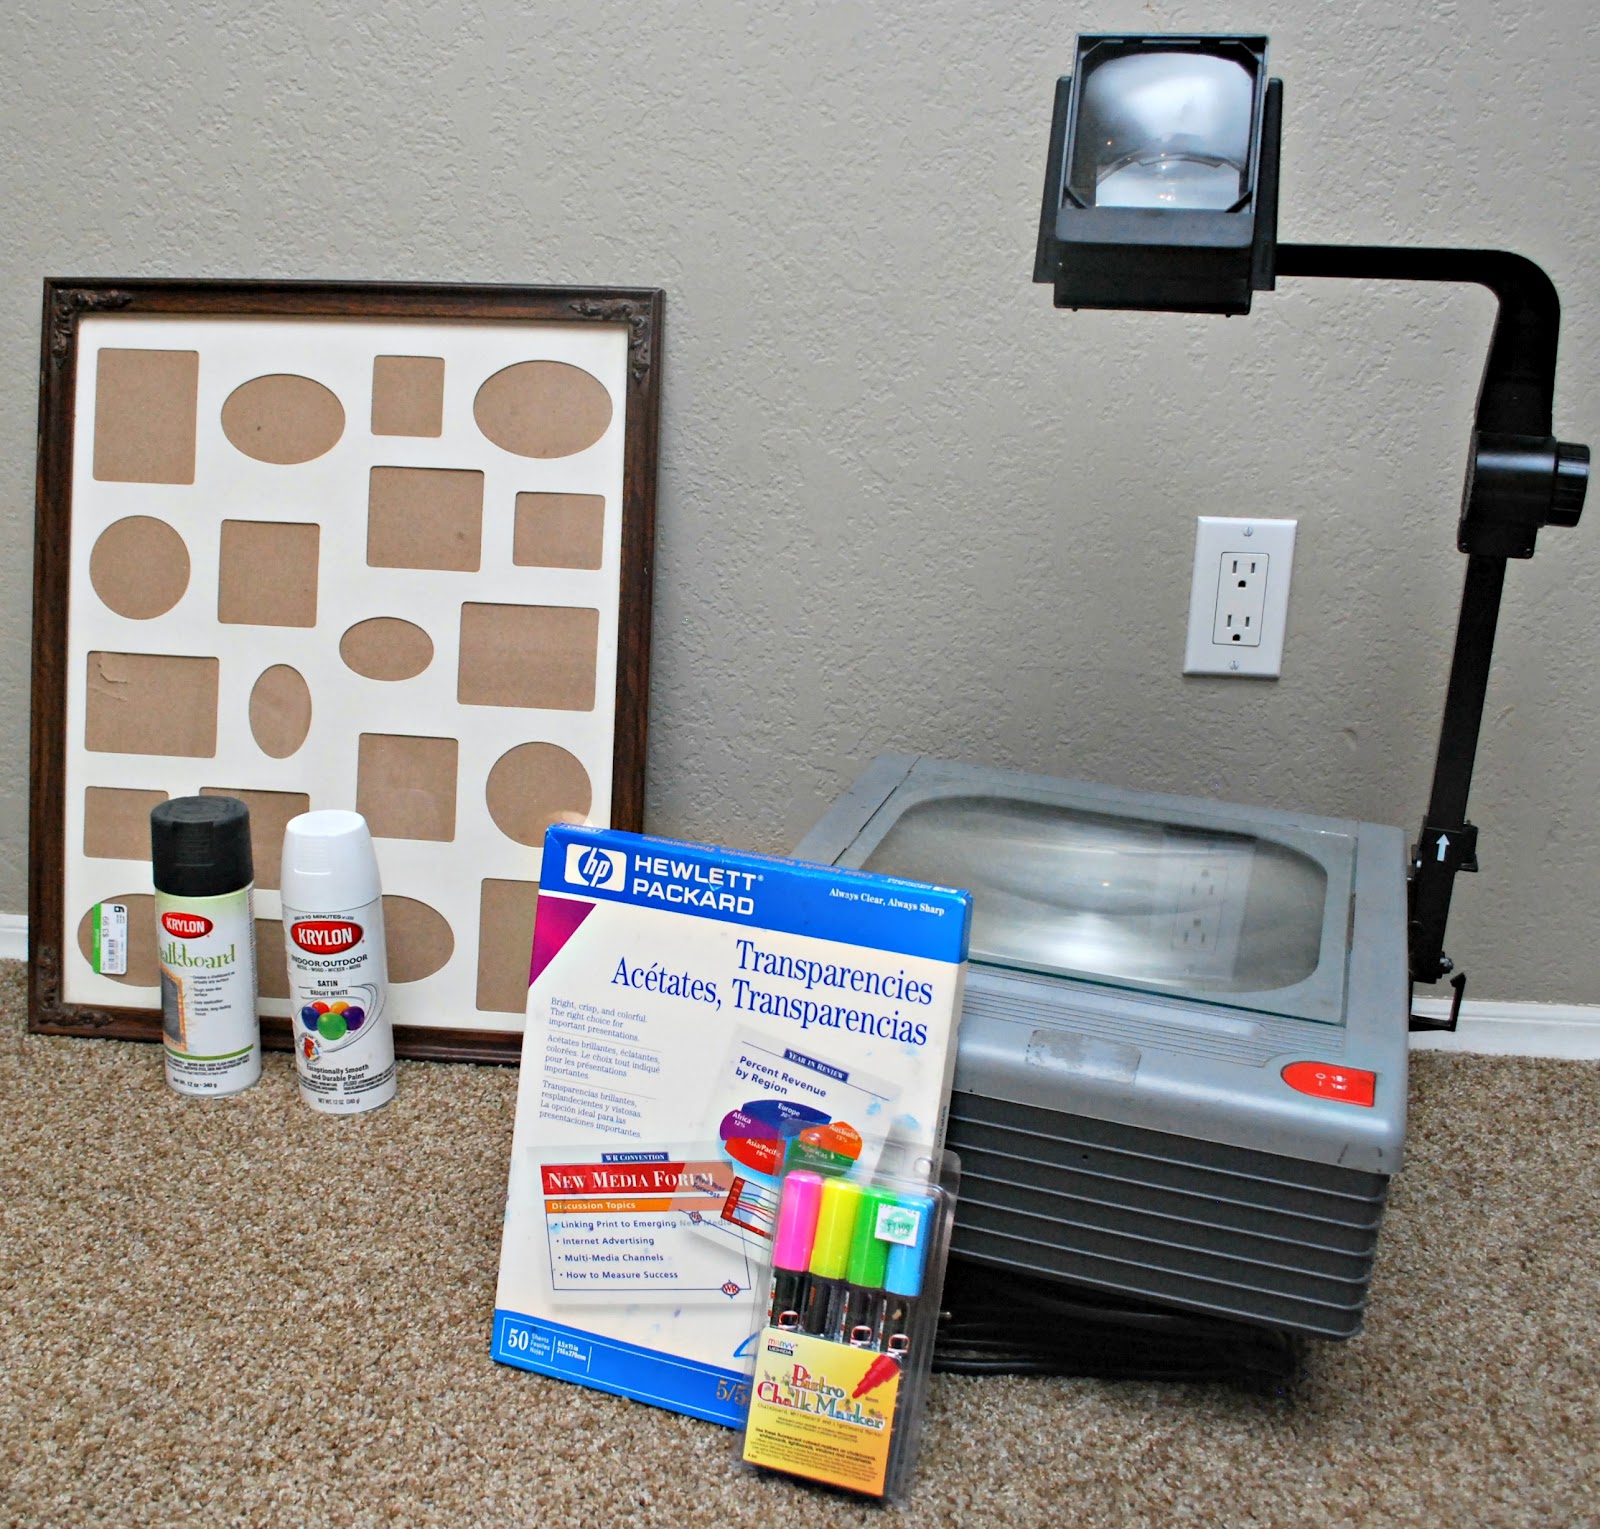
This is what you will need:
1. Projector
2. Transparencies paper
( I had to take out all my paper in my printer and only load transparencies paper in order for my printer to print on it)
3. Frame with glass
(got mine at goodwill for $3)
4. Chalkboard Paint
5. Spray Paint
6. Bistro Chalk Markers
(got mine at Hobby Lobby)
First, I got my Chalkboard ready.
Simple spray painted the frame white, then spray painted the glass with the chalkboard paint.
The chalkboard paint has to set for 24 hours before writing on!
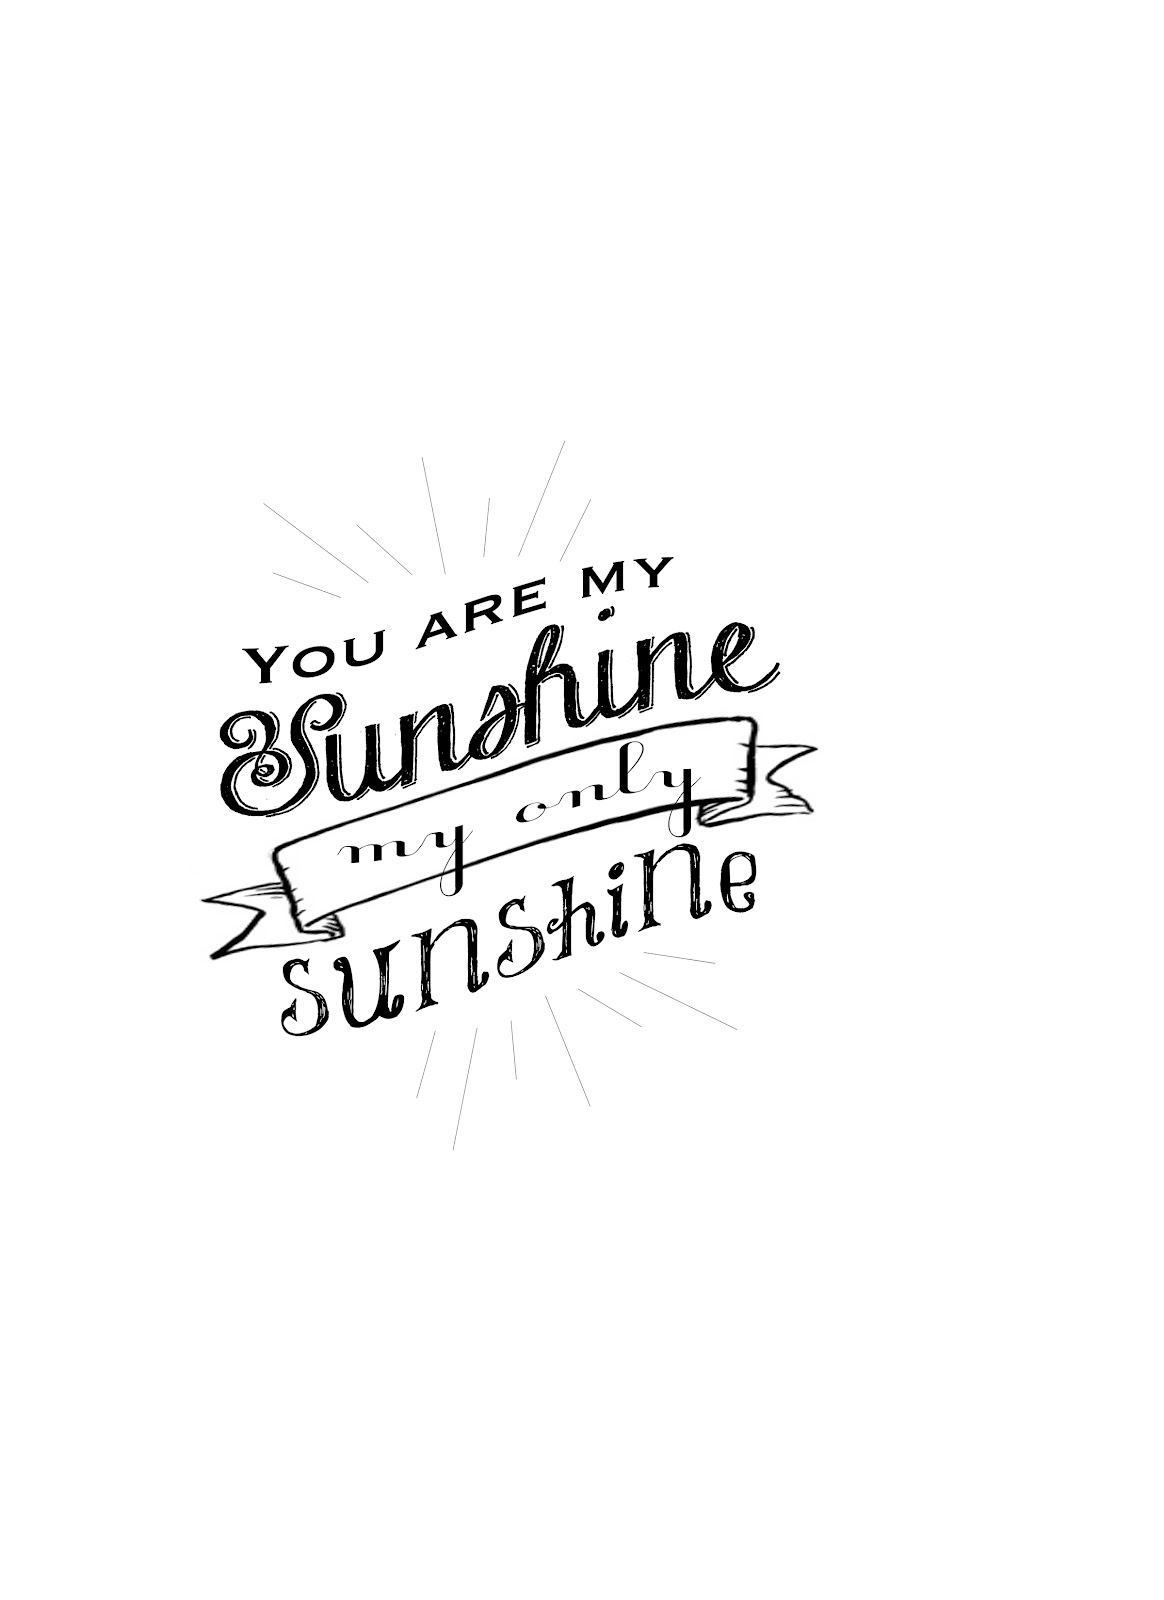
Then I printed this saying that I created in photoshop onto transparencies paper
Then the fun begun... I had to use a laundry basket to prop up my frame,
that way I was not killing my back!
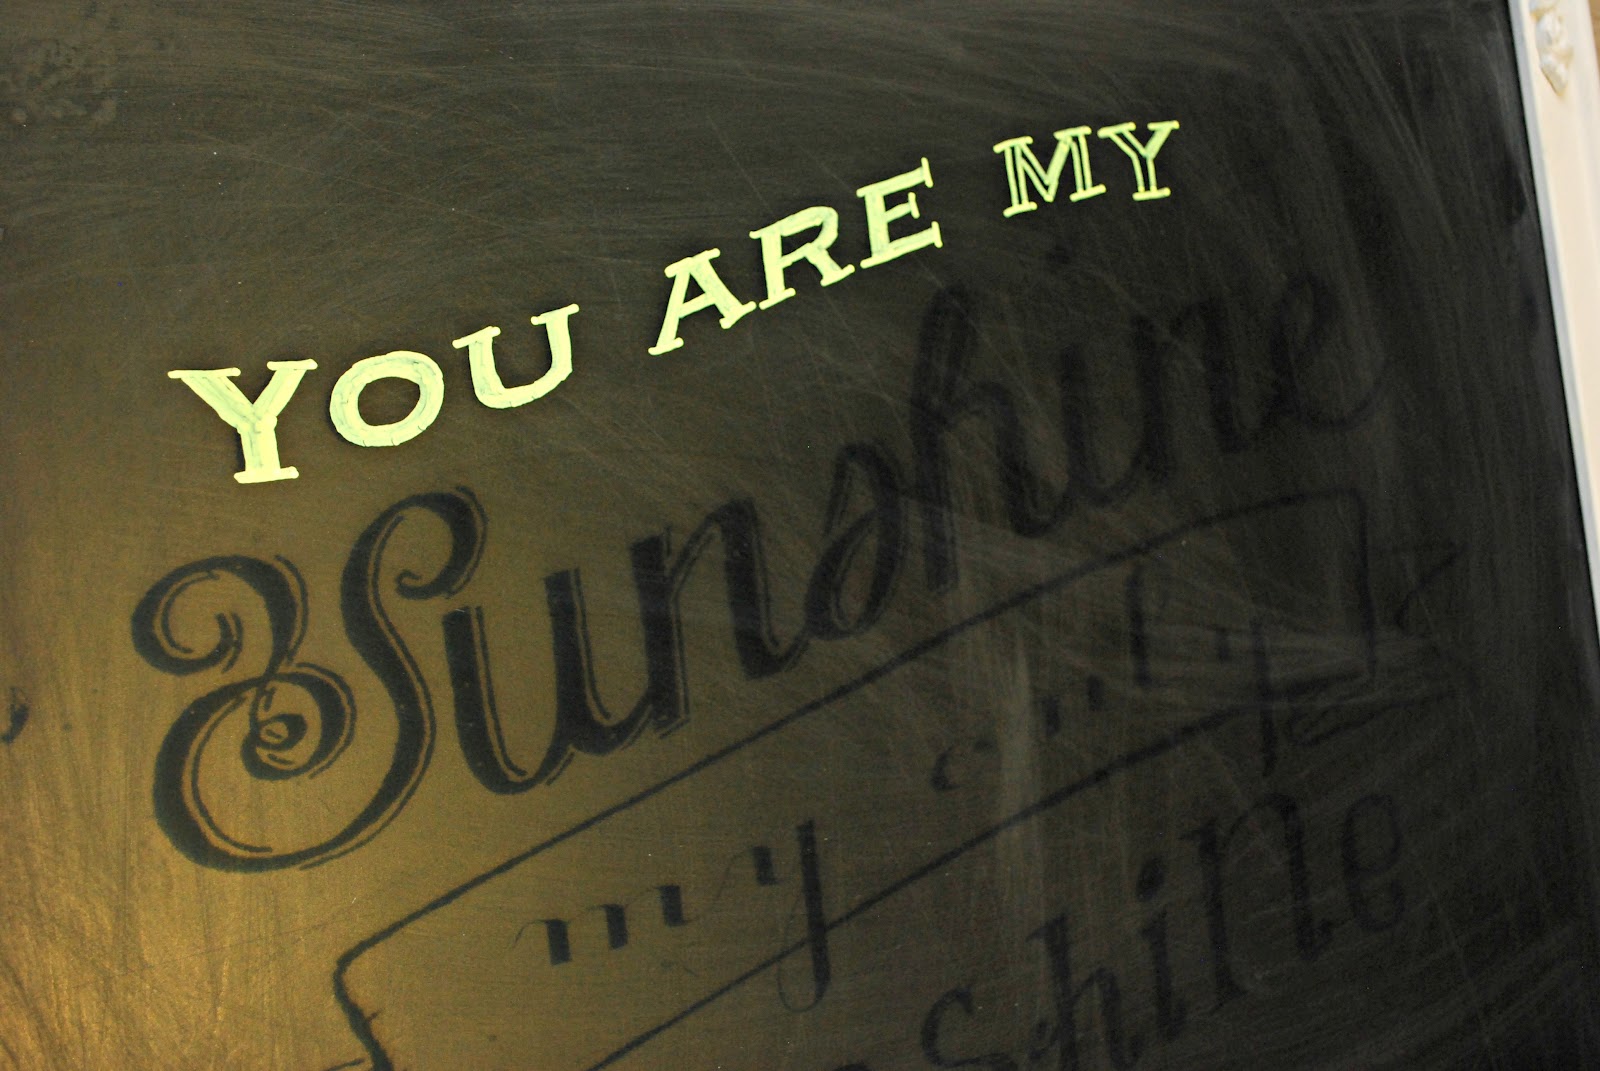
Then simply just projected the image onto the chalkboard.
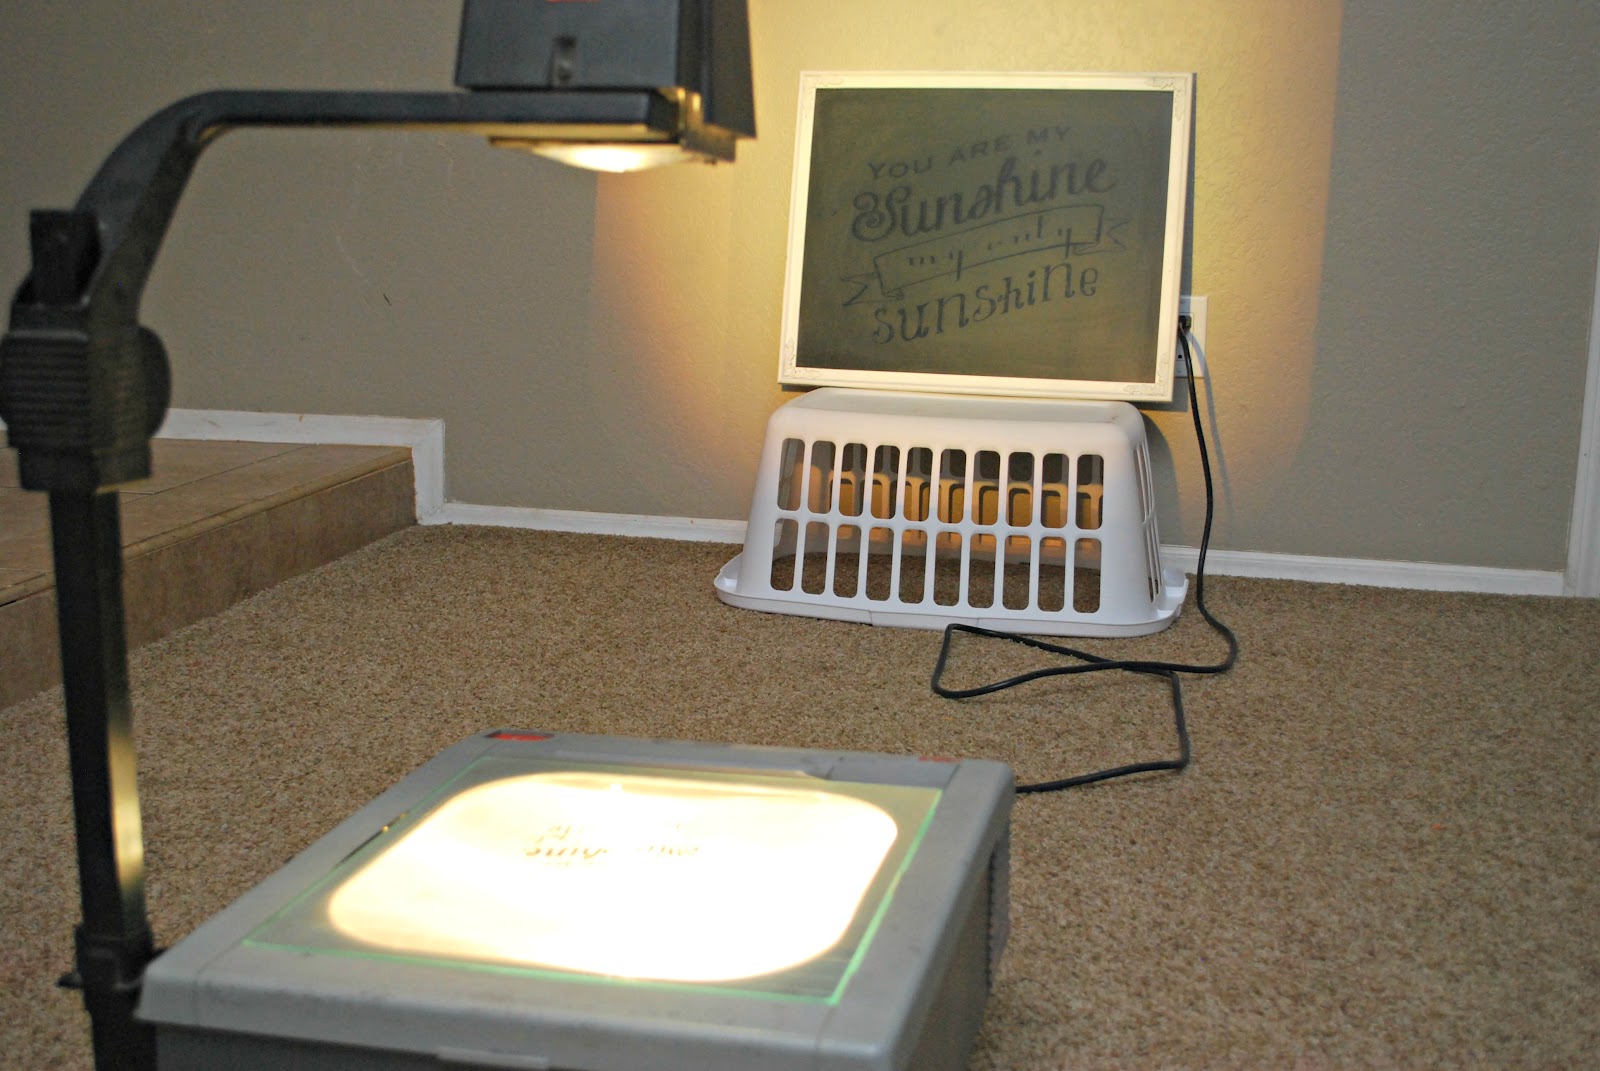
I started to trace away. I used the bistro chalk pens because its more like a marker so the lines were a little cleaner. If I wanted a little more of a chalky look I would just trace over it again after it was dry. At first I was filling in the letters but then I realized it would be WAY faster to just do the outline of the letters and then fill in later, while I was sitting more comfortable on my couch watching one of my many shows.
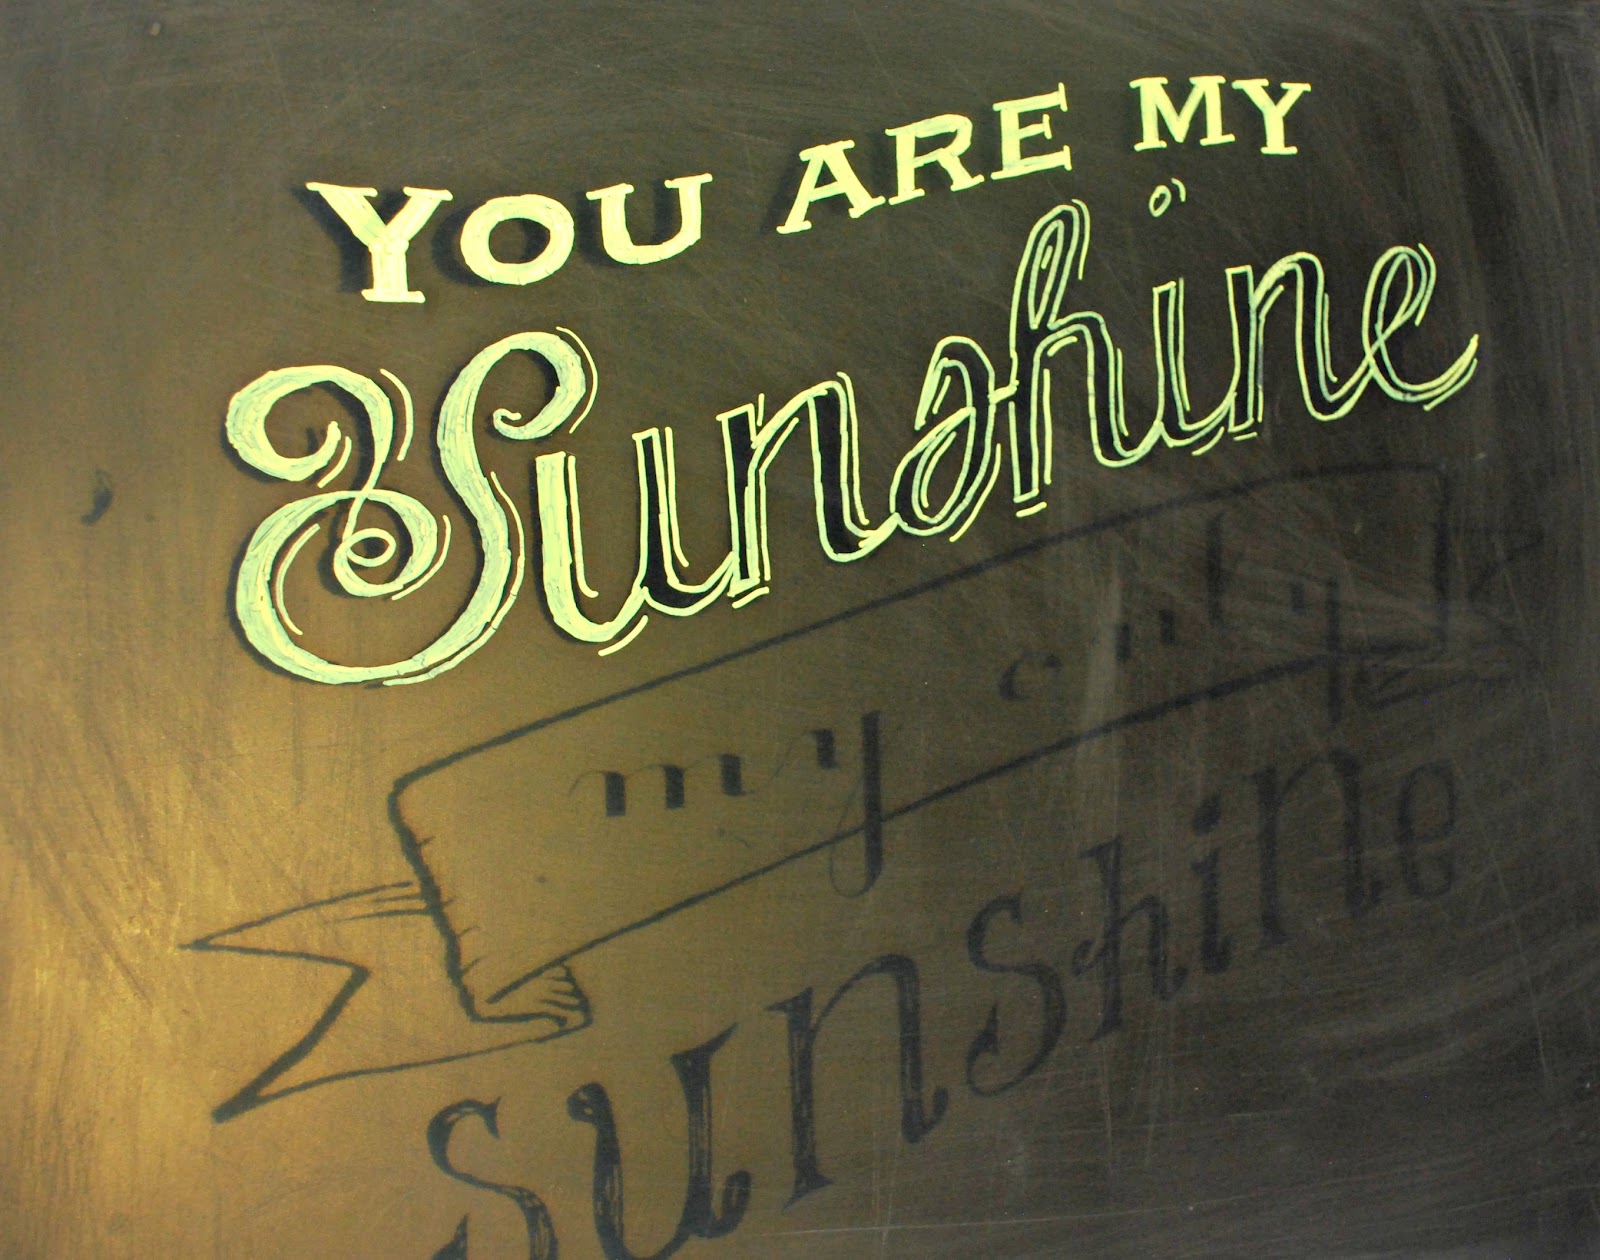
It took about 20 minutes to do the outline of my letters, then another 5 minutes to fill in letters.
Start to finish it was around 30 mins but soooo worth it!
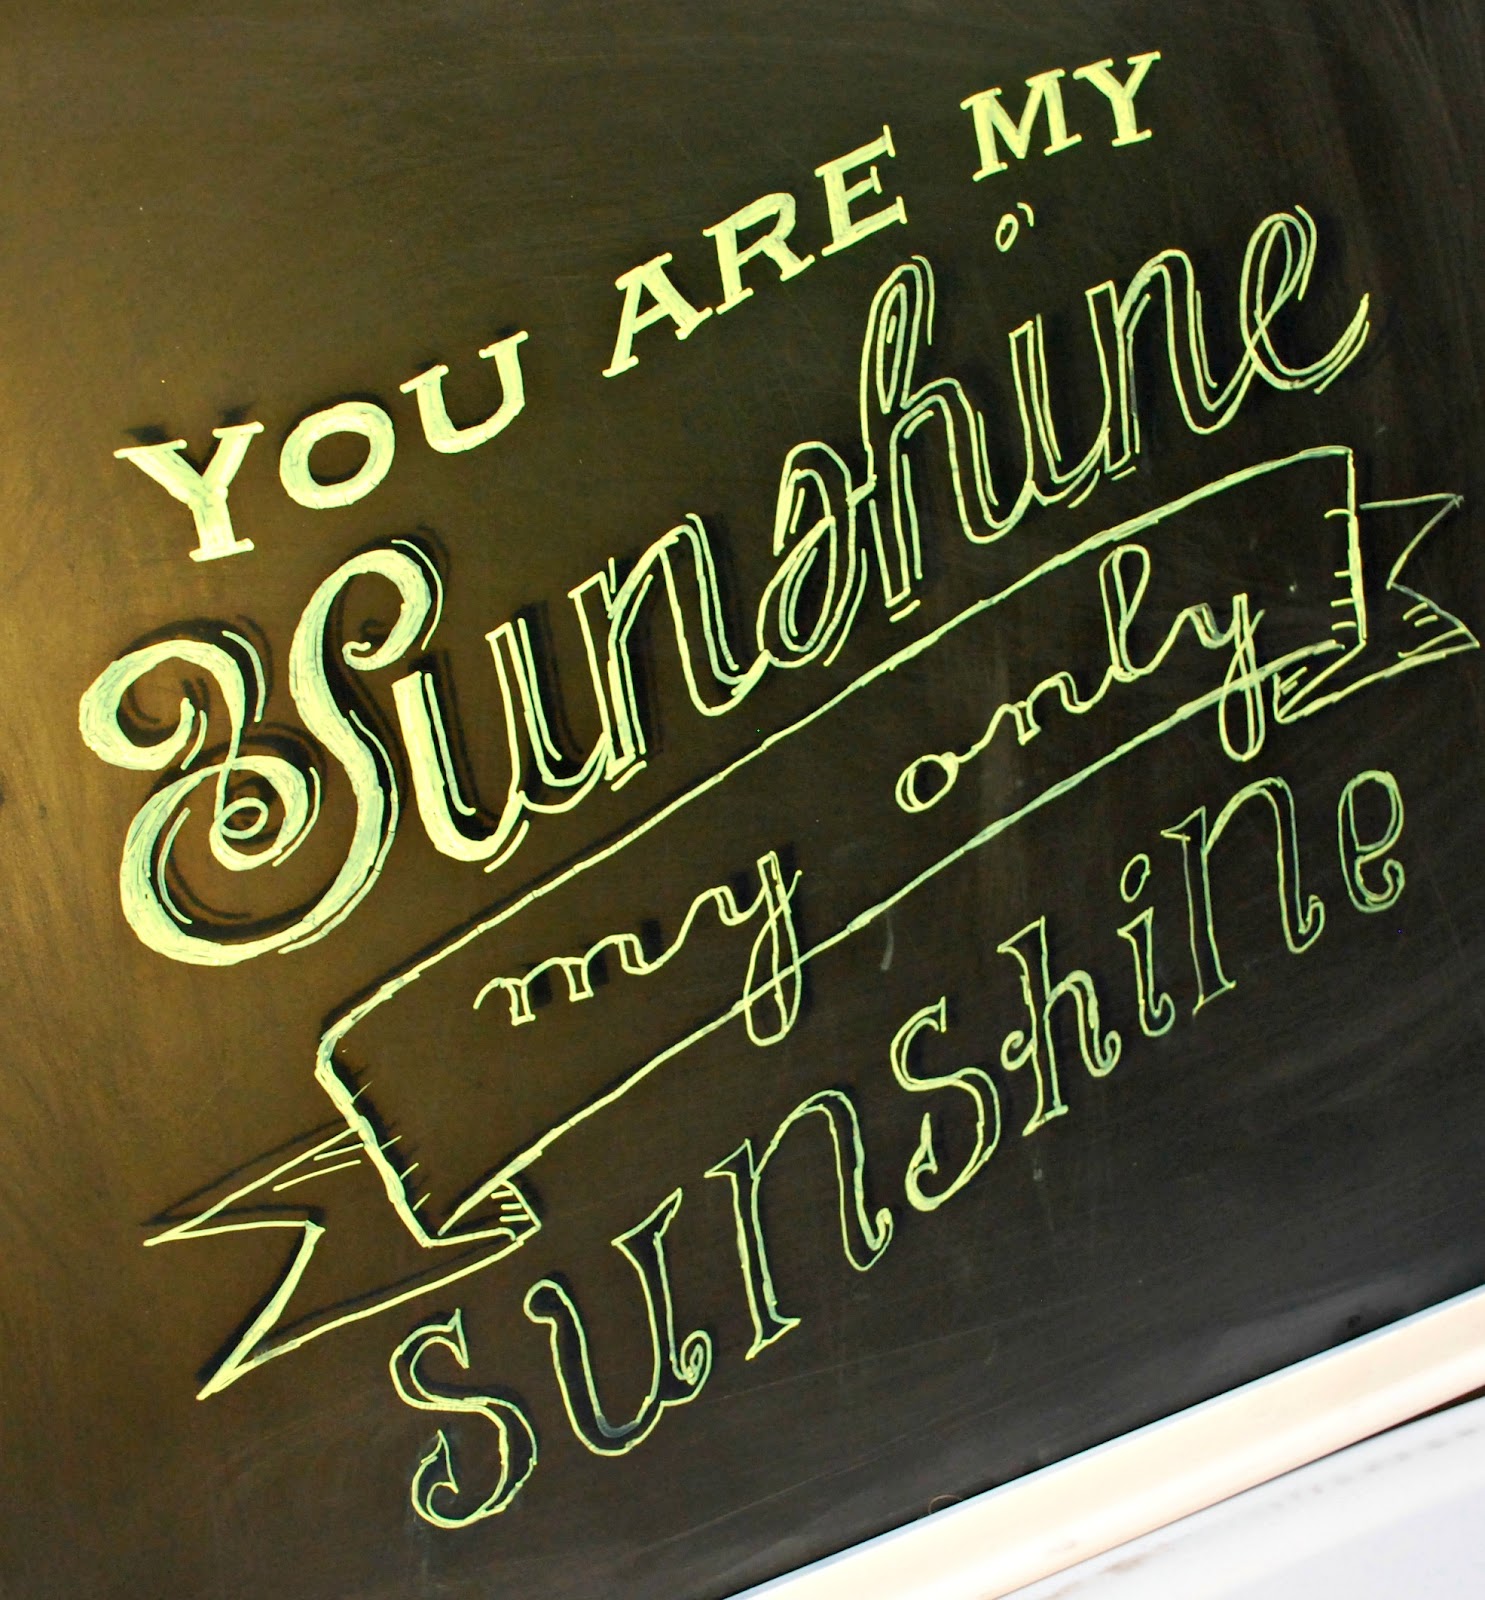
About half way through I started to get a lot faster... I know the more signs I do I will get faster and better with each one.
The possibilities are endless with this project.. Cute photo props, birthday party signs, holiday sayings, menus at a party and so much more!
I could not be happier with how it turned out and I know I will be created many more signs to come!
I will post other saying I create in later post!

What do you think?


An error has occurred. Please try again later.