Bob's Bloggers
A community of bloggers who live and die to DIY
furniture, diy, furniture, diy
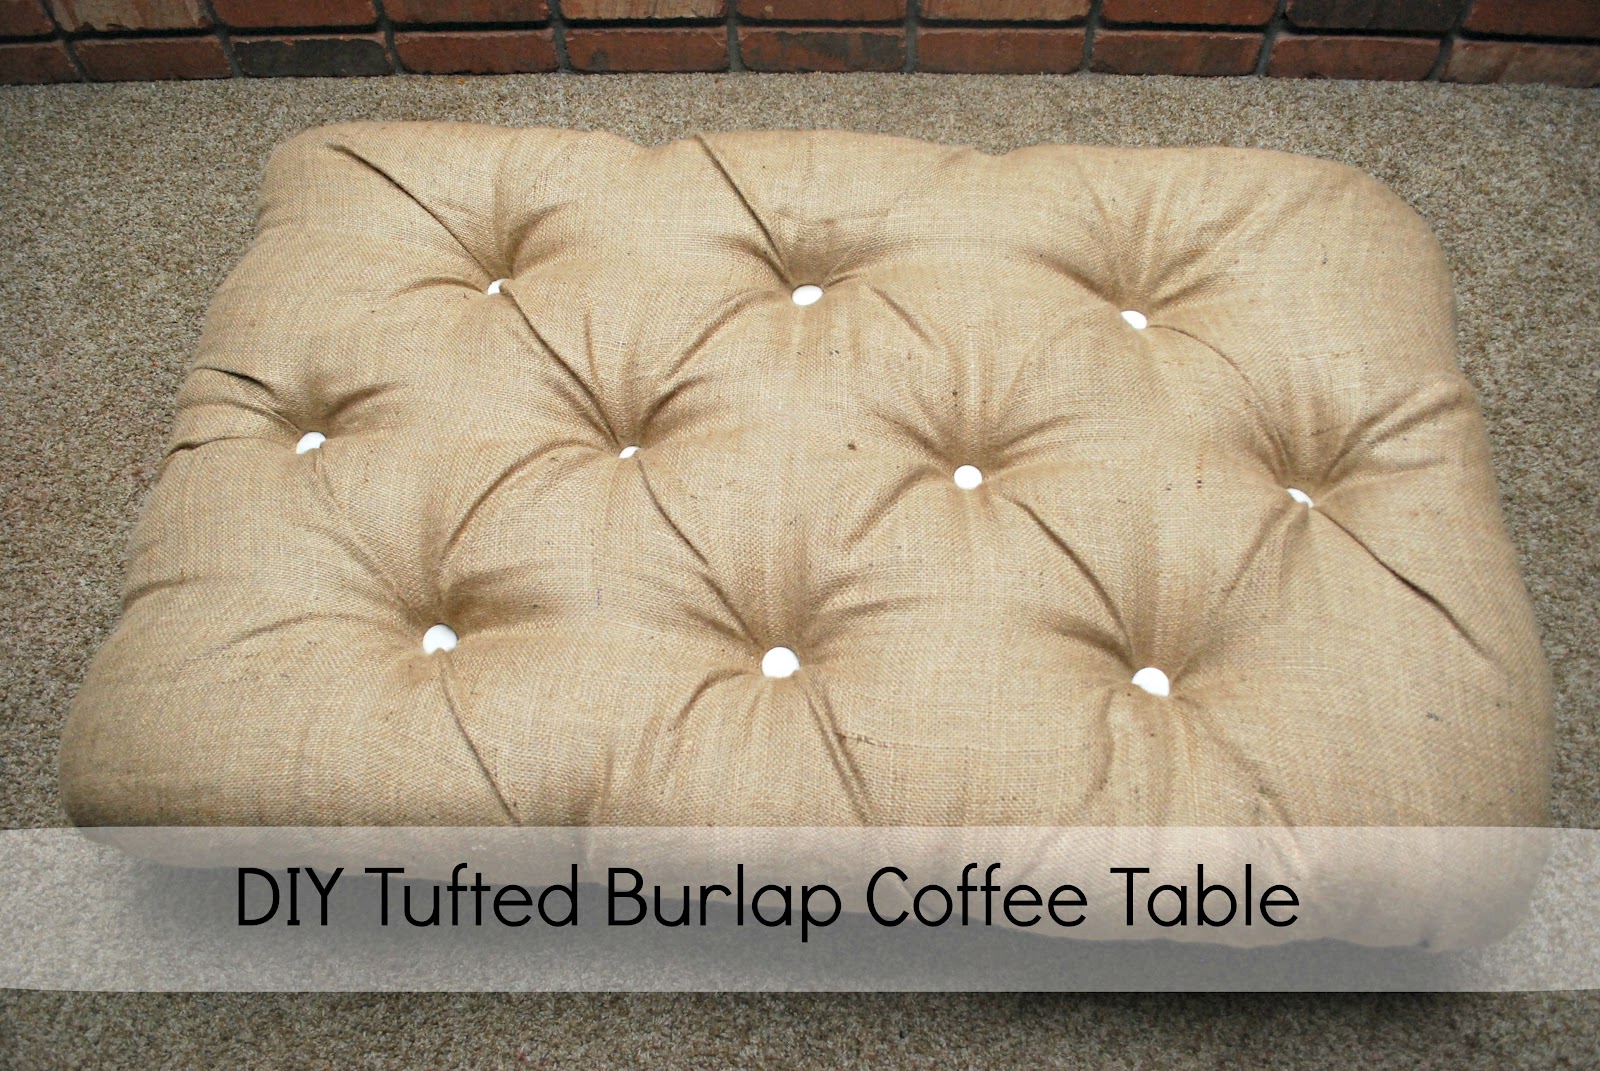
DIY Tufted Burlap Ottoman
By Classy Clutter on Aug 30, 2012
To say that I love this ottoman is a understatement. My friend Jade told me the plan that she had to make a coffee table and I told her that she would love a tufted ottoman instead.
She had a event at her house the next day so she was in a hurry to get something done.
It took us about 4 hours from start to finish but it is soooo worth it!
We followed the Tufted Headboard Tutorial that Mallory and I did a few months ago.
All the supplies were the same and everything.

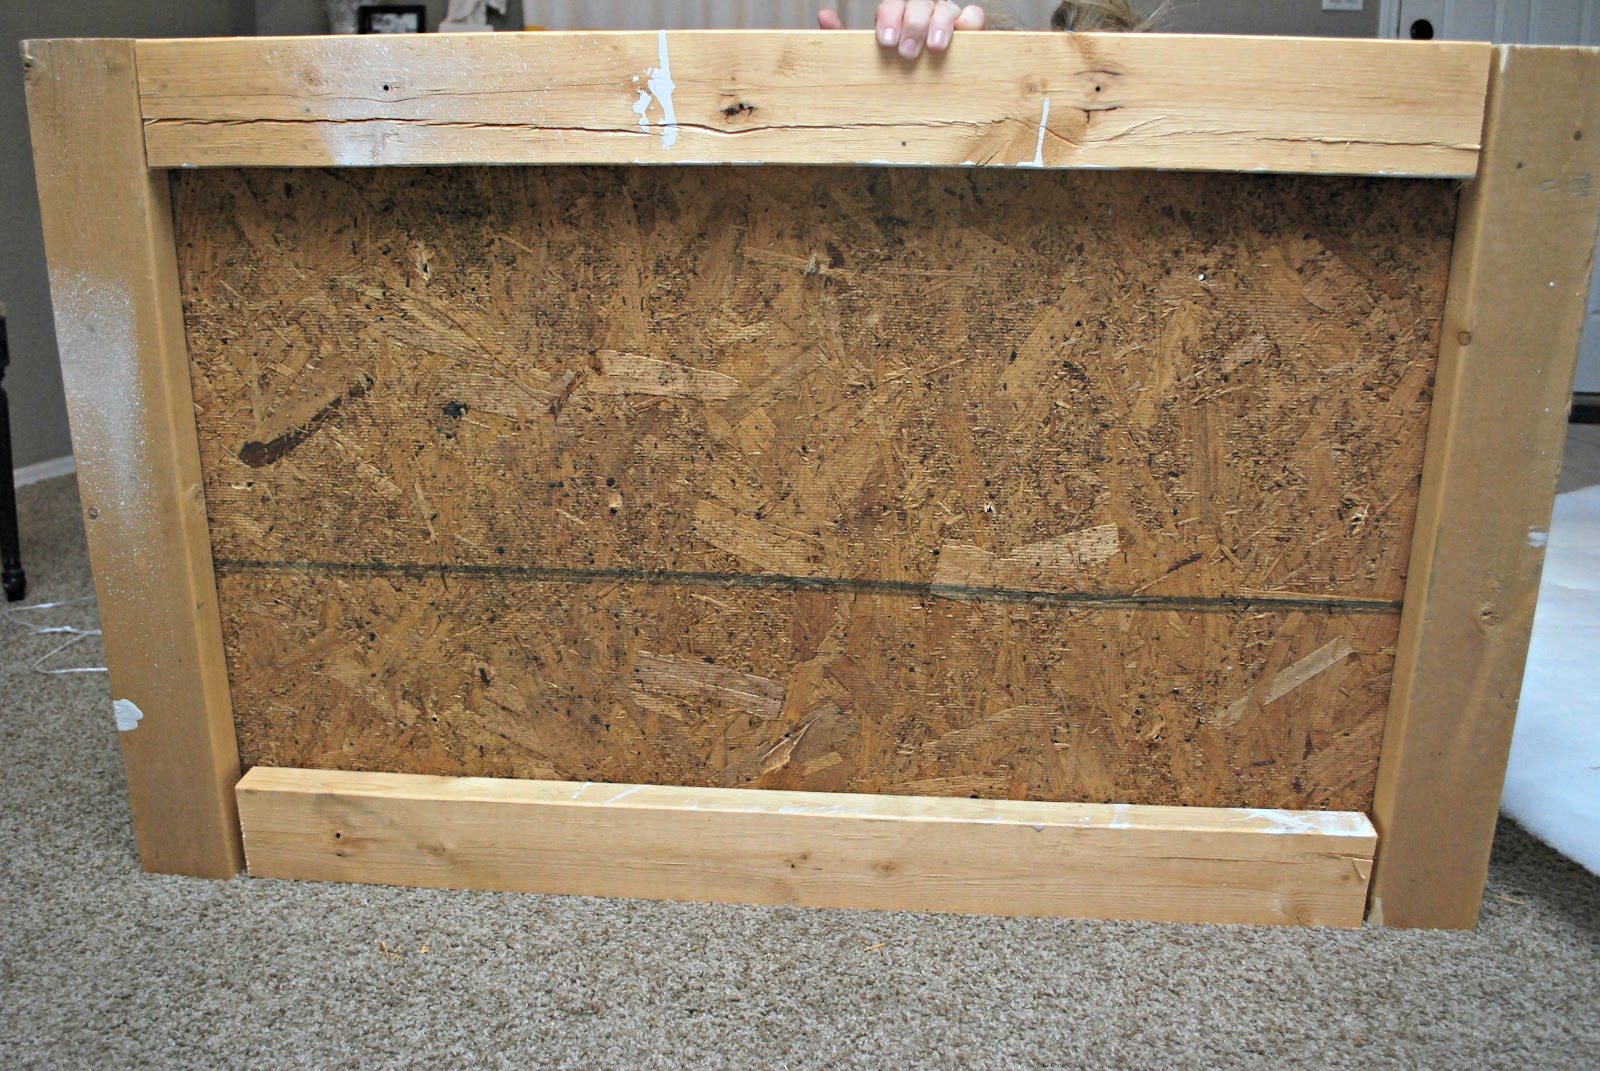
The only difference was for the base of the table we used was
a piece of plywood that Jade's husband had found. Jade's husbands also add 2x4 around the plywood for extra support and something to screw the legs into.
Jade bought the 3 inch foam in Mesa, Az at mesa sales on Main street between Gilbert and Lindsey, they were the cheapest that I have found. All the other stuff was purchased from Hobby Lobby.
We started to mark off were we wanted each tuft to be. The board was 44 inches width so we used our rusty math skills to figure out where each hole would go.
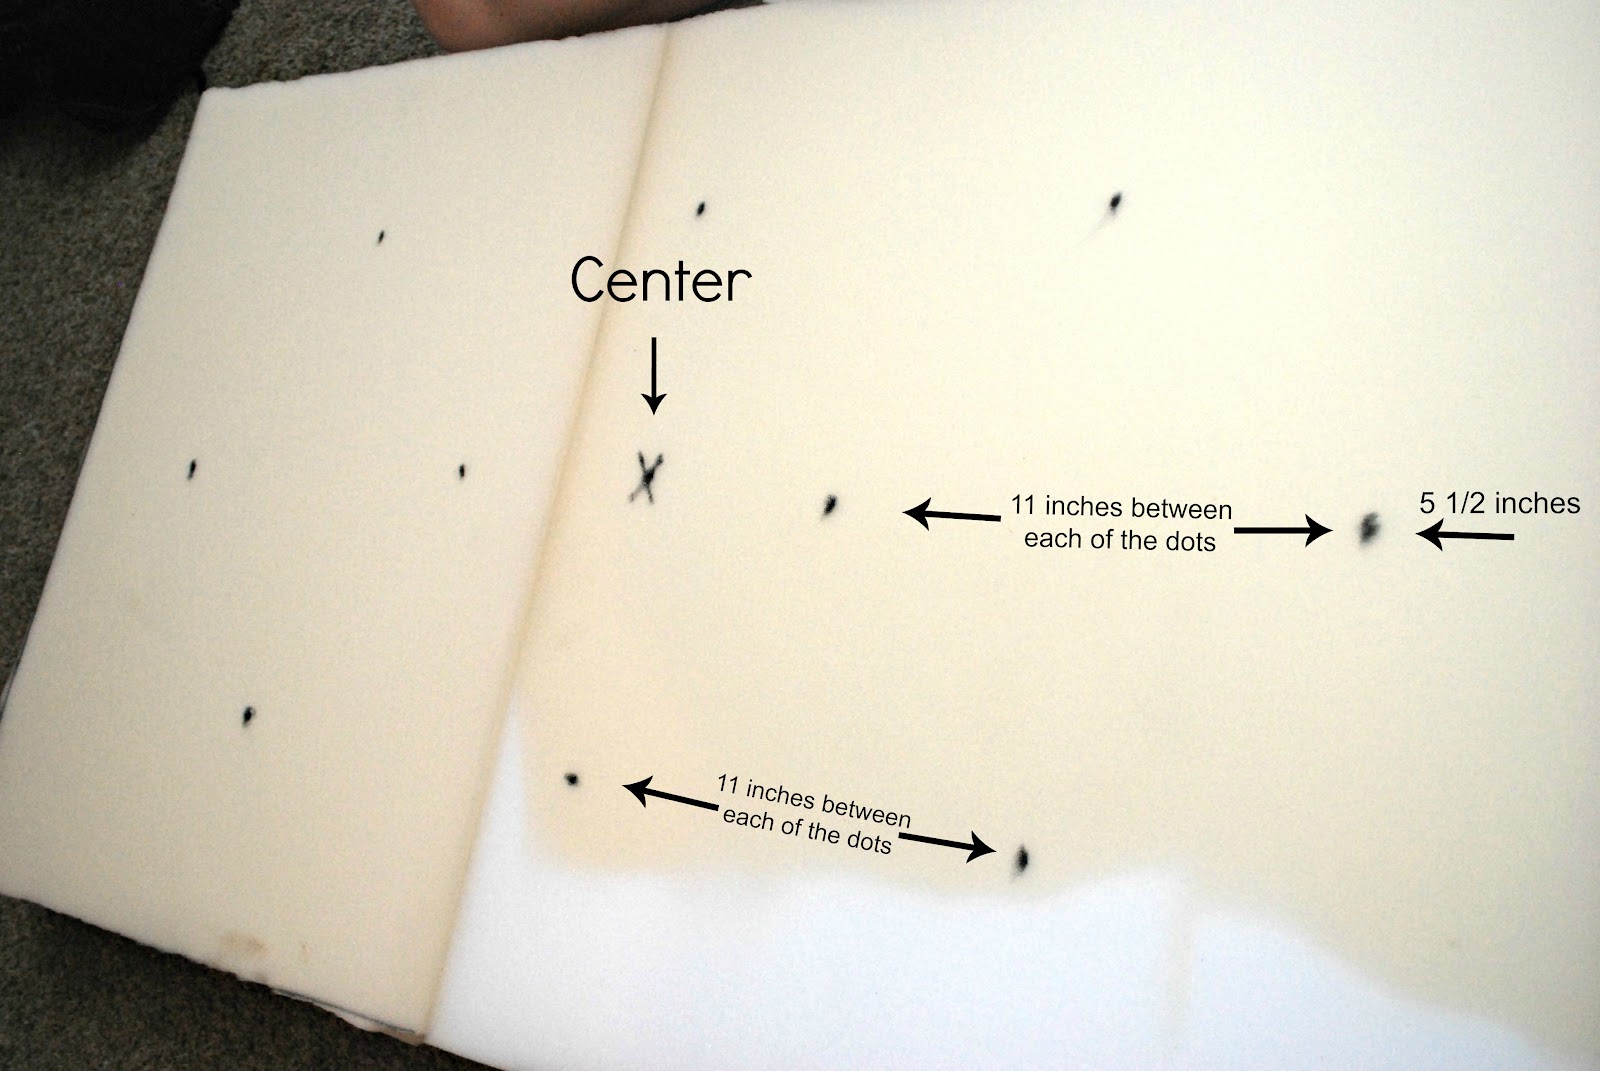
We put the batting on top of the foam and started to rip holes in the foam and batting. After the holes were made we used a marker and marked where each tuft would be onto the board,
Then removed the foam and drilled holes in the board. After the holes were made we used spray glue to add the foam to the board.

After covering all the buttons the fun begun.
For more step by step on this part check out our Tufted Headboard Tutorial.

Here is the finished product. Jade went to Lowes and got 4 legs that were around $5 each, they were too tall at first so they had to be cut down. She spray painted them white, and used some hardware that allowed her to screw in onto the wood and then the legs just screwed on. The hardware was only like $1.50 each, and very easy to put on.
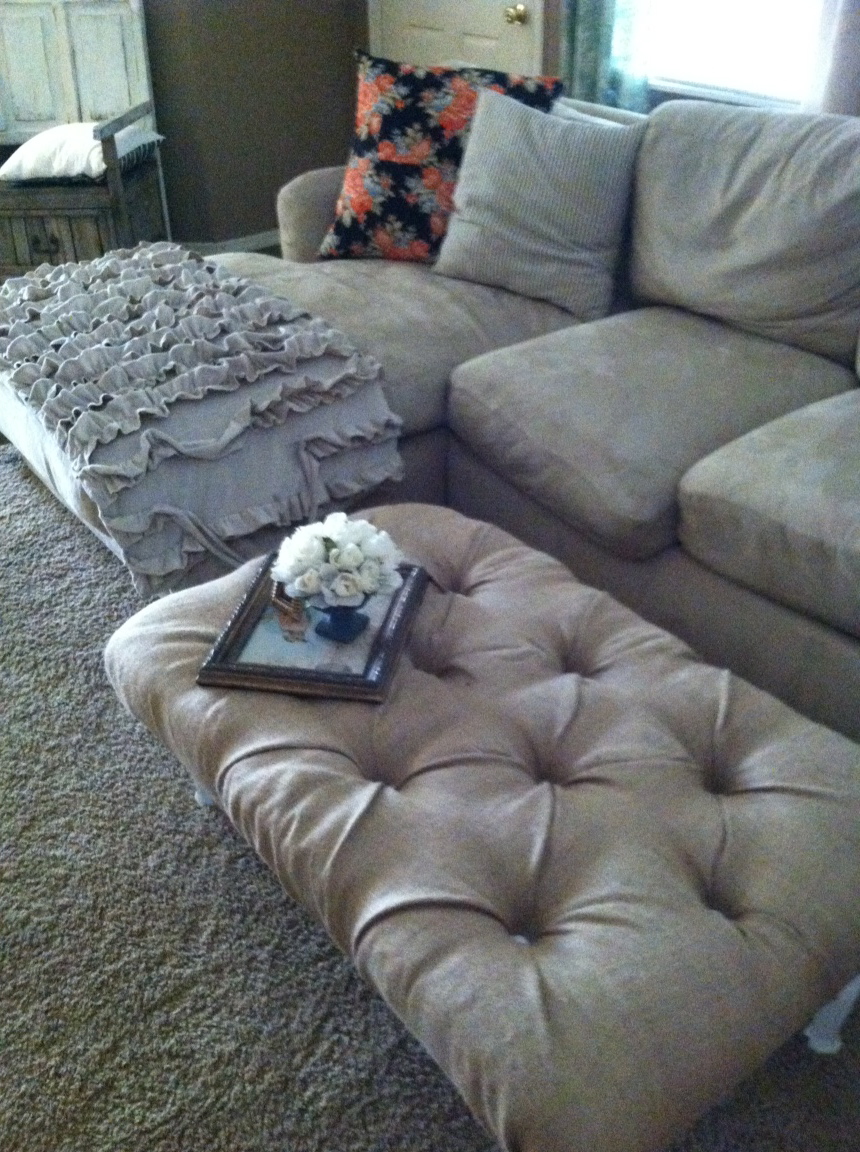
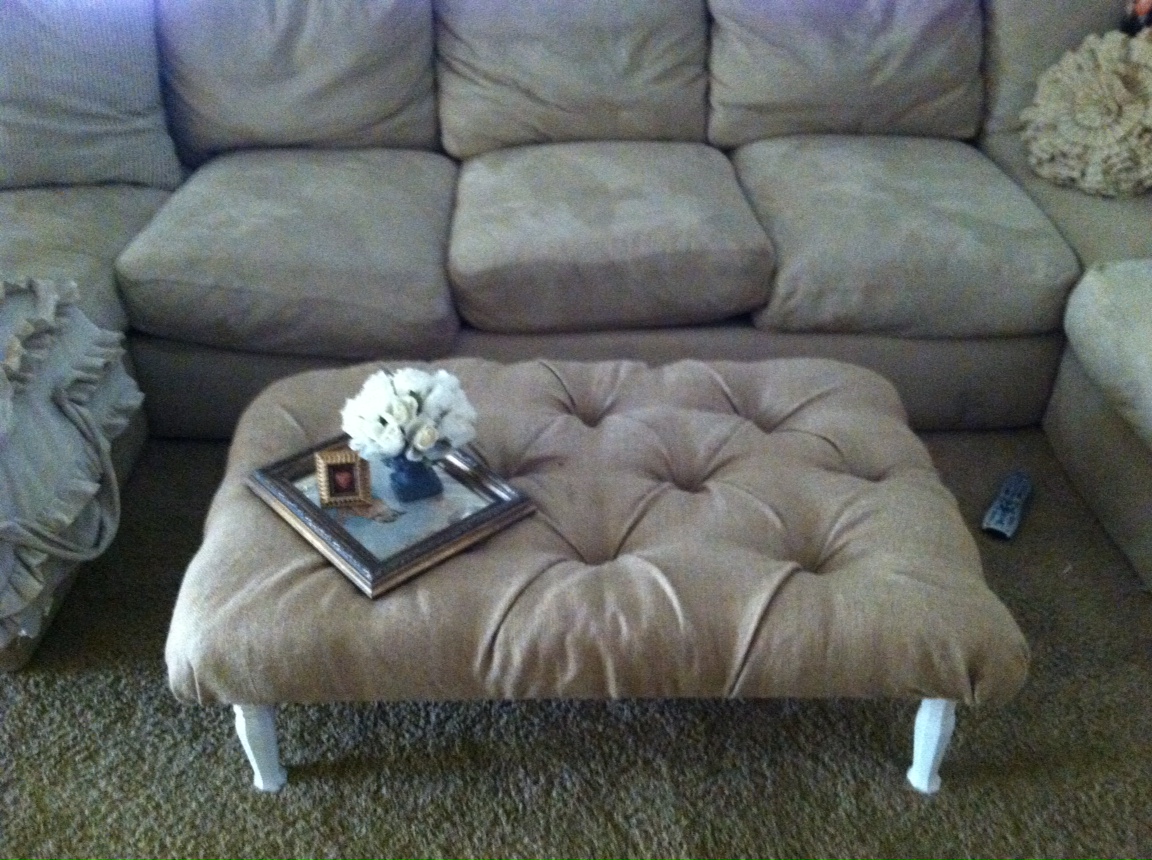
I am Obsessed with how great this little table turned out!
What do you think?


An error has occurred. Please try again later.