Bob's Bloggers
A community of bloggers who live and die to DIY
diy, decor
Easy DIY Frame Hanging: No Nails or Tape Measure Required
By House*Tweaking on Mar 01, 2013
A cinder block wall in the mudroom and sleeping munchkins in their beds forced us to give 3M Command hanging strips a try. I’m not gonna lie. I was leery. But it’s been nearly two months since we hung our original gallery wall and nothing has come crashing down. Consider me a nail-to-adhesive-strip convert. Today I’m sharing how I use the strips to hang frames.
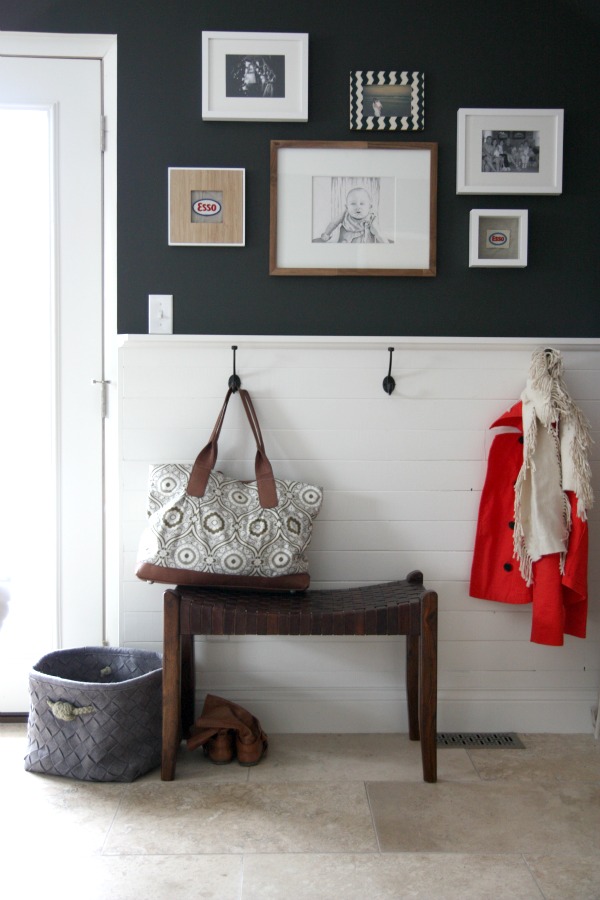
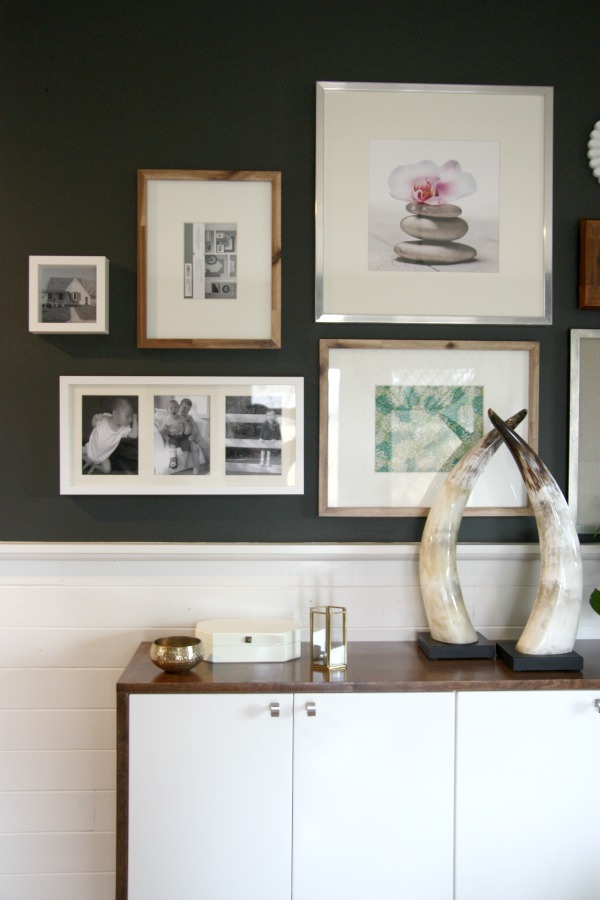
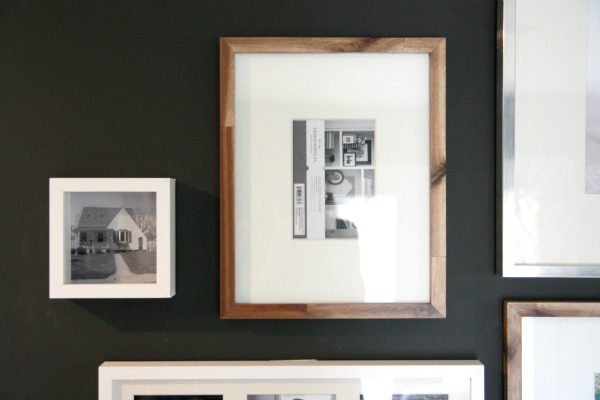
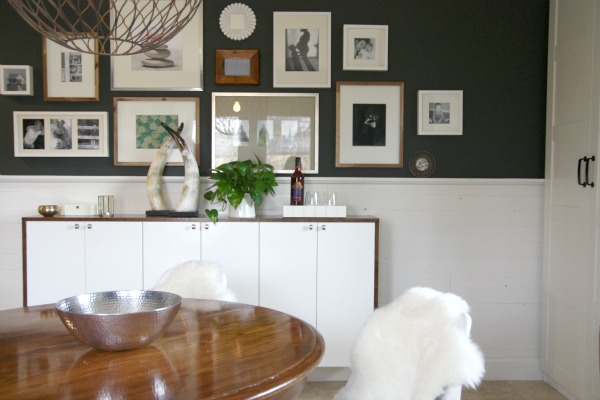
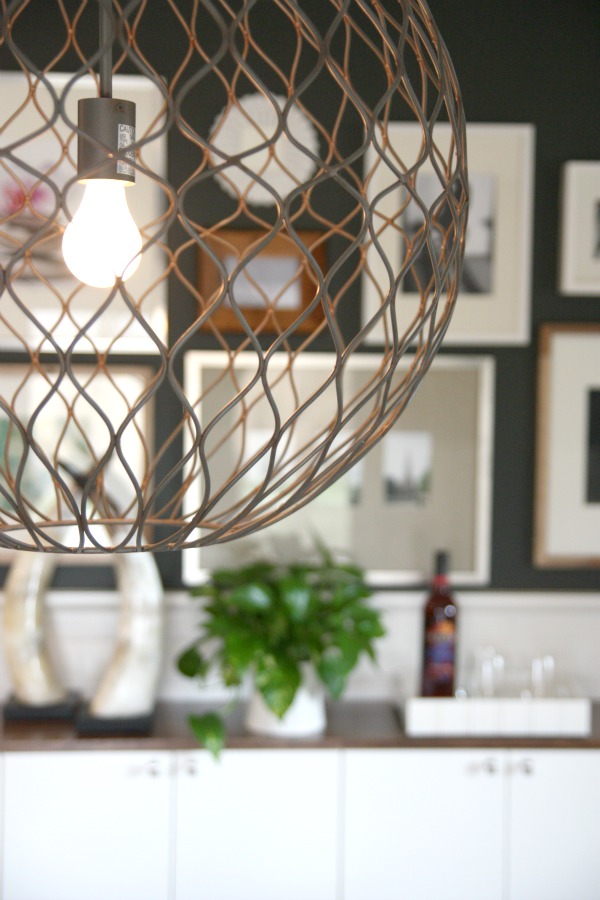
The mini gallery wall that I created above is actually on drywall—not cinder block—and I could have used nails in the wall. But I am so smitten with the adhesive strips that I decided to use them here too. I like that they don’t put holes in the walls {since I tend to tweak things around for a bit until I settle on a more permanent arrangement}, require NO measuring {hallelujah} and can be easily removed {great for renters or dorm residents}.
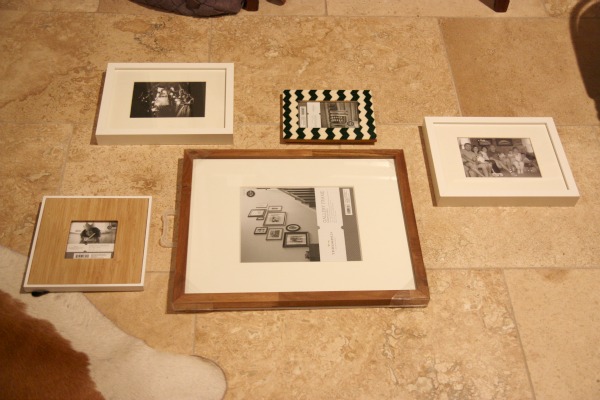
To start a gallery wall, I play around with an arrangement on the floor in front of the wall until I get the look I’m after. I like asymmetrical but balanced. I glance at the floor arrangement then at the wall, back and forth, picturing the arrangement on the wall while HH worries that his wife has gone mad staring at frames on the floor and a blank wall. Once I’m happy with the layout, I take a picture with my phone or camera for reference. {see above} This helps when it comes to eyeballing placement on the wall without measuring a single thing. I choose one frame near the center of the arrangement to hang first. {I hung the large wood frame in this layout first.} Then I reference my picture for hanging all the other frames around the first. Hanging stuff on the walls doesn’t have to be an exact science. In the end, I added one more frame to this layout after I hung my original layout on the wall.

For the adhesive strips, I wipe the areas of my frame and wall where the strips will touch with rubbing alcohol. This assures a clean surface to adhere the strips to. On most frames, I use three pairs of strips. On larger, heavier frames I use four pairs of strips. The label does recommend against using 3M strips above beds and for very heavy items or antique items that you don’t want to fall. I say use common sense.

I take two strips and sandwich them together adhesive sides out. {You should hear a nice crunching sound which tells you that the strips are catching one another.} I remove the adhesive backing from one strip and adhere it to my frame making sure I line it up with the edge of the frame so that there’s no hangover that might peek out from behind the frame on the wall.
I repeat until I have all my strips on my frame. On narrower frames, an overlap can make changing out the frame’s contents difficult but not impossible. The strips could be cut in half lengthwise but I am lazy.

Then I remove the adhesive backing from the wall strips and press my frame to the wall, applying constant pressure for 30 seconds.
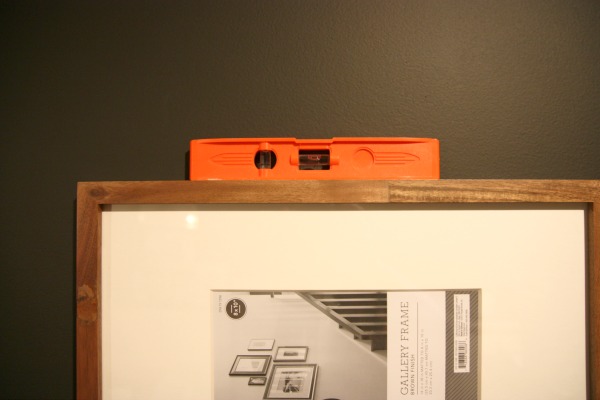
When I’m hanging a completely new arrangement, I’ll use a little level on top of the frame before I press it to the wall. Otherwise, if I’m adding to an existing arrangement, I visually level the frame by lining it up with other frames already on the wall. If you aren’t confident in your eyeball-leveling abilities, then by all means, use a level every time.
Here’s where I would like to point out that once you apply pressure to the frame, it ain’t movin’. Be sure the frame is where you want it before you push. The 3M label says to remove the picture frame from the wall once the wall strips are placed and allow them to fully “set” for one hour. I never do this. I just leave the frame on the wall. I’m such a rebel. But you should do what the label says – even though I’ve never had a problem skipping this step.
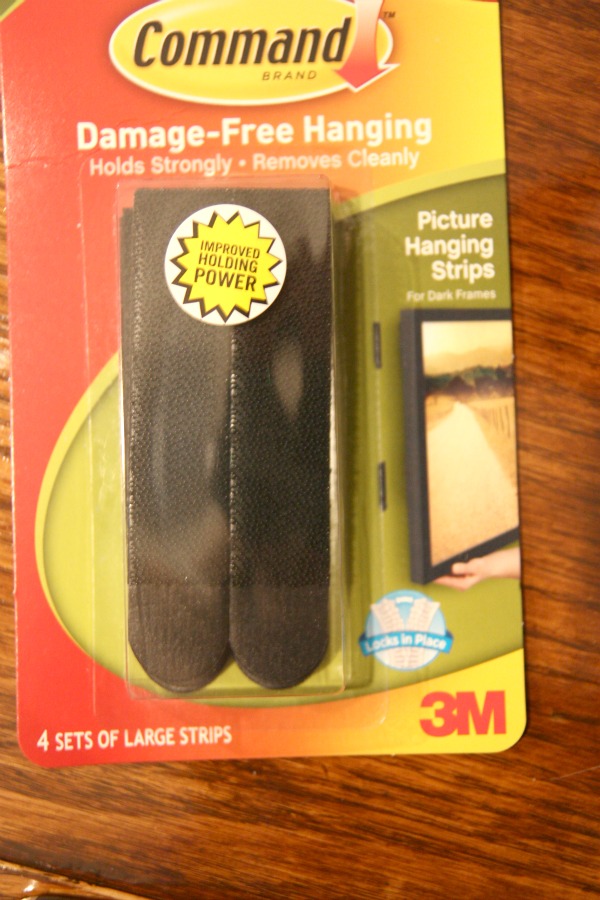
Something else I discovered this week…the strips come in white or black. Since our newly moody walls are nearly black, I bought all black strips for the mini gallery and to tweak the existing gallery above the fauxdenza.
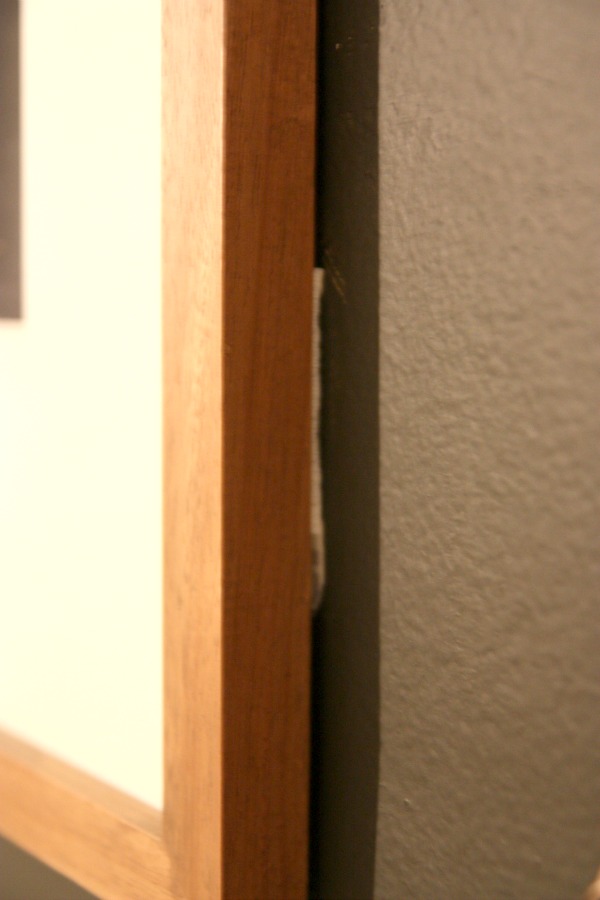
Using the white strips on dark paint isn’t the end of the world but when you look at the frames from the side, you can see the white strips more readily than the black ones. Use white strips for light walls and black strips for dark walls for a seamless look.
And that’s it!! No nails. No tape measure. No problem.
I will say, from my short-lived experience with the adhesive strips so far, I would not recommend using the strips on uneven, rough or bumpy walls. The strips need a really good flat surface to adhere to. The same goes for your picture frames.
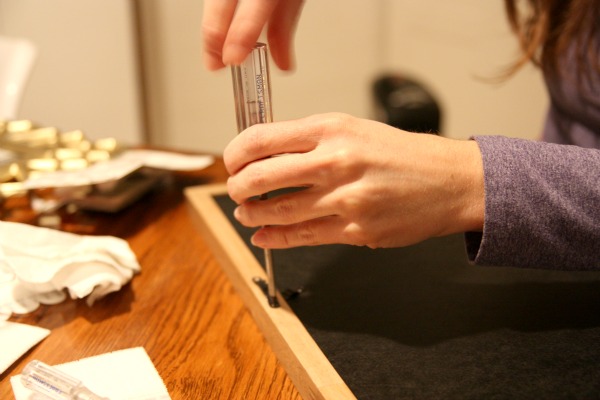
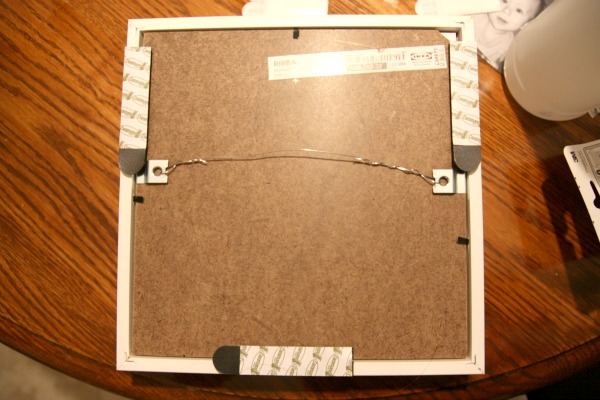
I remove all picture hangers from the backs of the frames when I’m working with adhesive strips. This gives me a nice smooth frame surface. And don’t think table frames are out of the question. They can totally work!
I bought this table frame wanting to use it as a wall frame.
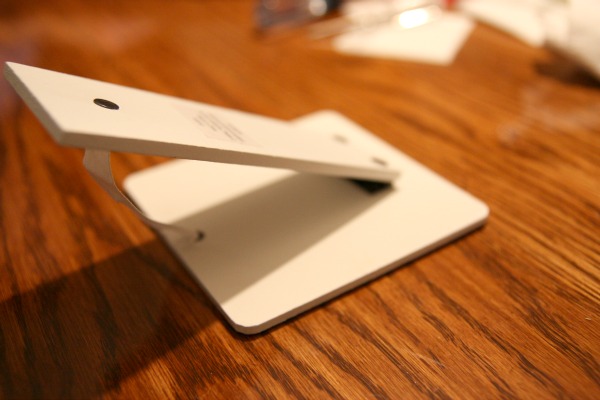
So I removed the table prop insert from the back so the frame would mount flush against the wall.
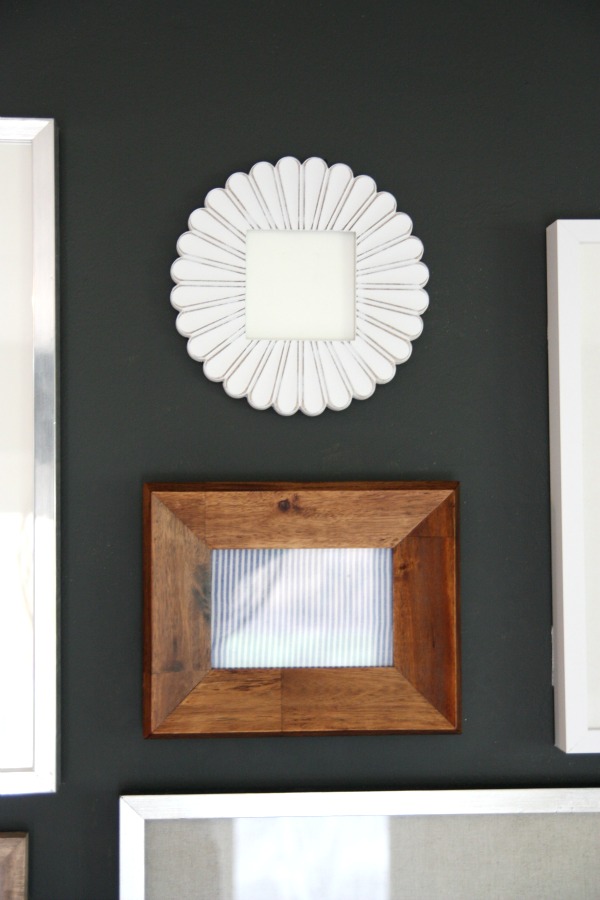
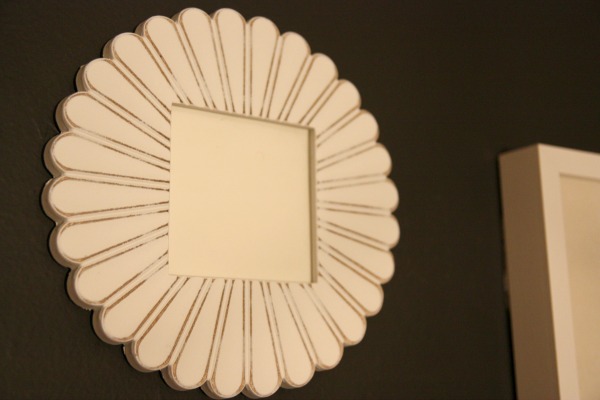
I’ll use tape to secure a picture in the frame. So feel free to get creative with your picture hanging! Don’t think you only have to use wall frames. In fact, the wood frame under the white fan frame was once a table frame too. Which brings me to this…
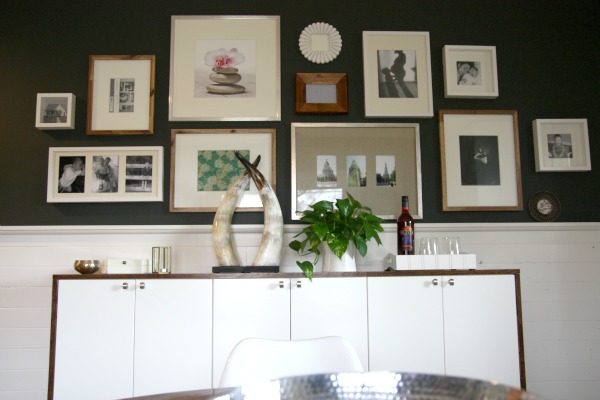
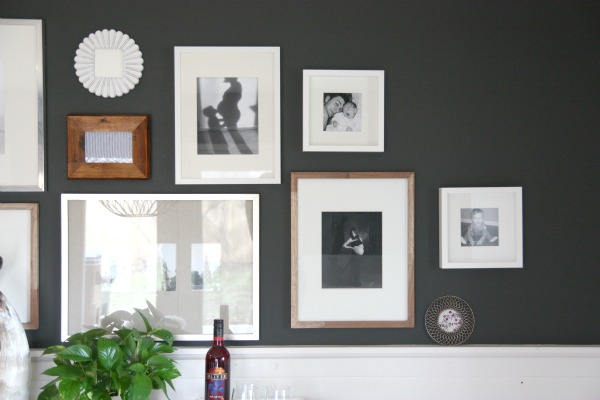
I tweaked the gallery wall above the fauxdenza. Some of the frames are empty but I wanted to share my progress in real time. Stuff happens so slowly and gradually here.
I removed the canvas art and two frames from the left side of the layout. They felt off. In their place, I hung a few more IKEA RIBBA frames and one more of those distressed wood frames from Target that I can’t get enough of.
Seriously, guys. These are my new favorite frames…and this post is not sponsored whatsoever. I bought several of these frames back in January for the photo shoot and I’ve since added two more to the mudroom.
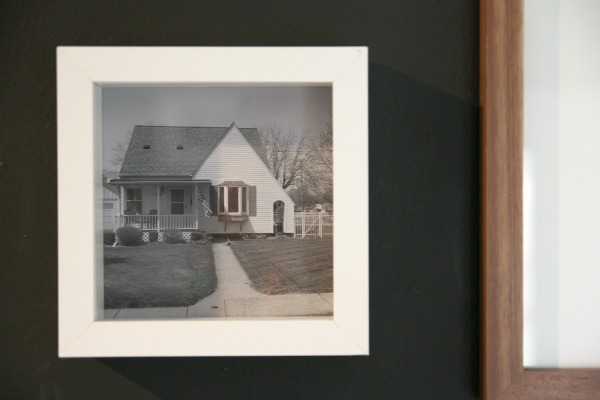
There’s a picture of our very first house in Illinois. Lots of memories {and DIY!} in that house. We brought Layne home from the hospital to that house.
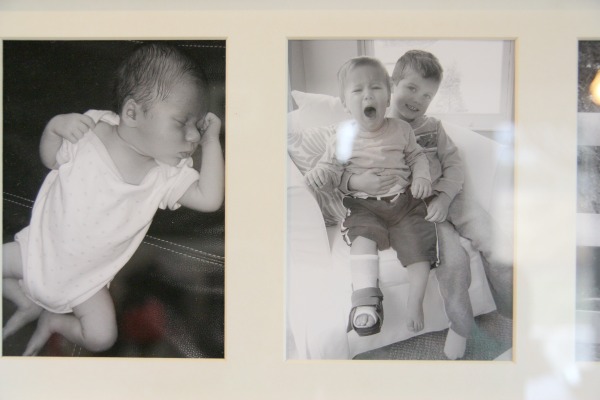
I have to show you a closeup of this one. On the left is Everett as a newborn. I took the picture on the right after Everett had his leg casted. Yes, he broke his leg when he was 16 months old. He’s that kid. If you’re thinking Layne looks happy about it, you would be correct.
On the opposite side of the gallery wall I switched out a few frames for the two table frames I mentioned already and added another square RIBBA on the far right.
Things are feeling more balanced with these tweaks. And now a bunch of pictures of pictures to take you into the weekend.
Everett asked me, “Mom, why are you taking pictures of pictures?”
Because your mom is crazy, Everett. Cray-cray mommy. That’s why.

Happy weekend!
FYI – If you’ve ever wondered how downsizing and moving with kids goes... here’s a little interview all about our experience.
images: Dana Miller for House*Tweaking
blog comments powered by Disqus