Bob's Bloggers
A community of bloggers who live and die to DIY
diy, walls, electrical
Hiding Flat Screen TV Cables
By Our Home from Scratch on Jul 31, 2012
So on Monday we shared our experience mounting a flat screen TV to a wall. Today, we’re going to show you how to hide the TV’s cables to get a totally sleek look. This is the second TV we’ve done this procedure to at Mike and Dana’s house and this version seemed to work better than the first, which used a slightly different product. In my opinion, this modification isn’t very difficult to do and can probably be done by anyone with a little bit of DIY experience.
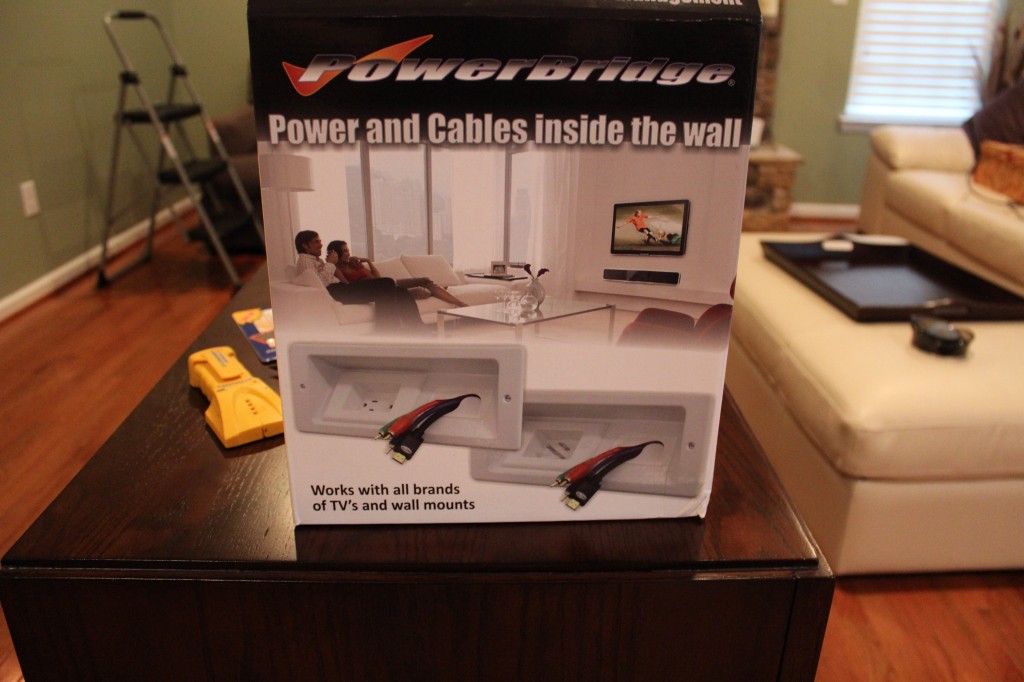
We last left off with the TV hanging on the wall to test the bracket out. It had to come down in order to hide the wires. To hide these cables, Mike bought a Powerbridge from Best Buy. This device consists of two plastic boxes that get inserted into the wall. One will be located behind the TV and the other will go behind the TV stand. Between the two, the wires will be run in the wall for the power and whatever audio or visual cables are required.
In order to install these two Powerbridge boxes so you don’t see them, we need to make sure we’re putting it behind the footprint of the TV. Before we took the TV off the wall, we marked the perimeter of the TV with a couple of post-it notes. The boxes will need to stay within that area AND since the Powerbridge box is fairly large, it will need to sit roughly in the middle of the area between two wall studs.
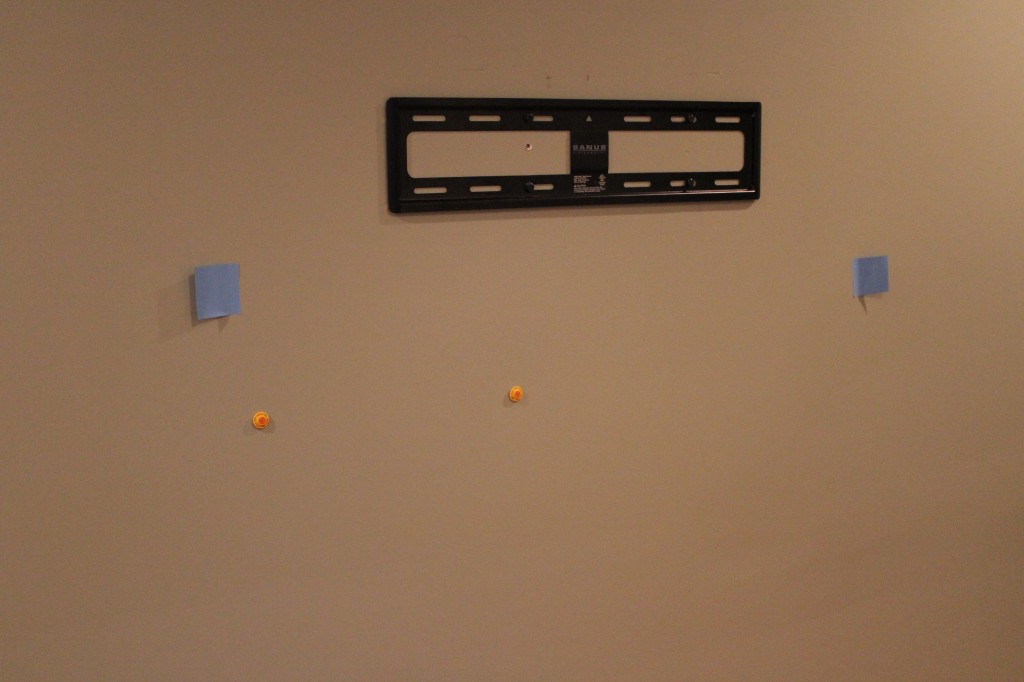 We used those magnetic wall stud locators we discussed in our last post and then marked our wall with the wall template that was provided with the Powerbridge. We needed to mark the wall for both the top box and the bottom. The bottom was pretty much directly below the top box and low enough to be out of view behind the TV stand.
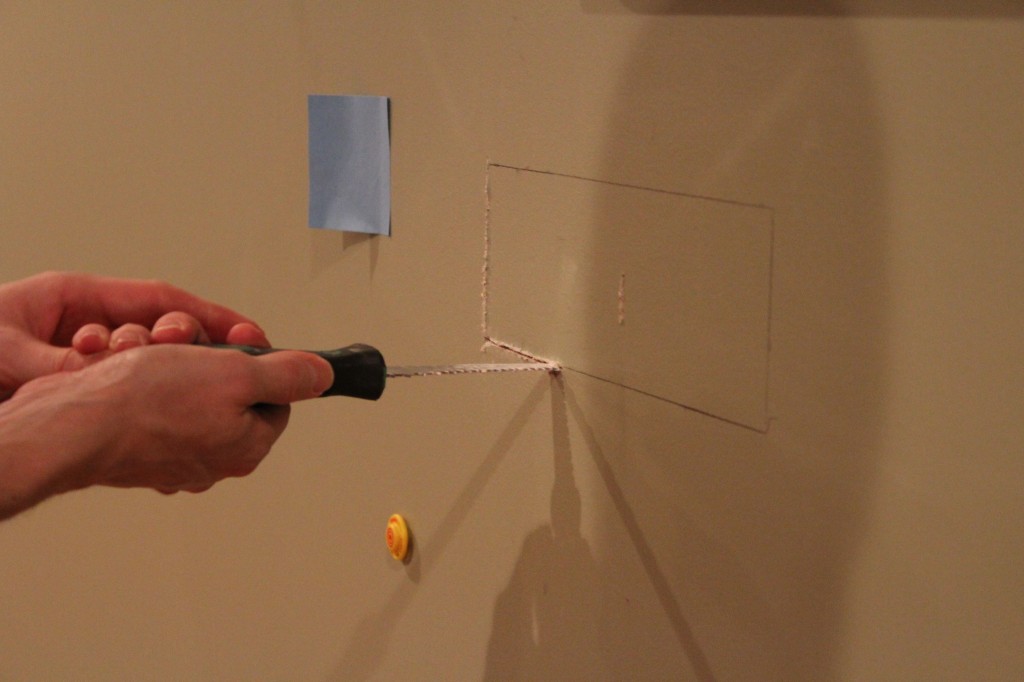
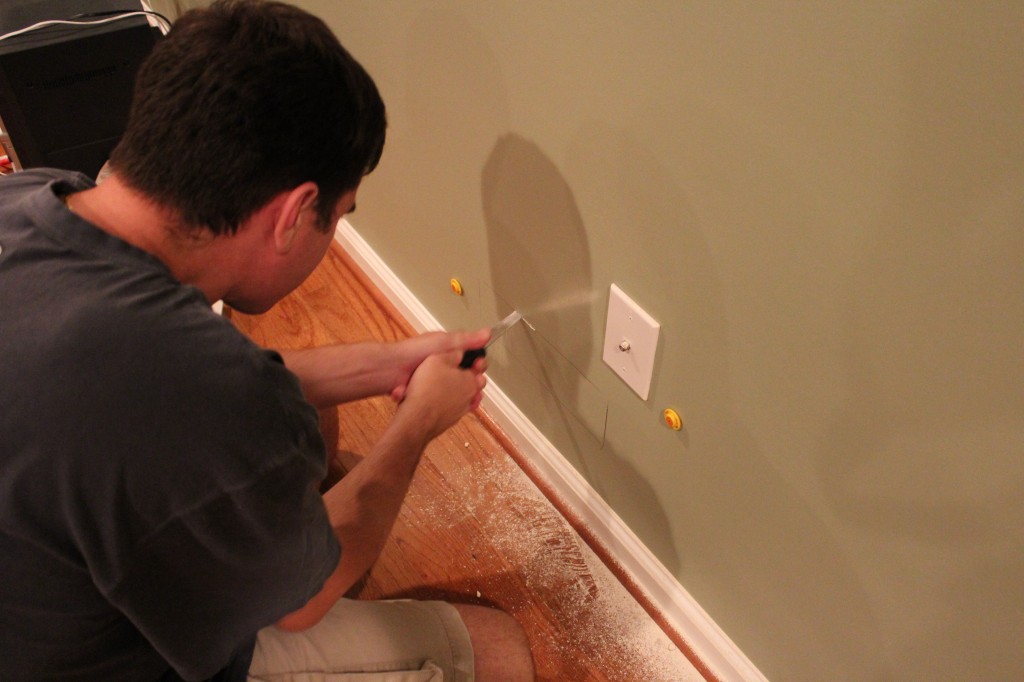
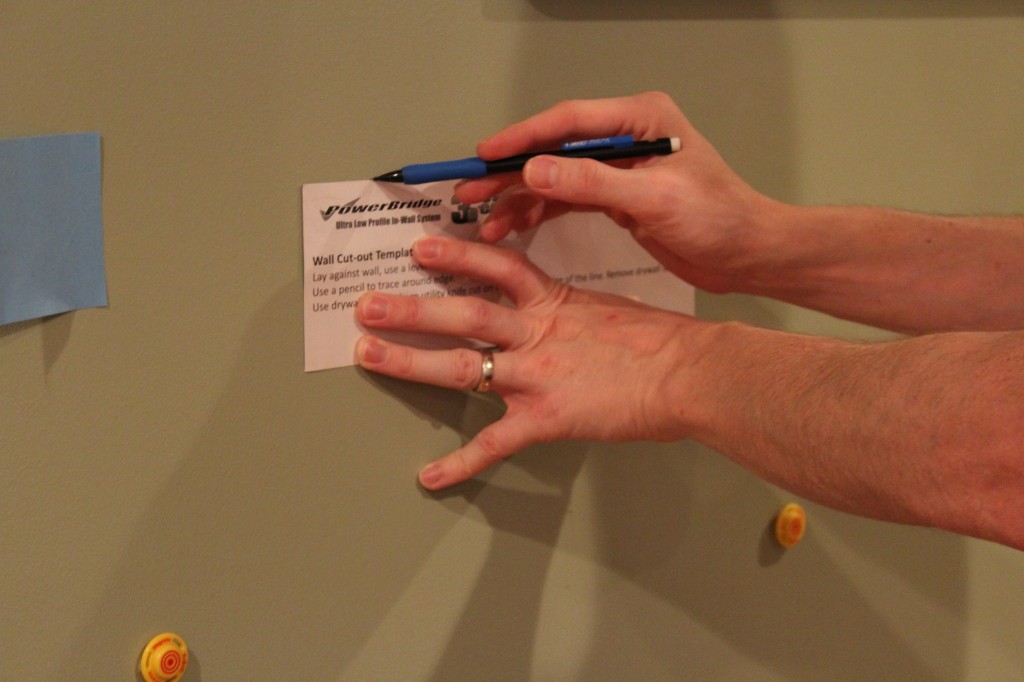 With the templates marked, Mike used a drywall saw to cut the openings for the boxes. You need to be careful whenever cutting into a wall so you don’t actually cut into a gas line or a power cable.
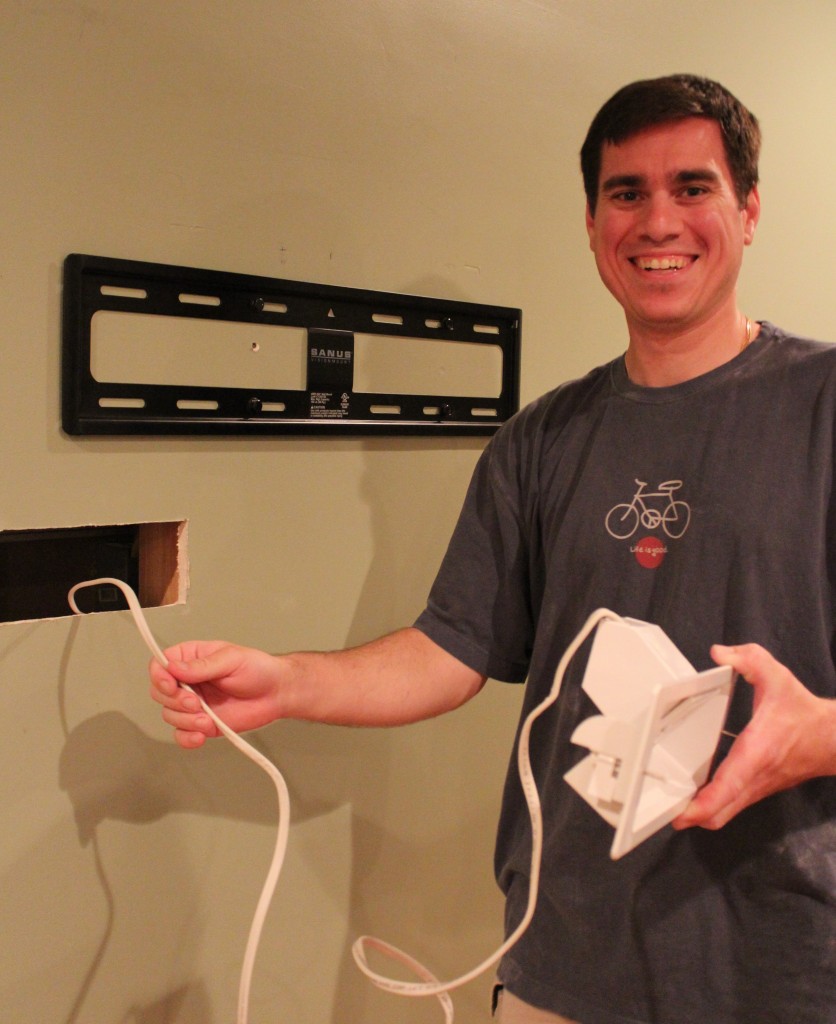
 After the holes were cut, Mike inserted the top Powerbridge cable and fished it through the wall. This was apparently an exciting moment for him. The boxes stay in place by pop out wings that are tightened with screws. Very simple. Before we connected the bottom box, Mike pulled through a couple HDMI cables.
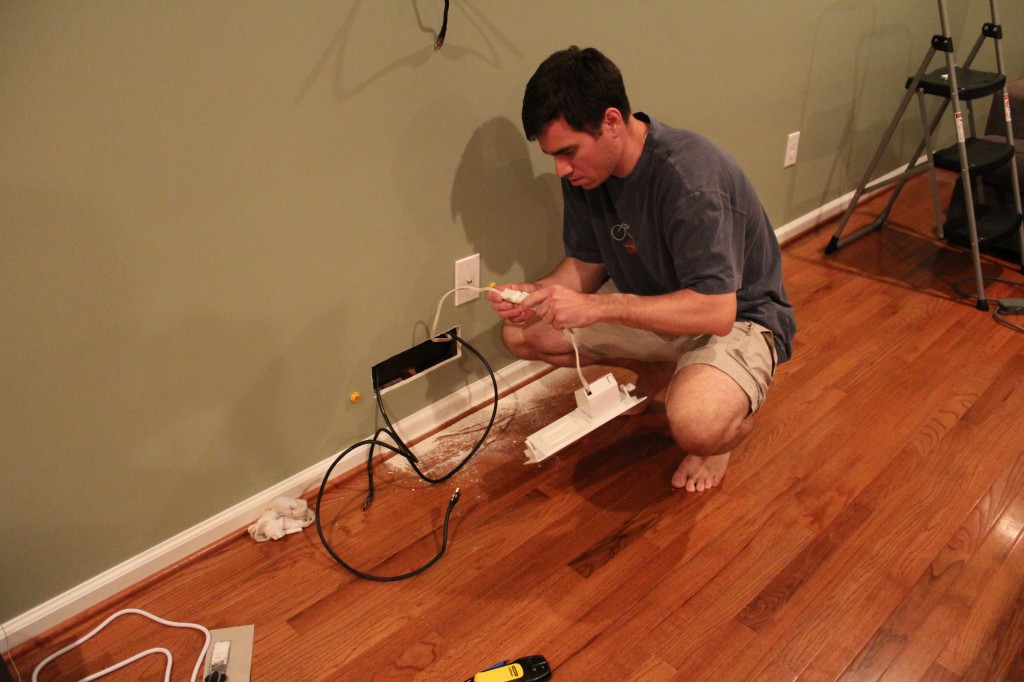
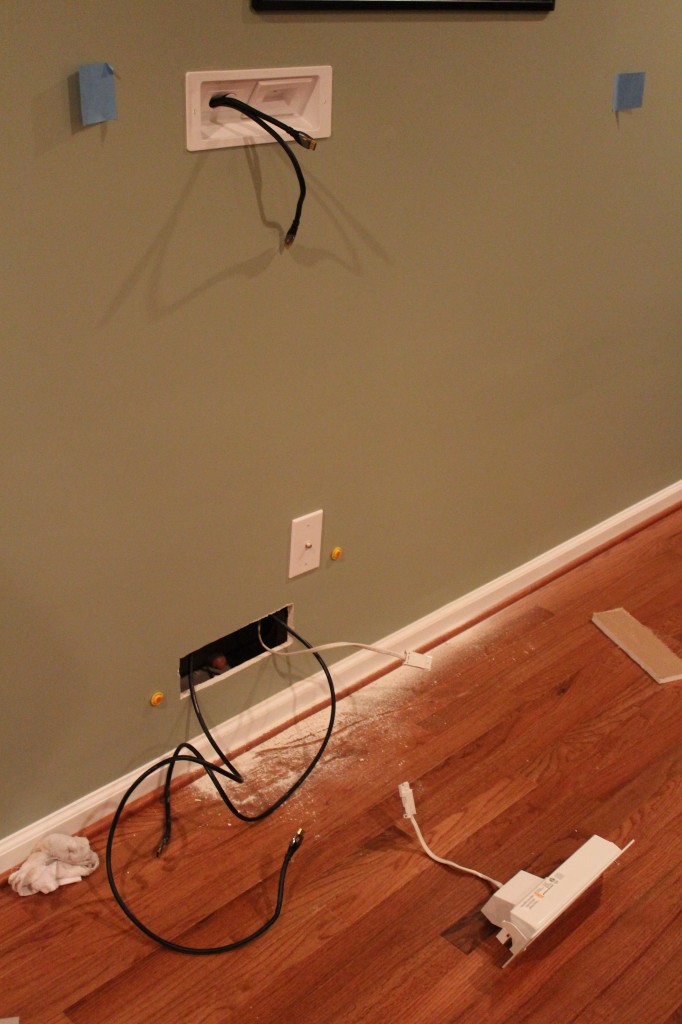 The power cable that comes with the Powerbridge is connected with a unique click together fastener. We actually needed to fix it before we made that connection as one of the wires was visibly detached, but that wasn’t very hard. After you snap the connector together, the cable slack gets stuffed into the wall and the bottom plate gets tightened to the drywall.
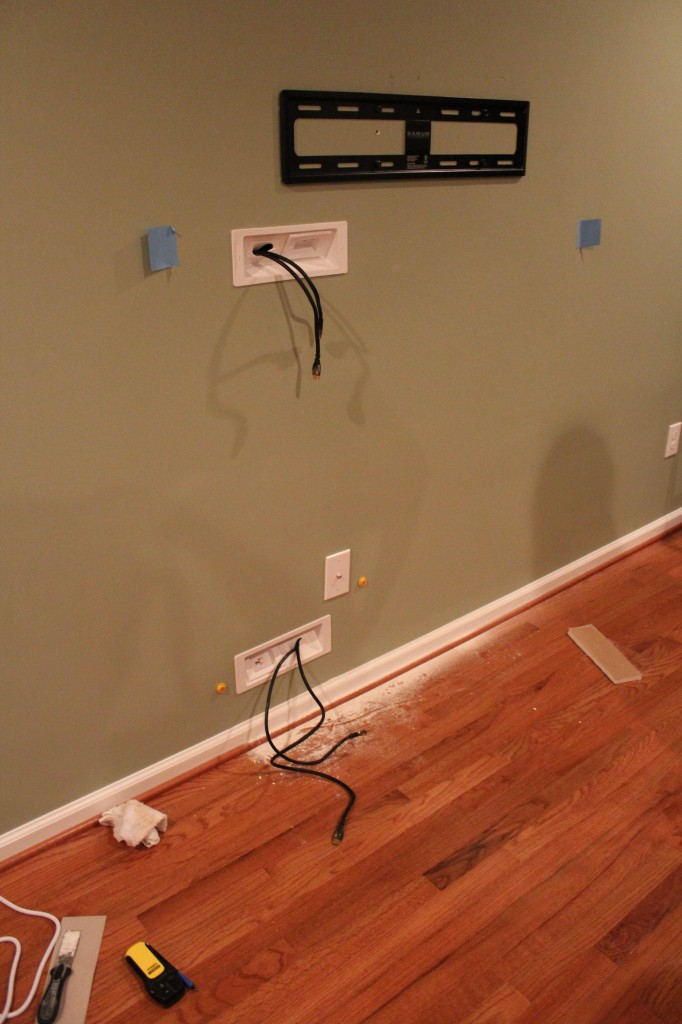 The photo above shows it all completed. The Powerbridge comes with an additional cable to plug into a nearby outlet that gets run to the bottom box.
 All told, it took a little over an hour to get this project done. Mike and Dana really like the new look and Lisa and I are considering it for our family room at some point.
Any upgrades coming to your TV? Cut any holes in your walls lately?
blog comments powered by Disqus
