Bob's Bloggers
A community of bloggers who live and die to DIY
how to, furniture
How To: Install Drawer Slides
By Designs by Studio C on Jul 17, 2012
When I first started woodworking, I found drawer slides to be very intimidating! I could not figure out how to get the hardware on the cabinet side to line up perfectly with the hardware on the drawers! I’ve always thought that I measured correctly but apparently not. The drawers were always crooked and did not close properly. I definitely attribute that to user error!
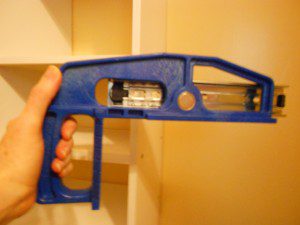
Upon further research, I discovered the Kreg drawer slide jig. It is magnetic and accommodates a wide variety of drawer slide types. It holds the cabinet-side hardware in place and has a guide which keeps the slide perpendicular to the front of the cabinet allowing you to screw the slides in place. Even more cool, I can locate the drawer slides back from the front edge for inset drawer fronts! Awesome, huh? It certainly makes drawer slide installation a whole lot easier and it doesn’t cost a fortune which makes this a worthwhile investment!
Today, I’m going to show you how easy it is to use to install drawer slides with a drawer slide jig…
Materials:
- Drawer slide jig
- Drawer slides
- Drill
- Screws for the slides
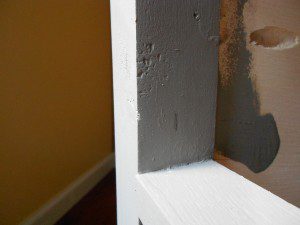
The cabinet should be assembled to the point of installing the drawer slides. If the drawer fronts are inset (flush with the face of the cabinet), the slides will need to be located 3/4” from the front edge. If the drawer fronts lay over the outside of the cabinet, the slides will be located flush with the front edge of the cabinet.
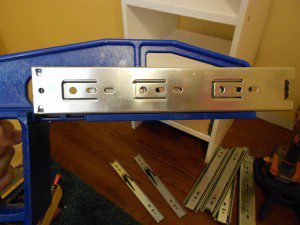
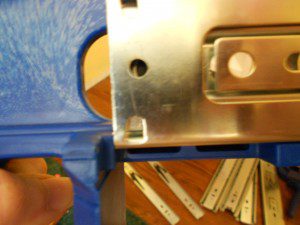
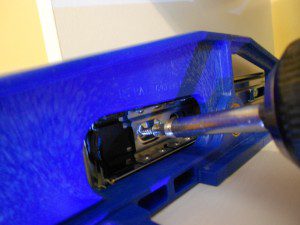
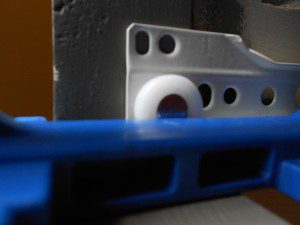
Attach the drawer slide to the magnet. There will be a lip on the slide jig to align it with the front edge of the cabinet.
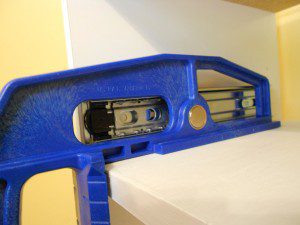
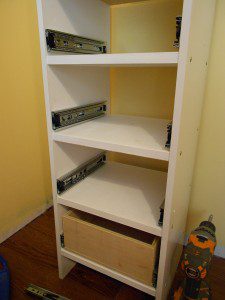
For this example, I am using ball-bearing slides and there is a shelf where each drawer will be placed. The bottom of the jig will rest on the shelf and the front part of the jig (in front of the handle) will rest on the front of the cabinet.
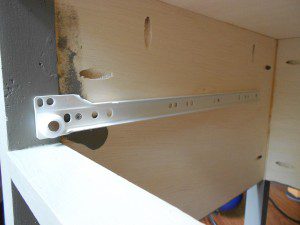
Once the jig is in position, drive the screws into the holes provided on the slide.
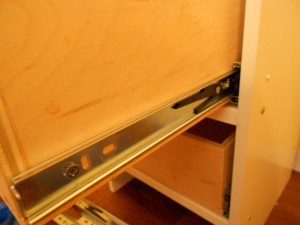
Remove the jig and attach the drawer hardware to the drawer. The hardware can also be removed if it makes it easier to attach the hardware.
This method also works for the roller slides as shown in the next example.
For inset drawers, you will need to mark the inside of the cabinet where the slides will be located. For this example, the drawer fronts are inset, so I made a mark 3/4” in from the front edge.
Attach the cabinet-side hardware to the jig. Position the jig and slide so they line up with the marks, and drive the screws. Repeat for all cabinet-side slides.
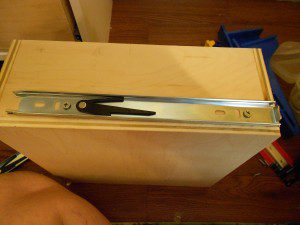
Attach the drawer-side hardware to the bottom of the drawer and make any necessary adjustments.
Hope this helps take some of the frustration out of using drawer slides! Have any questions? Let me know!
Until next time,
Happy Creating!
(I am not affiliated with Kreg in any way – just a big fan!)
blog comments powered by Disqus