Bob's Bloggers
A community of bloggers who live and die to DIY
diy, lighting, paint
How To: Paint Brass Light Fixtures
By Taradara Made It on Nov 25, 2013
... without breaking the bank!
So, we've lived in this house for over a year and every.single.day I wake up and go in to my bathroom, I think to myself, "I really need to do something with that light." I hate it, hate it, hate it!!!

It was the style I guess when the house was built in the early 90's.
So, not having a lot of expendable cash on hand, I knew I needed to paint them.
And plus, being able to up-cycle makes me feel good knowing I'm doing my part to keep this stuff out of the landfills.
For those that know me, SURPRISE!! ME, PAINT SOMETHING, NOOOOOO!!!!
Well, here's eye sore before {hope I'm hurting anyone's feelings, but brass is not my style}:
What I did to them:
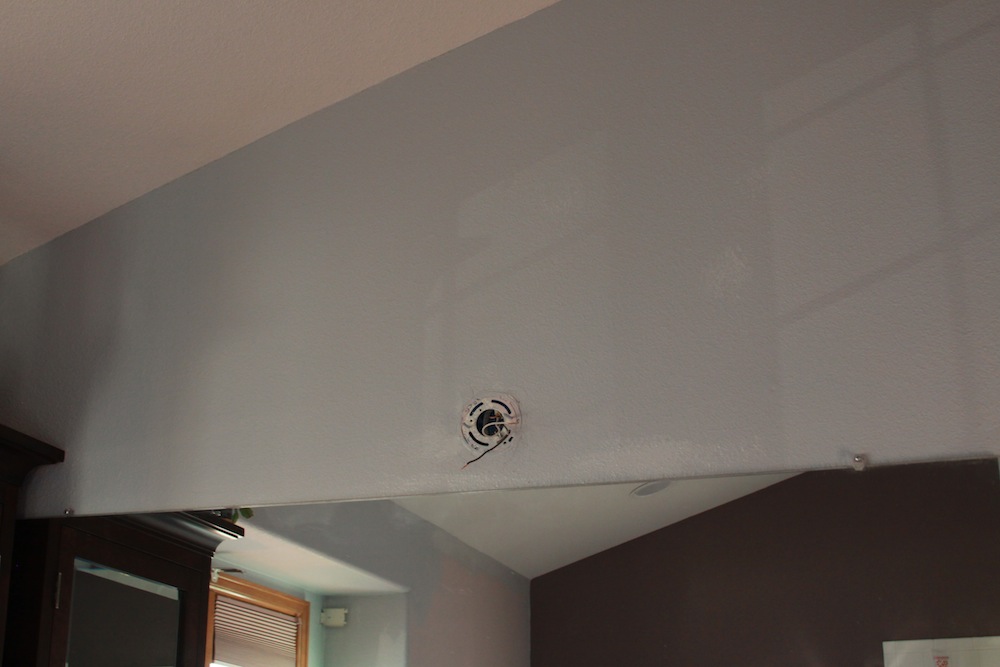
I, of course, turned off the power to the bathroom and my husband removed it from the wall.
Apparently the maid forgot to dust in areas above her 5'4" reach {maid=moi}
So, I cleaned it with a cleaner I had on hand
What a difference with a little wipe down ... now, the glare is really killing me!!!
I taped up the light bulb thing-a-mabobs so no paint would get in there. Doesn't have to be perfect {you don't see them anyway, really}
Then I spray painted the sucker. Making sure to spray evenly to ensure minimal drip factor.
I just used a Flat Brown spray paint, no need for a heat resistant paint as it doesn't get hot and it's not directly exposed to enough heat to do anything.
I let it dry for a bit and brought it inside for some 'artistic embellishment'.
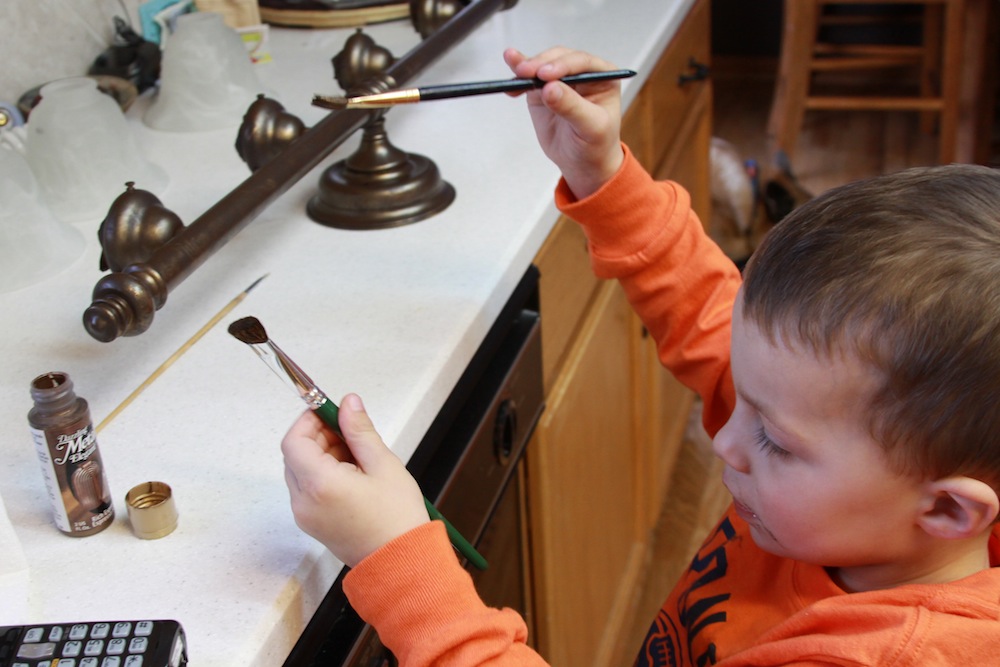
Here's what you do. I wanted a random look to it so I 'dry brushed' the metallic paint on it. So, you dip your brush in the paint and paint a few strokes on to a paper towel just to get that initial 'glob' of paint off.
Don't be freaked out when you see your paint brush look like this, this is what you want actually...
Then, just go ahead and paint randomly all over the fixture.
It's so easy that a 3 year old can do it...
This is the end result:
Now, to the bathroom:
I've been painting the bathroom and took the opportunity to finish the painting while the fixture was down.
So nice to have that pink out there!
TADA!!!
Here are some close ups...
You can see how the roughed up brush creates the details
Random strokes
Don't plan every brush stroke :)
I also went ahead and did the boys' bathroom fixture while I was at it:
BEFORE:
AFTER:
LOL! Don't you love the random light bulbs! I've been replacing the old light bulbs when they burn out with the Energy Saver Light Bulbs....
So, there you have it. It took me about an hour from start to finish per light fixture. Including cleaning it, spraying it, drying it, and painting with the metallic paint.
Totally NOT hard to do and what a DIFFERENCE it makes to a room!
Just think, if you have chrome/brushed nickel as a theme in your home, you can spray paint any ugly brass fixtures the same to go along with the rest of the house.
The best part is that it doesn't cost much at all and you can have it done in less than a hour!
note:: I would normally prime the piece to ensure extra adherence, however, I figured that since it won't be touched at all so there wouldn't be any risk to having the paint come off {and plus, I didn't have any in my paint stash ... LOL}
NOW GO PAINT!
xo Tara
blog comments powered by Disqus


