Bob's Bloggers
A community of bloggers who live and die to DIY
lighting, how to, diy
How To: Make a Lamp from a Wine Bottle
By Designs by Studio C on May 24, 2012
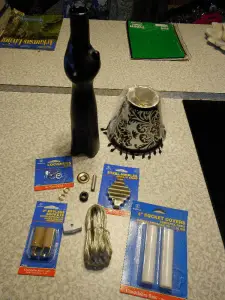
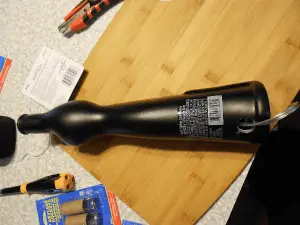
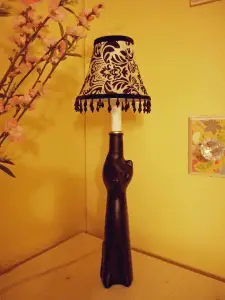
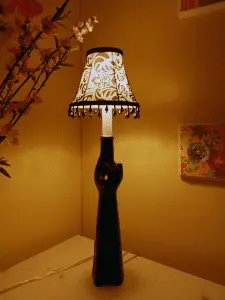
This is not the typical 70s wine bottle lamp… There are tons of awesome liquor bottles out there, not that I’m in the habit of hanging out at the liquor store (really, I’m not), but the few times I’ve been, I’ve been amazed at the different styles, shapes, and colors. This particular wine bottle is shaped like a cat. In case you wanted to know, the wine was a Riesling ( a sweet, dessert-type wine) from Germany.
Tools and Materials:
- 1” diamond drill bit
- Drill
- Phillips screwdriver
- Box cutter
- 1 – Lamp Cord
- 1 – Inline Switch
- 3 – Lock Nuts
- 1 -Steel Nipple
- 1 – Socket Cover
- 1 – Candelabra base Keyless Socket
- 2 – 3/4” O.D. Rubber Grommets
- 1 – Decorative Washer
- Wine Bottle
- Shade of your choice
Let’s get started!
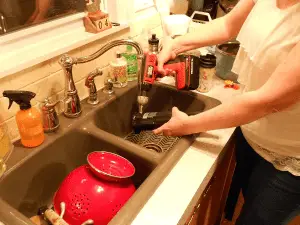
Let me start off by saying that the diamond bit is expensive but it is well worth the money to be able to cut holes in glass, tile, vases, etc. Used properly, it will last almost forever! Using this bit makes it very easy to cut holes in the bottles. It needs to have a constant water source in order to keep the bit and the glass from getting too hot. While I cut the holes, I had a steady stream of water running from the faucet. Use caution when doing this!
Cut a hole in the back of the bottle for the lamp cord.
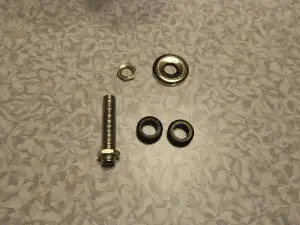
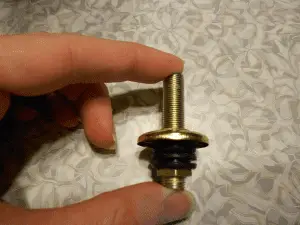
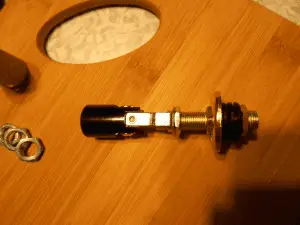
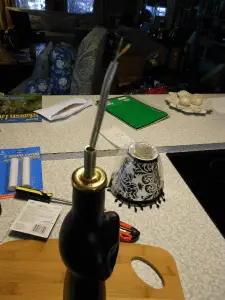
Use the steel nipple, two lock nuts, the two rubber grommets, and the decorative washer to create an assembly for the socket. The rubber grommets will fit into the bottle opening almost like a cork. Add the remaining lock nut at the top of the nipple(about 3/4″ down) and screw on the socket. This lock nut will keep the socket from being wobbly or loosening. Set this assembly to the side for now.
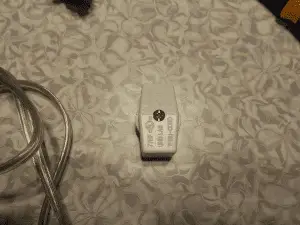
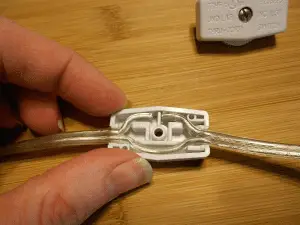
Add the inline switch to the cord. Lamp cords are always really long, which is great so you can relocate the lamp basically anywhere. The switch should be located relatively close to the lamp itself to make it easy to turn it on and off. There is nothing more annoying than a switch located in the middle of a very long cord! I located mine about 24” from the end of the wire (not the plug end – it would defeat the purpose!). Cut a slit in the center of the wires to separate them. One wire has ribs on the plastic casing and the other does not. At the slit, cut the wire that does not have the ribs in half. Using a screwdriver, loosen the screw to separate the switch. Press the wire into the “hollow” half of the switch. The wire with the ribs will be placed into the channel which will force the other wire that has been cut up into the upper portion. (See the picture.) Press the two halves firmly back together and tighten the screw.
Thread the wire through the hole in the back of the bottle and up through the neck. Mark the wire with the ribs at the very end with a marker. Insert the wire through the socket assembly, then press the assembly into the neck opening. The rubber grommets will hold it firmly in place.
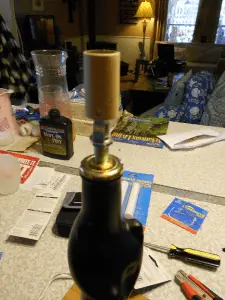
Remove the cardboard sheath from the socket and connect the wire to the terminals. The marked ribbed wire will be attached to the silver terminal and the other wire will be attached to the brass terminal. Loop the wire around the terminal in the direction the screw will be tightened. Place the cardboard sheath back on the socket.
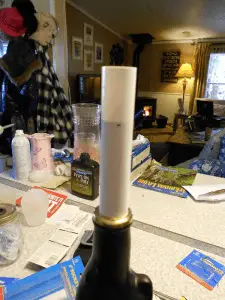
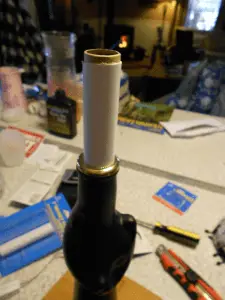
Place the socket cover over the socket assembly and mark where it will need to be cut. Use a hacksaw to cut the piece being careful not to break the cover. (I can’t cut a straight line with a hacksaw to save my life!) Place the cover on the assembly.
Insert your bulb and attach the lampshade. Plug the lamp in and test it.
Isn’t she pretty??
Until next time,
Happy Creating!
blog comments powered by Disqus
