Bob's Bloggers
A community of bloggers who live and die to DIY
bathroom
Master Bathroom Reveal
By House*Tweaking on Mar 27, 2012
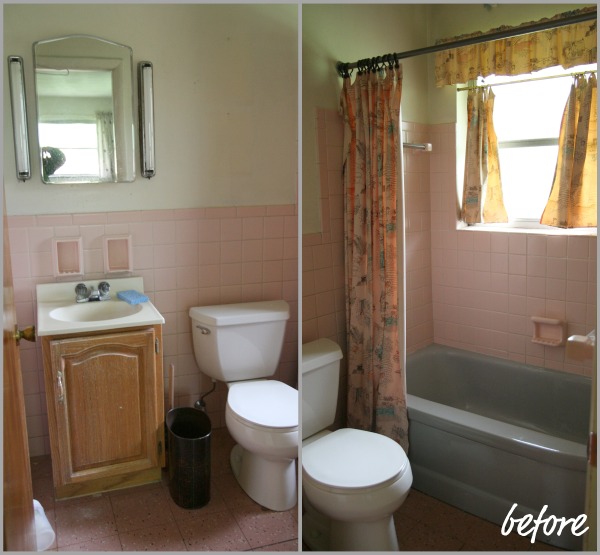
The Underdog’s original 1950′s master bathroom had an elephant color scheme going on – flesh pink and gray. Some of the shower tiles were fractured allowing water to seep into the wall. To keep costs down, we kept the layout of the room the same, kept the shower window placement and reused the toilet which may have been the only thing ever upgraded by the previous owner.
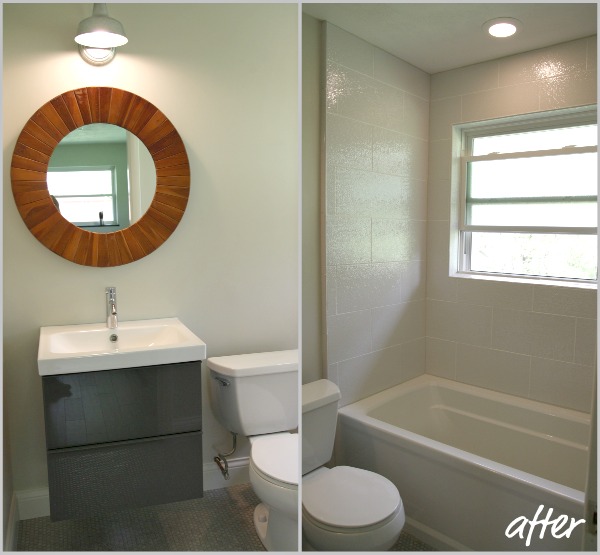
We gutted the room to the studs, had the electric upgraded {as well as throughout the rest of the home} to today’s standards and replaced all finishes and fixtures {minus the toilet as mentioned above} which included a new vinyl window.
From a renovation standpoint, we’re saying this room is D-O-N-E.
I spent all day Saturday scrubbing the bathroom clean. It was a 38-week-pregnant lady’s nesting dream! I used my favorite Mrs. Meyer’s all purpose cleaner mixed with water in a spray bottle to remove chunks of stray grout and drywall mud throughout the bathroom. It worked like a charm. Plus, it smells delightful and isn’t harmful to me or baby. It may have taken me longer than usual considering my condition but it felt so good to get at least one – albeit small – room in order at the Underdog.
We now have a proper place to use the bathroom and wash our hands. Before, my guys would ‘go’ in the backyard and we had to wash our hands with a dirty bar of soap at the outdoor spigot. We’re movin’ up!
Let’s take a tour, shall we? Starting with the shower…
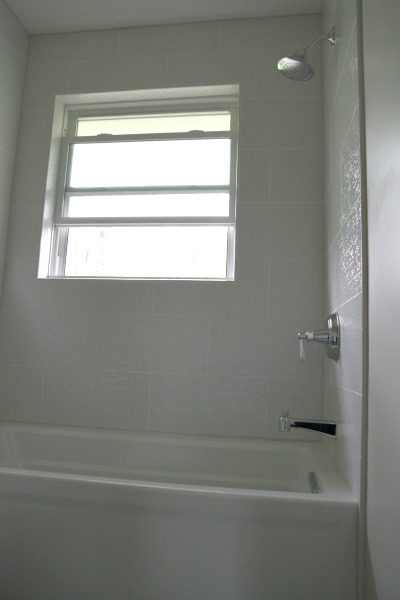
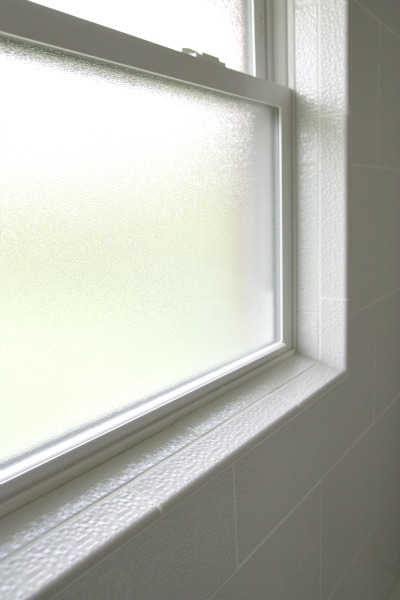
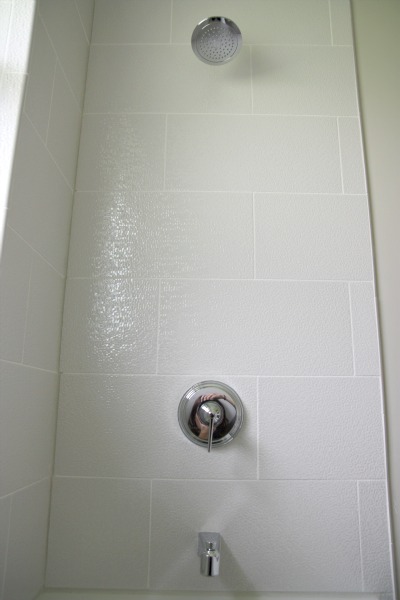
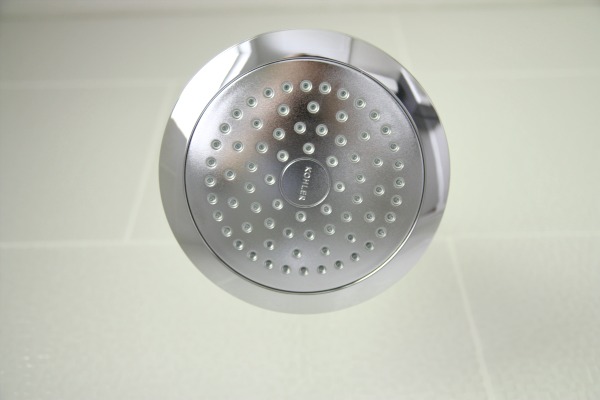
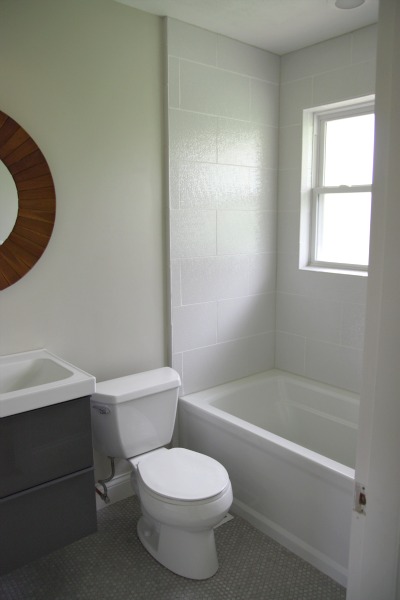
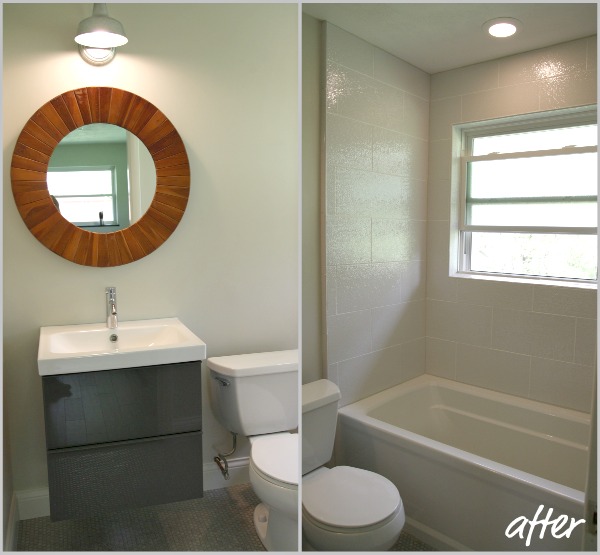
We replaced the window, tub, shower fixtures and tile surround. We took the shower tile all the way to the ceiling to make it feel taller and airier. If you look back to the ‘before’ pics, you’ll see that the original shower tile only went about two-thirds of the way up the walls.
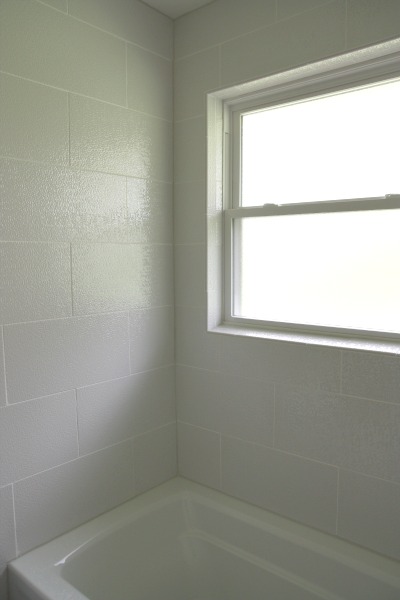
The new vinyl window has texture on the inside of the pane {you can’t feel it from the shower side of the glass…it’s in between the double panes} for privacy.
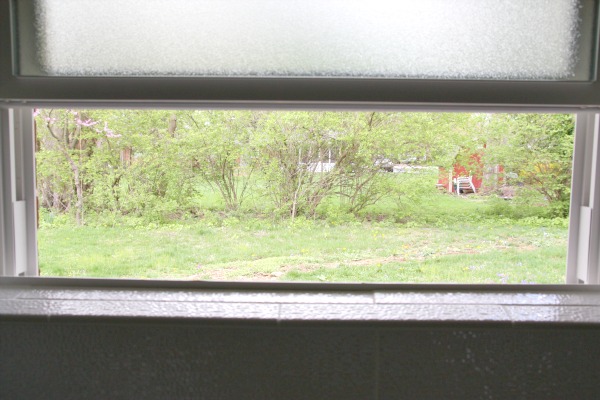
Here’s the view to the backyard from the window when it’s open. Yeah, the backyard could use some love. We’ll get there.
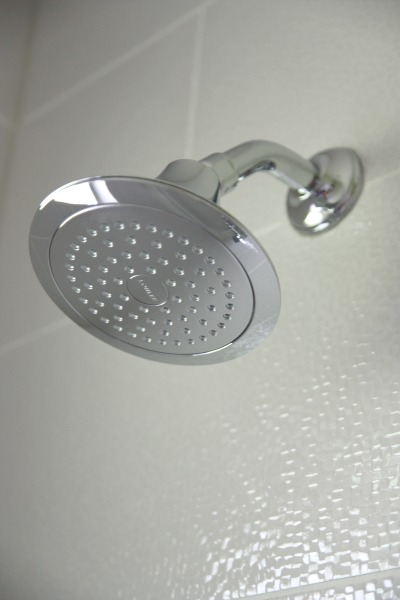
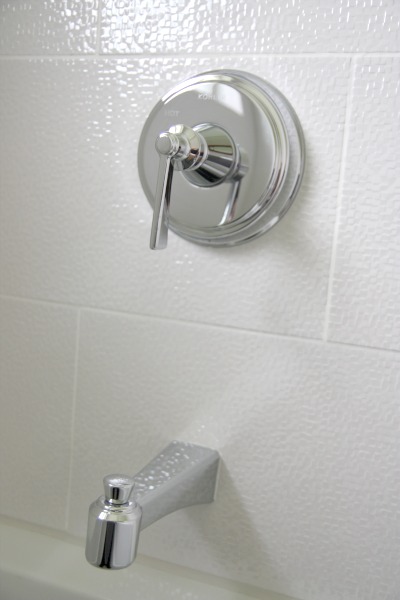
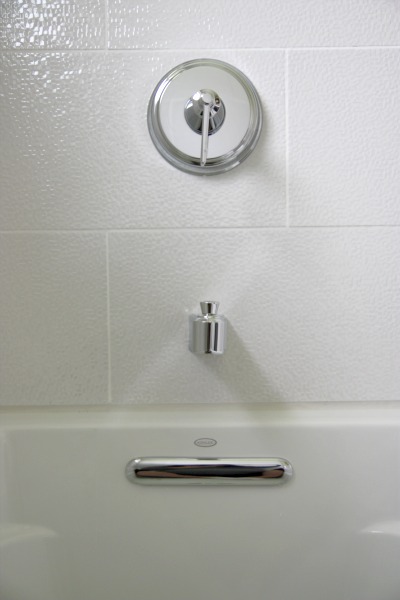
Back inside, we replaced the shower and tub fixtures.
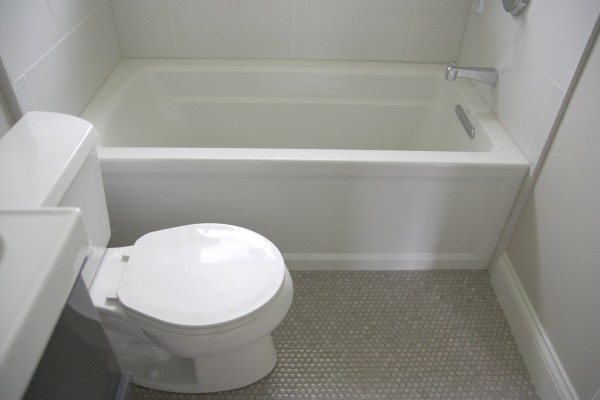
We replaced the old gray tub with a deeper, sleeker white one.
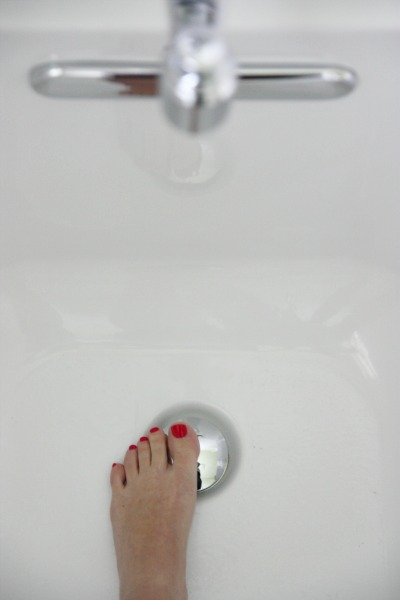
My favorite feature of the tub is the one-click drain stopper. You can easily open and close the drain with a tap of your toes. This is high society stuff for us, people!
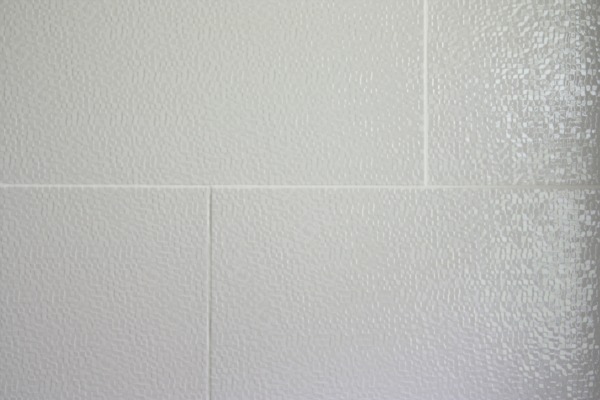
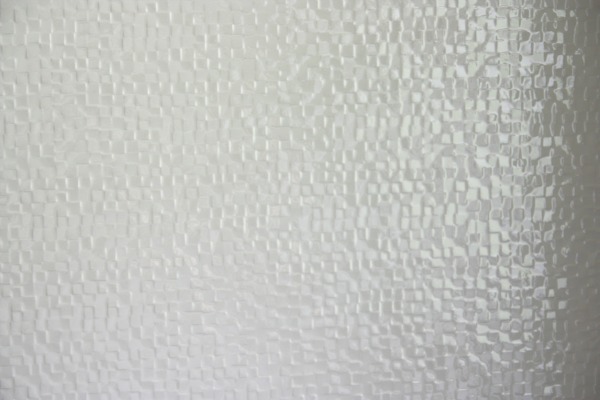
The shower tile sparkles like glitter and reflects the natural light pouring in from the window.
Contrary to popular belief, it wasn’t difficult to clean at all. The textured surface doesn’t have grooves and crevices deep enough to hold tons of grime. I just used a microfiber cloth to wipe it down.
Moving right along from the shower/tub to the toilet…
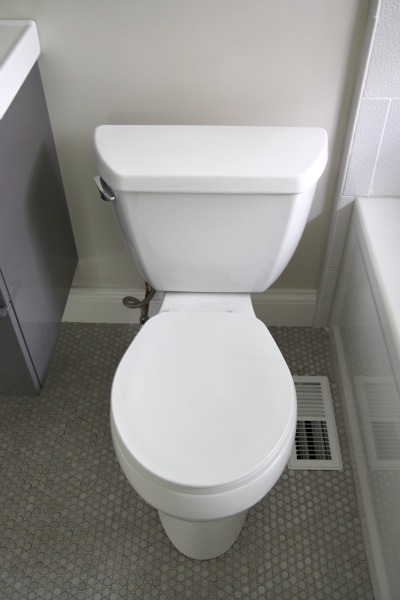
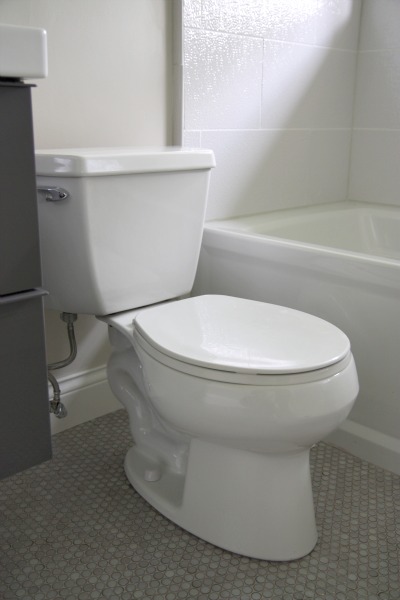
There’s nothing special about this toilet. It’s the one that came with the house. All it needed was a good scrub-down.
HH removed it for the floor install and carried it out to the front yard so I could hose it down. Now, wasn’t that a sight?! An obviously very pregnant gal bent over a dirty toilet in the front yard! I’m pretty sure I scared some neighbors and passerby. I did have to resort to some Comet with bleach to get this bad boy looking like new. But I was outside and wore cleaning gloves to avoid harmful chemicals.
She shined up pretty nice if I do say so myself.
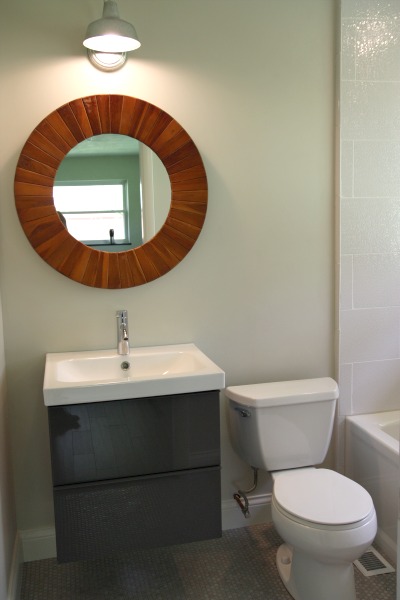
Enough of the commode. Let’s have a peek at the vanity area.
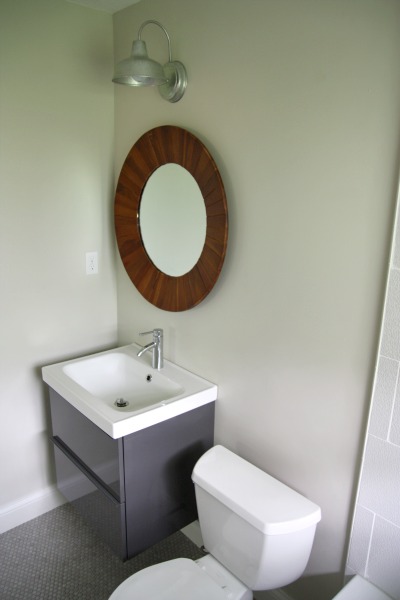
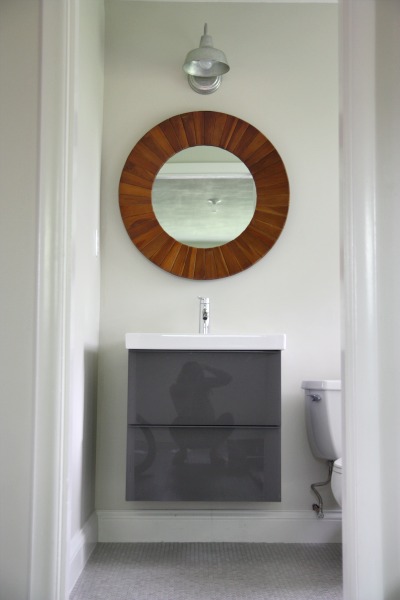
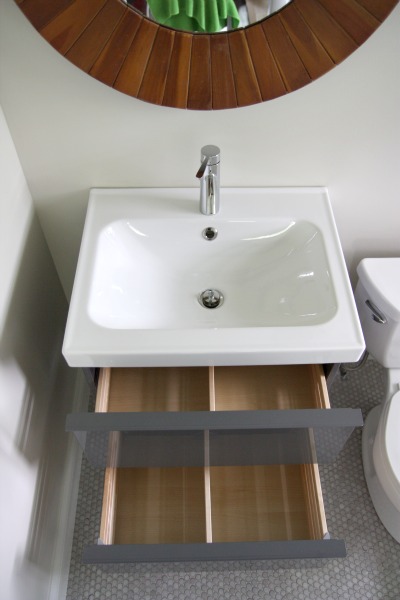
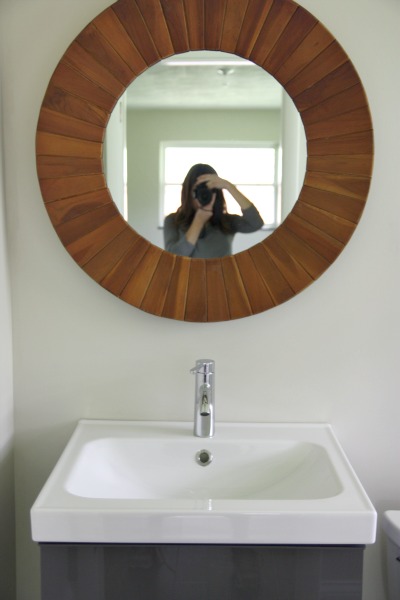
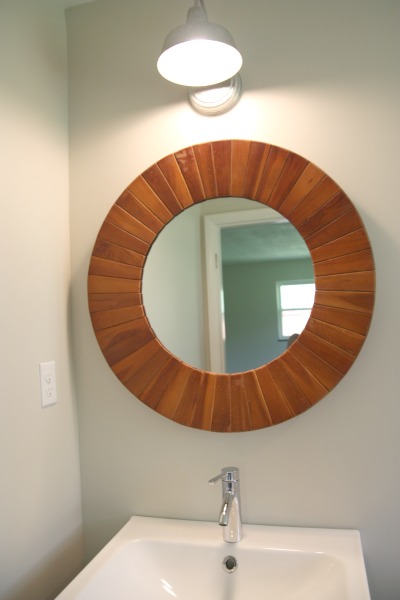
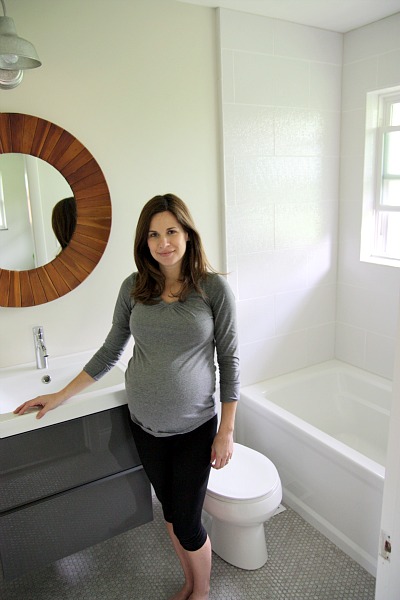
I like a little contrast in every room, so here I chose a glossy medium gray vanity. This portion of the bathroom is highly visible from the master bedroom, so I tried to keep the distinctive bathroom features {vanity, sink, faucet, mirror and light} from feeling too bathroom-y…if that makes any sense.
The vanity isn’t huge by any means but it’s simple and practical. The floating design keeps the room feeling light and makes cleaning underneath a breeze.
There are two deep drawers for hiding toiletries.
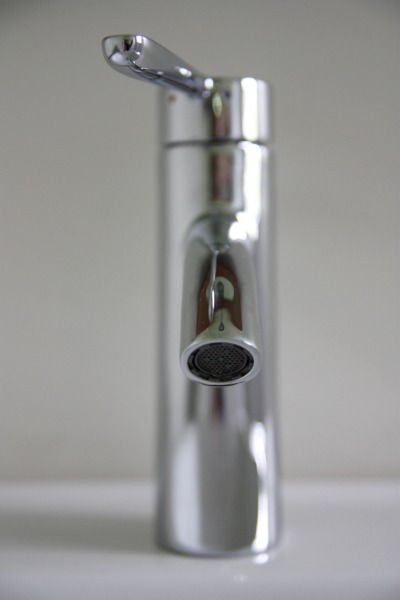
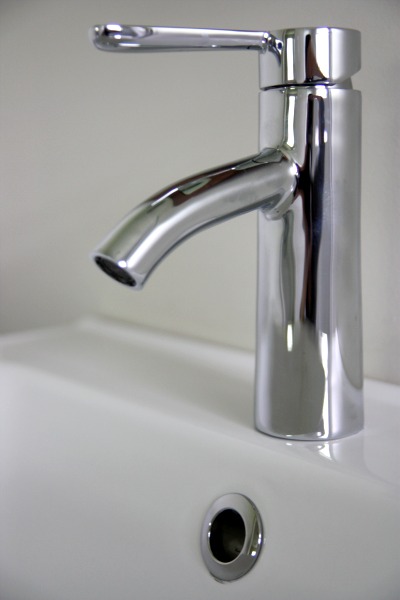
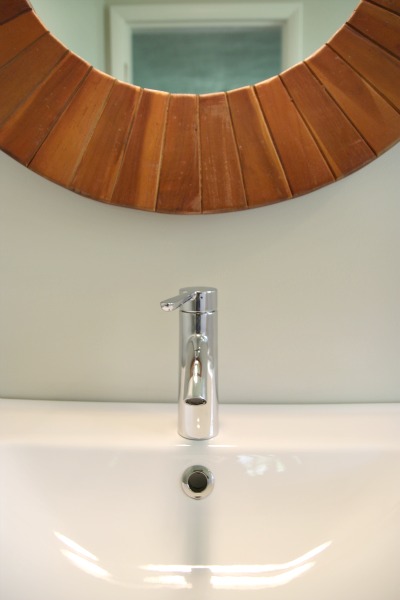
The faucet is simple too.
It doesn’t look like much but it puts out a steady flow of water without splashing outside the sink.
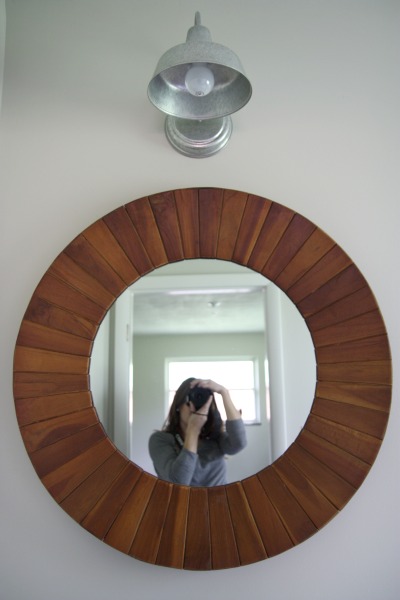
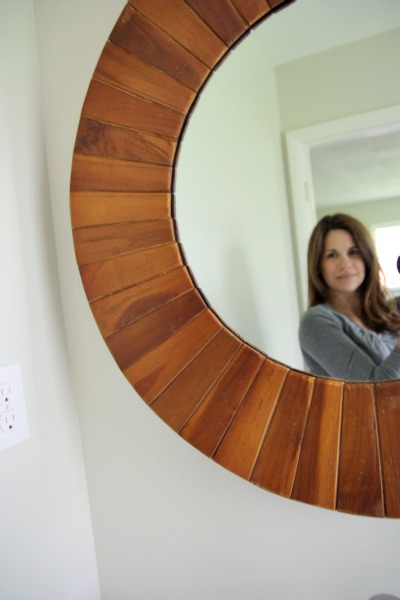
Above the vanity, I chose a round teak mirror to add some warmth and curves to the shiny, rectangular bathroom.
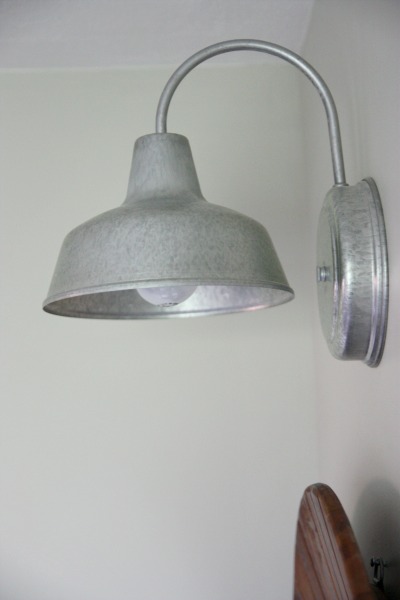
Just above the mirror is a galvanized wall sconce. I like the touch of industrialism it brings to the room.
I should probably switch out the lightbulb for a clear one but we’re just happy to have a light at this point!
I like the light just as much on. It really warms up the wood mirror and wall color.
At night and in the early morning hours, this is what the bathroom may look like under artificial light…
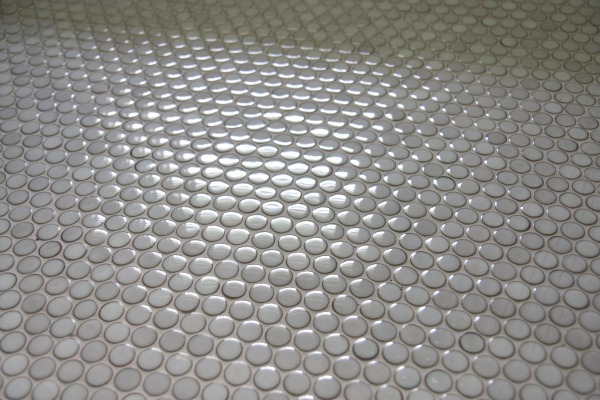
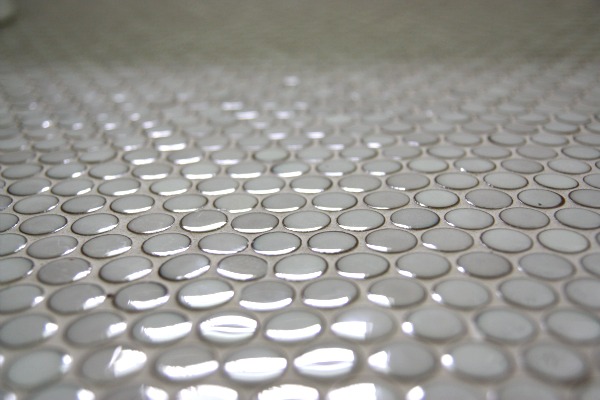
Onto the penny tile floor…
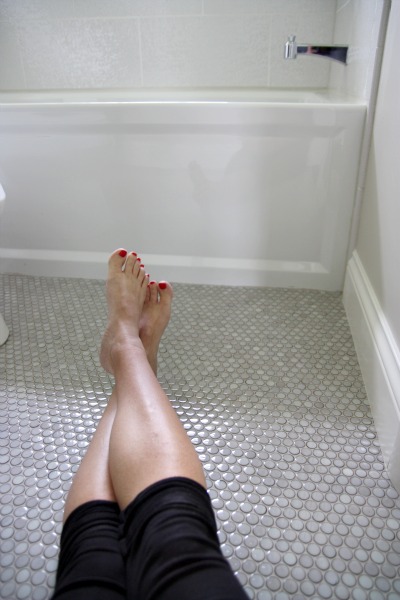
While the shower got standard white grout, I chose a sandy gray grout for the floor in the hopes of it hiding dirt a little better. The penny tiles give such a great texture to the bathroom. They’re almost like scales on a lizard.
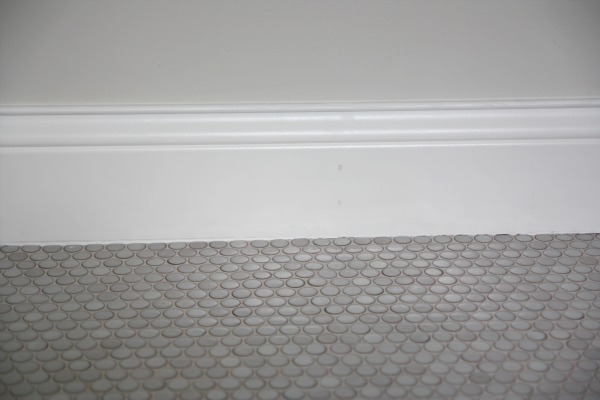
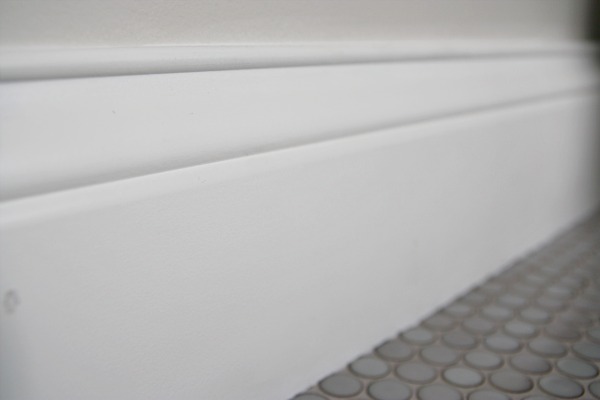
It feels good under bare feet. If you have a keen eye, you may have noticed the new baseboards in all these after pics.
HH and I decided to go with a thick, high trim throughout the house. The higher trim has more presence and actually makes the walls feel taller somehow – which we weren’t expecting. It’s more noticeable in larger rooms. Hopefully, I’ll post some pics of those rooms this week!
As soon as the bathroom was clean, I took a break to enjoy the fruits of my labor.
I could live in this bathroom and be very happy. Okay, maybe I’d need a little more than a bathroom. But still. I love this bathroom.
Like I said, from a renovation standpoint, this room is done-zo. From a design standpoint, it still needs some work. Here’s what’s left to do:
- touch up the walls and trim
- hang shower curtain
- add towel hooks
- find a spot for toilet paper roll
- add hanging storage to the back of the door
- uh, hang the door!
- organize the vanity drawers
- accessorize
So, I have my tweaking cut out for me. Should be fun! Since I know I’ll get questions, here’s a source list:
- tub – Kohler Archer
- tub drain – Kohler Archer
- tub & shower fixtures – Kohler Archer
- shower tile – Capua Blanco*
- toilet – reused, Kohler
- vanity – GODMORGAN
- sink – ODENSVIK
- faucet – DALSKÄR
- mirror – Home Emporium
- wall sconce – Barn Light Austin Sconce*
- floor tile – Penny Round Moss*
- wall paint – Benjamin Moore Tapestry Beige
- trim paint – Benjamin Moore White Dove
*Denotes items that were kindly donated to us by the companies linked to above. We were not forced to include certain products. While we were permitted to choose items in exchange for photos and links, we only used items that we would have chosen to purchase with our own money. That means the items you see are ones that meet our aesthetic, budget and level of quality.
And because I know there are a few of you who could care less about the bathroom and just wanna know “Is that baby here yet?!”…
Nope. Even after a very physical weekend full of intense cleaning, baby hasn’t made his/her appearance yet. I know he/she will come when they’re ready but I’m this close to crying ‘uncle!’
images: all Dana Miller for House*Tweaking
blog comments powered by Disqus