Bob's Bloggers
A community of bloggers who live and die to DIY
deck patio & porch, diy, diy
Fence in a Day
By Picardy Project on Sep 27, 2012
Yesterday Chris and I got about 80% of the fence up, hooray! We still have a bit in the corner that needs to be replaced, but that's also a portion that we didn't tear down, so there's still the old fence in place. I didn't take nearly as many pictures as I should have, but our camera was experiencing technical difficulties so all the photos were taken with my phone (and I just spent about 15 minutes emailing myself each one because for some very fun reason my phone will not hook up to the computer). We're hoping to write a more in depth post about how to build a fence next week, so for now this is just a brief summary of the project
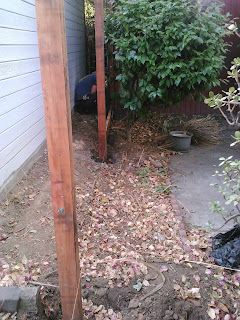
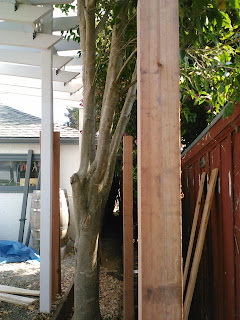
When we started yesterday morning we were here
Chris had gotten all the fence posts in last weekend and we were ready with all the 2x6's, 2x4's and fence slats. This is now the 3rd fence we've built and the two biggest considerations this time around were cost and simplicity of building. The cost was a big concern with our neighbor (who agreed to split the cost of the materials with us) and we really wanted the build to be simple so we could get it knocked out in a day.
We settled on a plan of 4x4's as the posts between sections, a 2x6 at the bottom between all posts with a 2x4 sitting on top. Chris ran the 2x4's through the router to carve out a groove in all of them so that the slats would sit inside. We would run all the slats right up against each other. Normally you overlap them at an angle, but that requires more material, making it more expensive. Lastly, a 2x4 (again with a routered groove) would be fastened on top of all the slats and attached to the 4x4 posts.
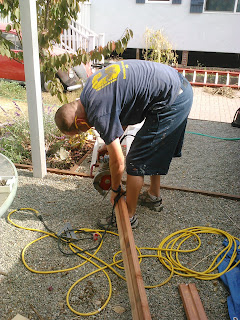
We started off measuring and cutting down the proper lengths for our bottom 2x6's and 2x4's
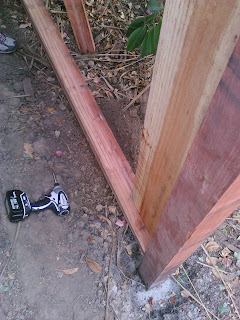
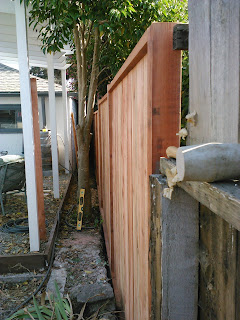
Once we got the length right we moved them into place and attached them to the 4x4 posts
And once we had the 2x6 and 2x4 in place it was time to bring over the slats (about 12 per 6 foot section) and set them into the groove
We used a mallet to knock them in place and make sure they were up tight against each other. The plus side with using more slats and over lapping them is you're less likely to see small gaps into your neighbor's yard, but again, material cost was a big consideration. By knocking them up tight against each other we anticipate a little gap here and there as the boards expand and contract, but nothing too bad.
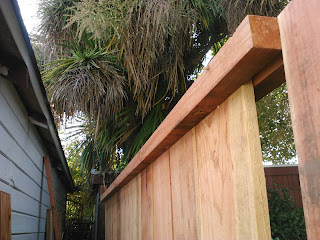
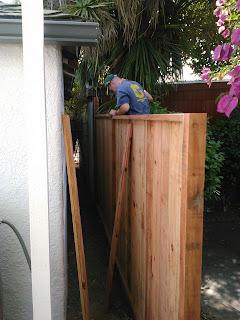
Once all the boards were in place on the bottom we brought over the 2x4 for the top. This was probably the hardest task because we had to place the 2x4 on top of all the boards and push and knock them board by board till all the slats were tucked into the groove
At the ends of the sections there was a small gap so we had to cut down one of the slats to fill it in. It usually ranged from 3" to a full board (7 1/2", so it wasn't too bad). If it ended up being a sliver of a slat that was needed we just ran a few of the slats through the table saw to cut them each down by 1/2" so by the time we got to the last piece it wasn't too noticeable (no one wants a 1" slat on the end, that would look a bit ridiculous).
Once we got the top 2x4 in we attached it to the 4x4 posts
Then it was just lather, rinse, repeat for the other 5 sections
When we got to the 5th section a branch of the tree was unfortunately in the way
So we got out the reciprocating saw and cut it down
And then we kept motoring through the 5th section and onto the 6th
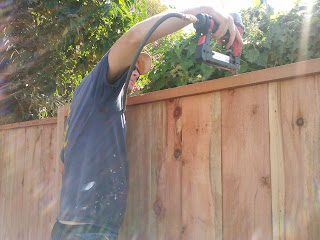
Once we had all the sections built it was just a matter of completing the final touches: we used a crown stapler and knocked in a couple staples on the top because the 2x4's were a bit bowed so we wanted to make sure everything stayed in place
And then we used the reciprocating saw to saw off the top of each of the posts that extended above the top 2x4.
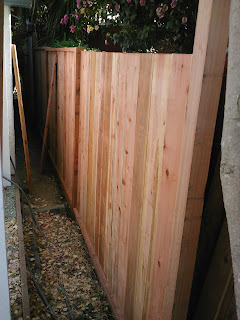
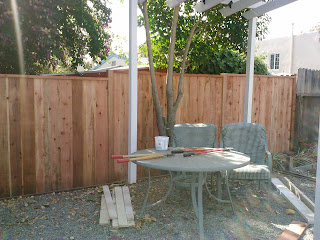
And by about 3pm we were done!
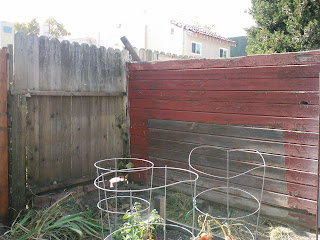
We've still got this small corner to tear down and replace
But we will likely do that when we come home from the trip. We just wanted to make the backyard secure before we left, but we've still got that flooring to do list to complete, so we'll see if we have enough time to finish this corner in the next 2 weeks.
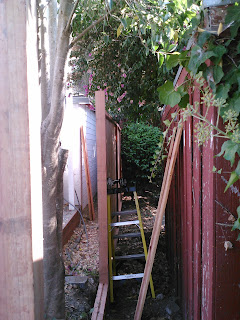
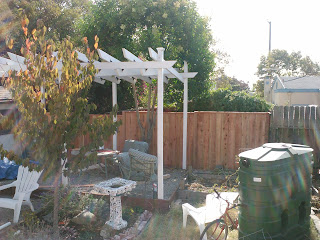
It is wonderful having a pretty fence to stare at. What once looked like this
Now looks like this
That's a nice improvement! Though we still have to get that ginormous roving rain barrel hooked up...
