Bob's Bloggers
A community of bloggers who live and die to DIY
diy, maintenance, kitchen, countertops
Sealing Our Granite Countertops
By House*Tweaking on Aug 19, 2013
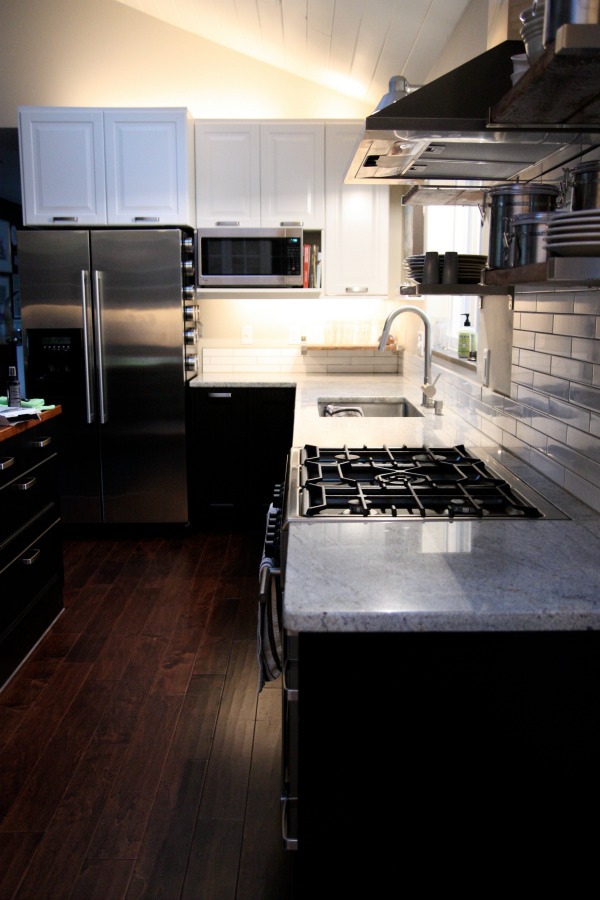
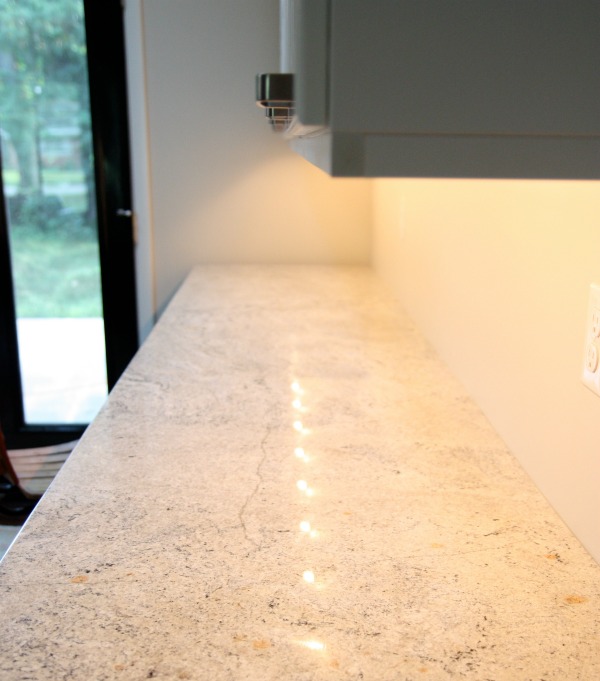
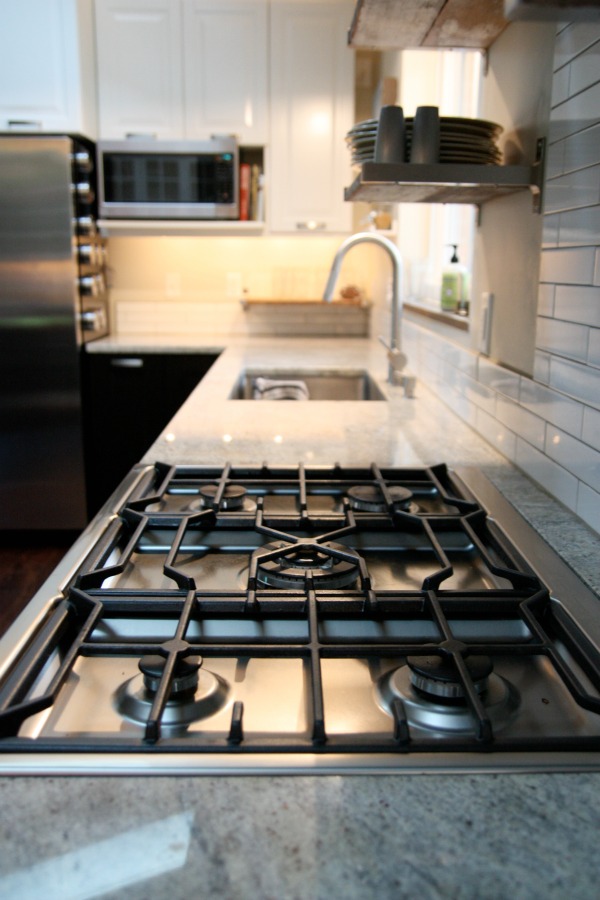
We have two different countertop materials in our kitchen. The island is topped with walnut and the perimeter countertops are kashmir white granite. I love the mix and the contrast. We had a similar setup in our previous house with butcher block on the island and absolute black granite along the perimeter. We like having solid stone at the sink and stove; it holds up well to daily abuse, water and food splatters.
The wood-topped island adds warmth and richness to the black and white kitchen and also makes the island feel inviting to us and guests. We use the island for most meals and it is always the natural gathering spot when we entertain. Our installer suggested sealing the granite right away and then annually from there on out. But with a move, a newborn, two other kiddos and a bunch of other projects on our to-do-list, sealing the granite slipped right through the cracks.
Luckily, we made it over a year without anything staining the granite. Thank you granite gods. I made sealing the granite a priority last week.
Although it was my first time sealing granite in this house, I am not new to sealing granite. I did it several times in our previous house. I’ve found the best time to do it is on grocery shopping day or when you’re pretty much out of food. The counters need to be left alone for a while after sealing, so it helps to seal them on a day when you can’t/won’t be using the kitchen for a ton of food prep.
The night before I sealed the counters, I cleared everything off and wiped them down really well with a damp microfiber cloth. It’s really important to remove any food splatters or drips — you don’t want them getting sealed into the stone! Likewise, the granite must be completely dry before sealing. That’s why I wiped down my counters before going to bed and then let them dry thoroughly overnight.
I set my alarm to get up early before anyone else the next morning. All of these photos were taken that morning. {It was barely light outside.} You can see the granite countertops are cleared and free of any debris.
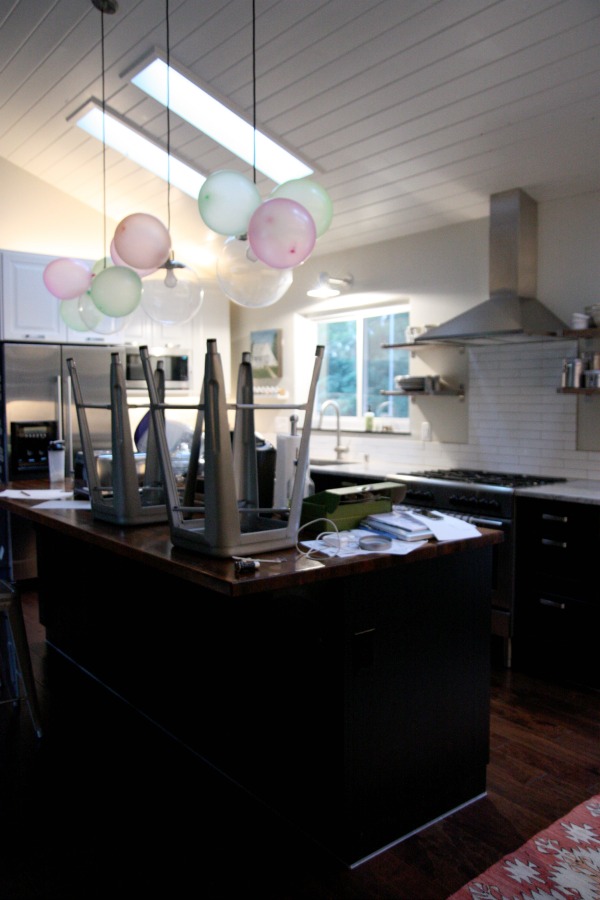
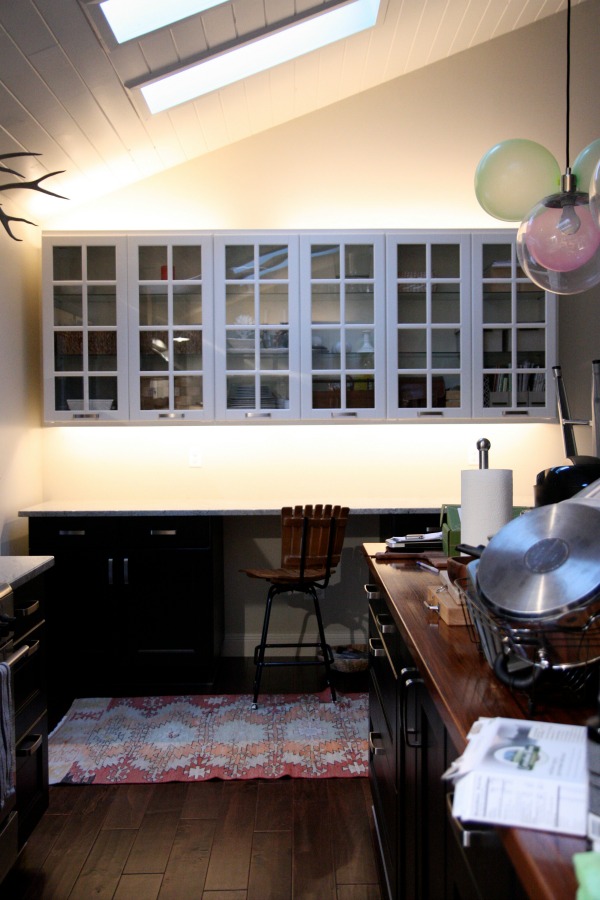
Basically, I threw everything from the perimeter countertops onto the island. Nevermind the balloons. They were leftover from a party, and Mabrey LOVED them, so I kept them up for a while. Btw, how long is too long to leave party decorations in place once the party is over?
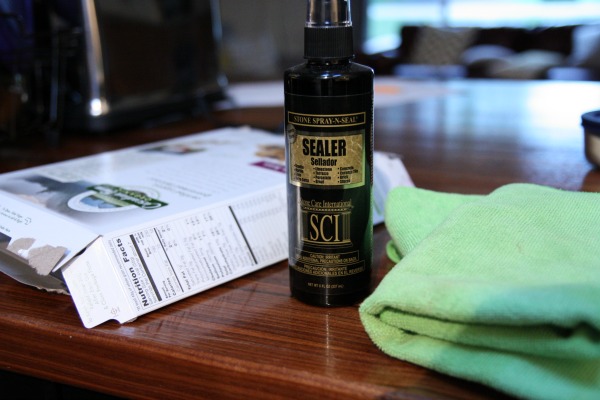
For this project, I only used three items: SCI sealer, a flattened cereal box and a microfiber cloth. The sealer does have an odor so I opened the windows and ran the hood fan for adequate ventilation.
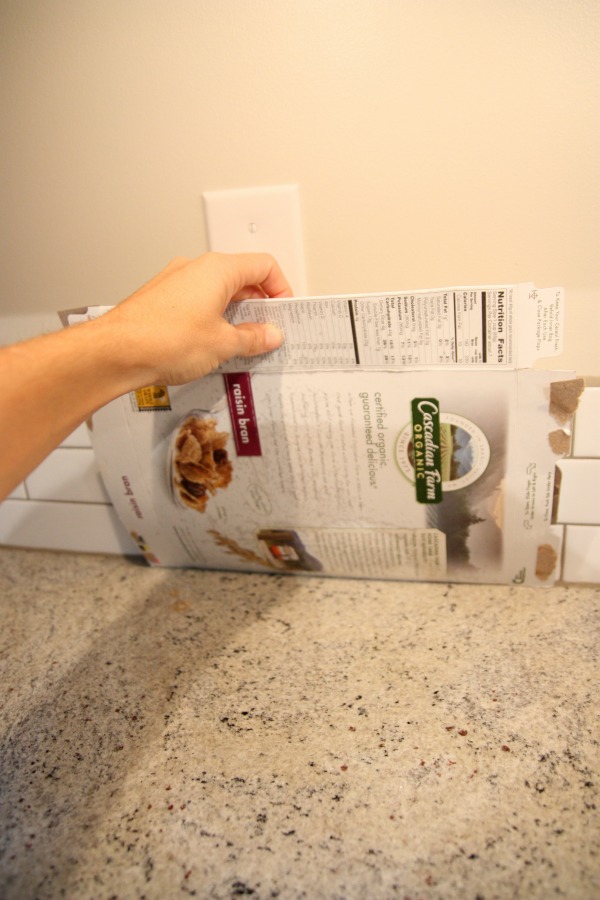
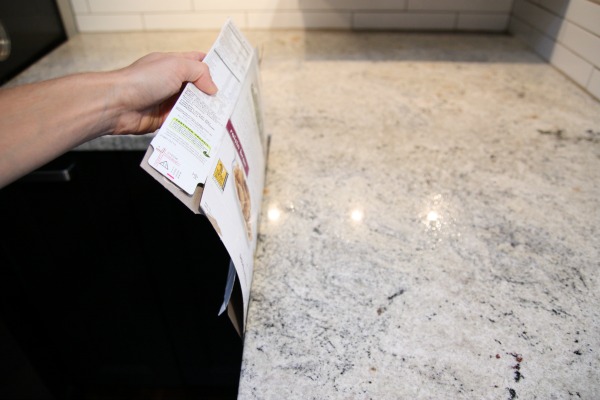
I used the empty cereal box to protect anything I didn’t want/need sealed from overspray. My method was to work in sections. I would start near the wall/backsplash and work my way out to the edge of the countertop. You can use plastic wrap to protect faucets and stovetops but I was feeling confident in my spray skills, so I just used the cardboard box.
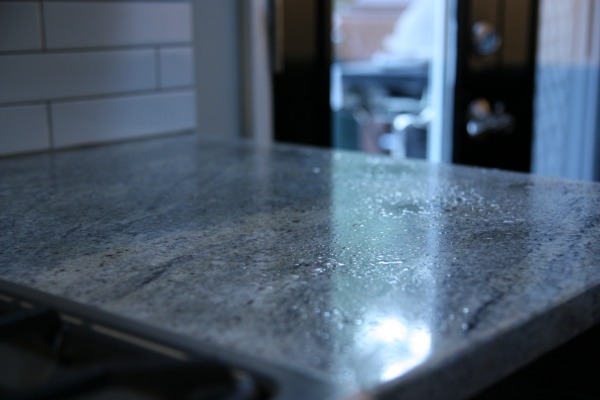
The sealer needs to be shaken well before spraying and should be applied thoroughly but you shouldn’t saturate the surface. Apply one coat, let it sit for 3-5 minutes then spray another coat and let it penetrate the stone for 30 minutes.
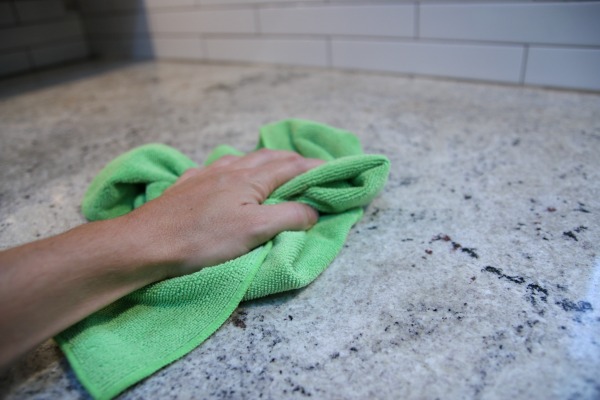
After waiting 30 minutes, I wiped up the excess sealer with a microfiber cloth. Truthfully, there wasn’t that much to wipe up. In my experience with sealing granite, what the pros say is true: the lighter the granite, the more porous it is. The kashmir white soaked the sealer right up while the absolute black in our previous house barely soaked up anything.
I was left with smooth and sparkling countertops. The sealer says to give the stone 24-48 hours to fully cure. I took the kids out to breakfast {such a treat – we never do that!} and we ate lunch outside that day. I did make dinner at home and washed dishes that evening but I was careful not to splash food and water all over the granite.
I can tell a difference since *finally* sealing the granite. When wiping up spills, there aren’t dark spots remaining anymore. Before I sealed them, wet spots would leave a dark circle and take a few hours to dry completely. Also, shortly before sealing, the counters were getting a gritty feel to them but now they feel just as smooth as when we had them installed.
I’m not sure why I put this project off for so long. It’s super easy and inexpensive. I had a partial bottle of sealer leftover from our previous house and it was just enough to seal these countertops. Next time I’ll have to buy. A bottle of sealer will run you ~$10 and it should last through several sealings. You can pick it up at a home improvement store.
If you are thinking of/have granite countertops, what have you been told about maintaining them? I’ve heard so many different recommendations on sealing granite! I always listen to our installer in the end. I figure he knows best since he is the one installing it and we’ve used him twice now with no problems.
images: Dana Miller for House*Tweaking
blog comments powered by Disqus