Bob's Bloggers
A community of bloggers who live and die to DIY
diy, walls, ceilings
Tongue and Groovy
By House*Tweaking on Nov 23, 2011
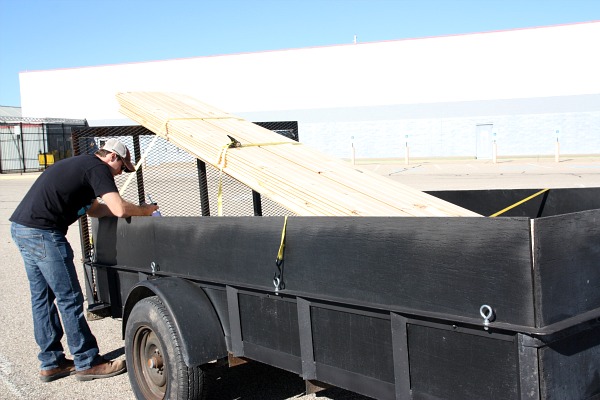
A friend let us in on one of Cincy’s home improvement secrets. It’s called Home Emporium and they sell all kinds of things for home projects and decor. The inventory comes from closeouts and liquidations and then the savings are passed onto customers. We decided to check ‘em out and Handy Hubby called before we visited to ask if they had any pine tongue and groove in stock. They did! So we borrowed our new neighbor’s trailer and hitched it up to our SUV in case we decided to purchase the tongue and groove for the Underdog’s vaulted ceiling. {We decided to finish the ceiling in the great room with tongue and groove versus sheetrock.}
{HH doing one last calculation to double check we bought enough tongue and groove}
Bringing the trailer ended up being a good idea because we did end up buying unfinished pine tongue and groove in various lengths. An employee helped HH pick through the pile of pine lengths, passing on boards that were warped or damaged. At 49¢/linear foot, we spent $700-$800 on the ceiling boards for our 25′x25′ great room. There are less expensive options of bead board available that we considered but they were much thinner and flimsier than the 5/8″ thick sturdy boards we brought home. We were worried that the thinner versions may wave or warp over time.
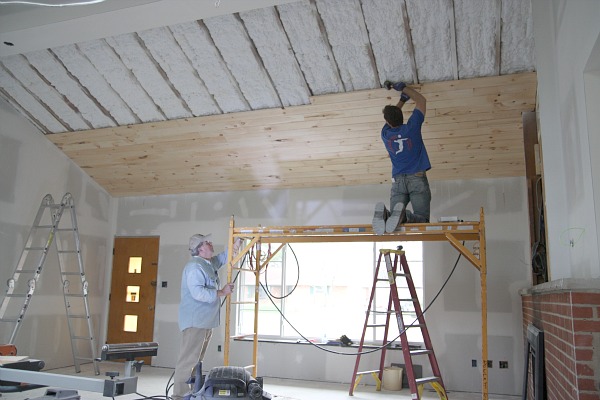
We unloaded the pine boards at the Underdog and wrapped them in plastic while the drywall was going up and getting finished. The plastic tarps did a good job of keeping the boards dust-free. This past weekend, with the drywall work complete, HH and his dad unwrapped the boards and got to work installing them on the vaulted ceiling.
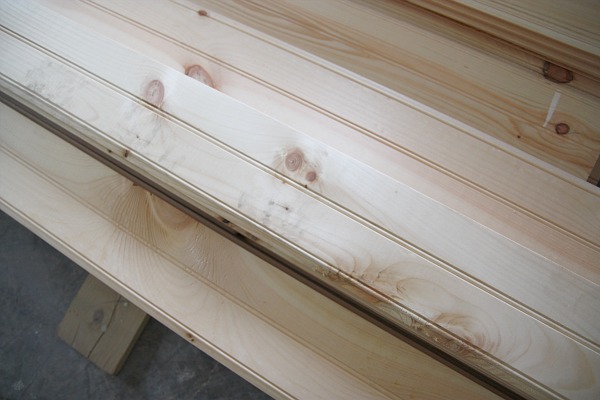
{grooved side of the pine boards}
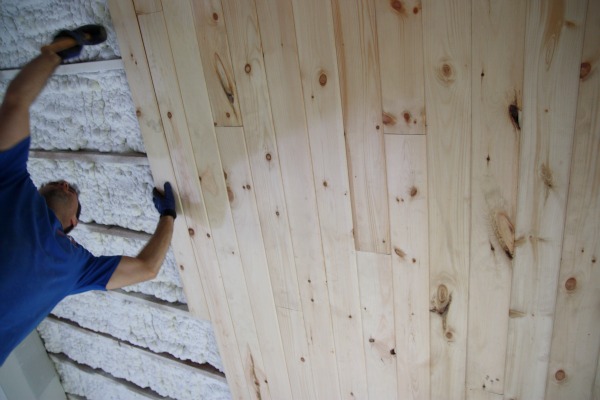
At first, I thought I wanted the grooved side of the boards facing out. But after looking at a bunch of tongue and groove ceilings online, I realized that I preferred the wider plank look…so HH faced the smooth side of the boards.
The wider planks look less busy than the grooved bead board side of the tongue and groove. I love them! After a full day’s work, HH and his dad got one side of the great room’s ceiling hung.
{HH rented the scaffolding}
The next day, with his neck and back aching from twisting his body into peculiar positions while hanging the plank ceiling, HH framed out the skylights on the other side of the great room ceiling. There aren’t any boards hung on that side of the ceiling yet but we’re already enamored with the aesthetic of the tongue and groove ceiling. While I do like the look of unfinished pine, I’m still thinking it will get primed and painted to mix better with that simple, clean and airy feel we’re going for.
That’s the latest and greatest at the Underdog. We’ve been anxiously awaiting this phase {finishing and installation} of the renovation, but it looks like things may be slow going for a few weeks while HH’s real job pulls him away with lots of traveling over the next several weeks. I’m feeling a little overwhelmed about being a single, prego mom for such a long period of time. Kudos to all those moms out there that do it everyday, day in and day out…whether you’re single or your spouse works away from home for extended periods of time. I don’t know how you do it!
On a lighter note, we came across a few other finds at Home Emporium. Along with home improvement supplies {tile, cabinetry, flooring, lighting, fixtures, etc.} the store also had a great selection of furniture, rugs and accessories. Other than the tongue and groove, we also purchased these items…
HH picked out the wooden bowl and I found an affordable alternative to the bullrush basket I featured in the kids’ bathroom mood board. $375 was a ridiculous amount of money for us to spend on a basket, but $17?…yes, please! I think it’ll come in handy in the kids’ bathroom for dirty towels and clothes. I also picked up a pair of faux bull horns for $40. I eyed similar real ones at a local upscale design boutique a few weeks ago but they were outta my price range at nearly $200 a piece. Yikes! So happy to have found similar faux ones for much cheaper. I think I’ll probably end up painting the square mounting blocks white or gray to give them a lighter feel.
So what do you think? Like the ceiling progress? Would you leave it unfinished or paint it?
FYI – I was not compensated in any way to mention Home Emporium. I just love sharing good shopping spots!
images: all Dana Miller for House*Tweaking
#bobvila
blog comments powered by Disqus
