Bob's Bloggers
A community of bloggers who live and die to DIY
diy, seasonal
Easy DIY: Who Are Those Masked Pumpkins?
By Our Concrete Home on Oct 15, 2013
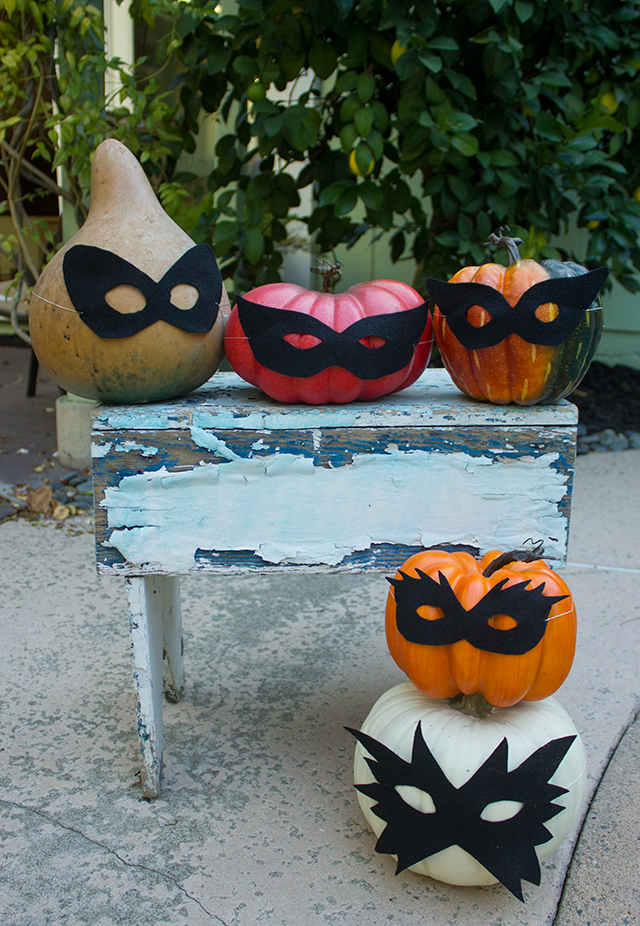
I had grand plans for elaborate Halloween decor this year, but in the end I chose one more simple project to tackle – a masked pumpkin. In fact, I made a whole crew of them to decorate the whole house with.
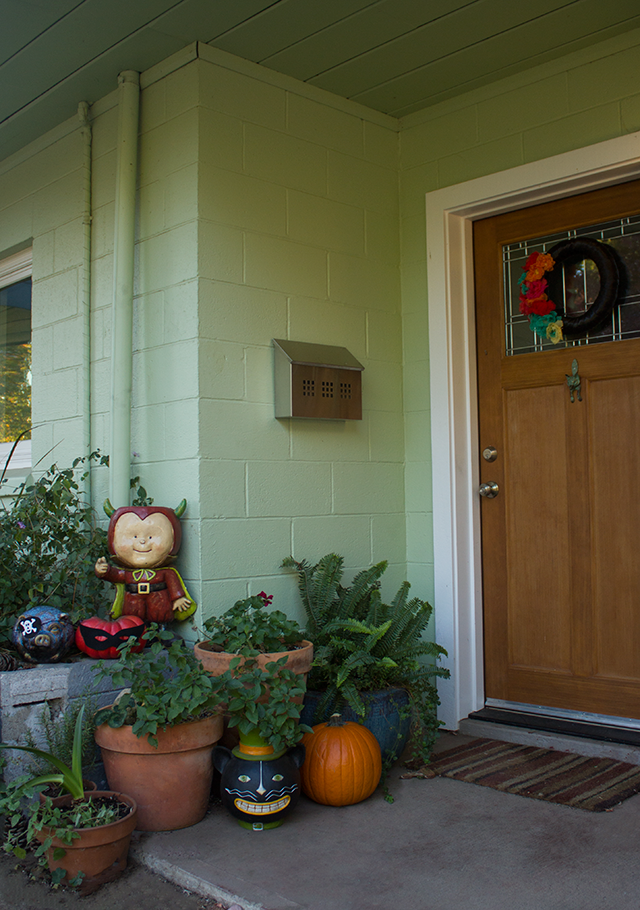
They joined my other Halloween craft, the Day of the Dead Wreath on my porch.
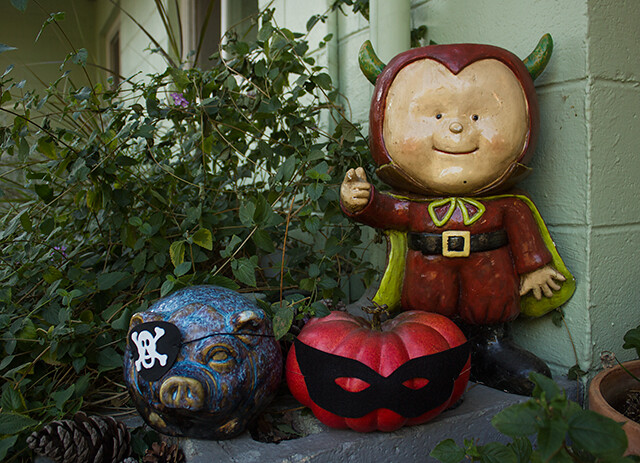
I also decorated with some of my favorite seasonal pieces including a pirate patch of our ceramic pig and the always popular, can’t-be-Halloween-without-him, Devil Mini Nate.
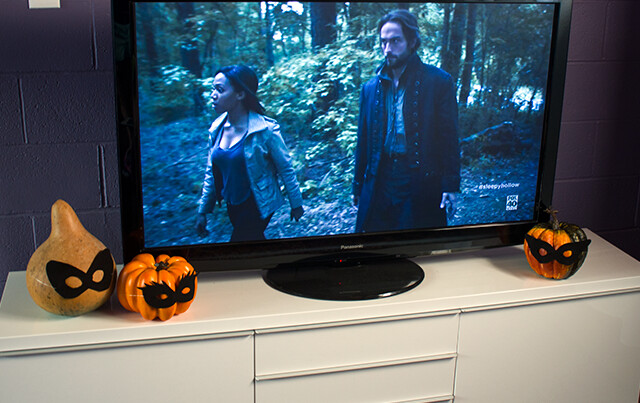
Masked pumpkins also found a home next to the center of our football-obsessed lives, the 52″ television (with Sleepy Hollow appropriately playing). Someone keeps moving them away from the screen, but I prefer them to just sit slightly in front of it.
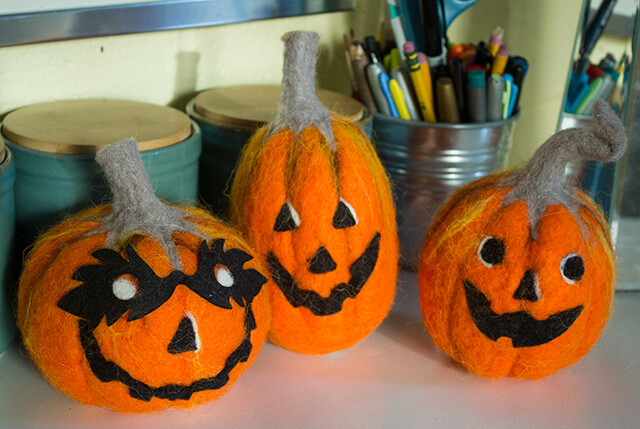
My masked pumpkins were inspired by these cute felt-lined pumpkins I bought from Target. My favorite is the fat masked pumpkin so I made a similar mask for the Cinderella-shaped red pumpkin. The trio of felt-lined styrofoam pumpkins are now sitting on my office desk and bring me lots of joy every time I am in there.
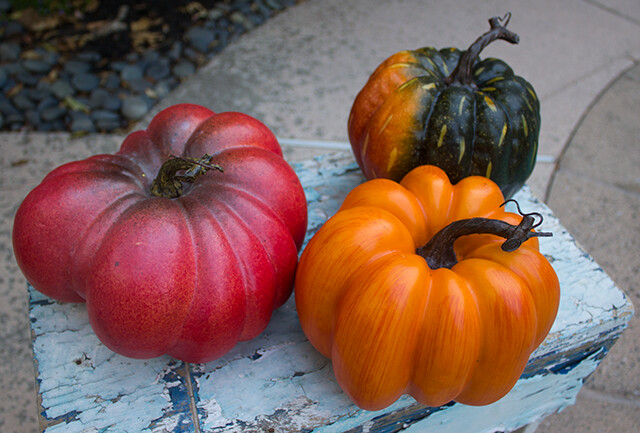
In order to start the project, I needed a few more pumpkins so I invested in three new “foam” ones from my local fabric store. I really liked how these fake pumpkins are made to look like the heirloom varieties. I like my pumpkins to have some personality and buying these guys saves me from purchasing a couple real Cinderella pumpkins. I should note that these foam pumpkins are labeled “for inside use only” so I took the precaution of coated them with a clear sealer to make them a little more hardy.
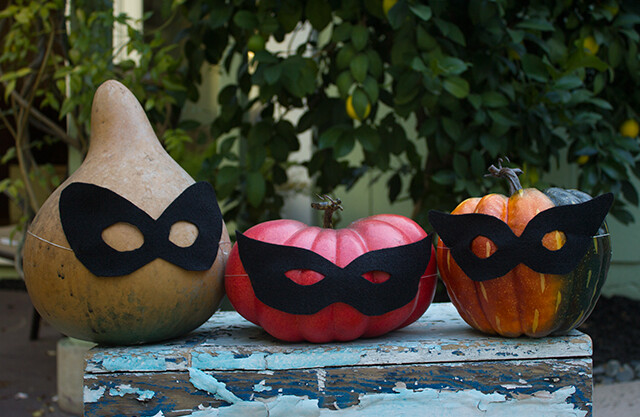
Although super simple, this look is also ingenious because the masks are removable. This means November 1st, I can de-mask them and still have harvest/thanksgiving appropriate decorations up. Woo!
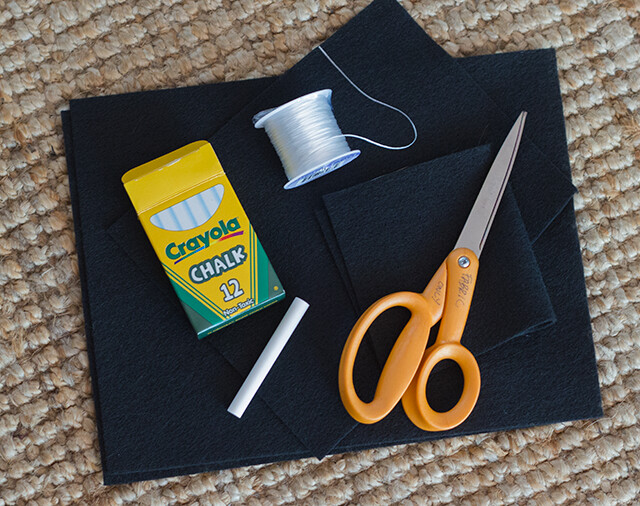
Okay back to the project… Masking the pumpkins is a very easy craft. You will need black felt pieces, a piece of white chalk, some sort of stretchy string (I used clear beading string) or elastic, scissors and possibly a sharpie.
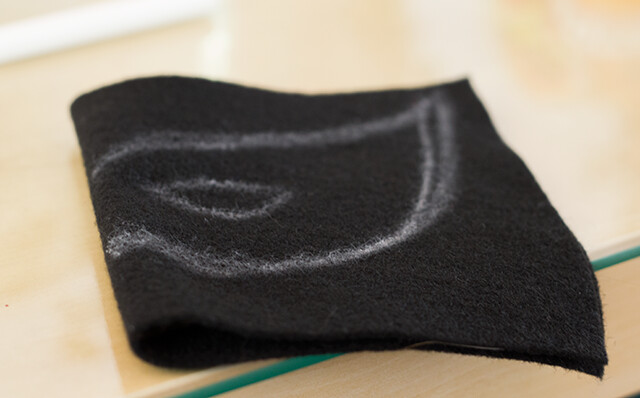
First determine a size mask for each pumpkin. Then cut the felt into a rough rectangle. (Mine ranged from a third to a half of a felt piece.) Take the rectangle and fold it into half. Make sure the edges line up and sketch half the mask shape onto the felt. Mark the eye placement as well. I went with different mask shapes for each pumpkin so they all had their own look.
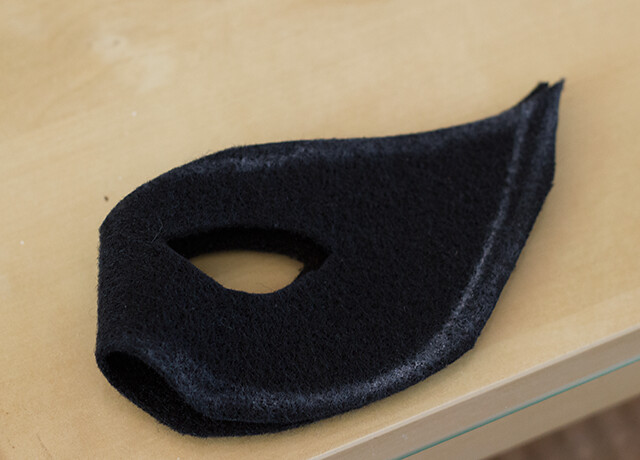
Cut out the mask shape and eye socket. Open the felt up and flip it so the unmarked side shows. Trim anywhere you need to make the mask even.
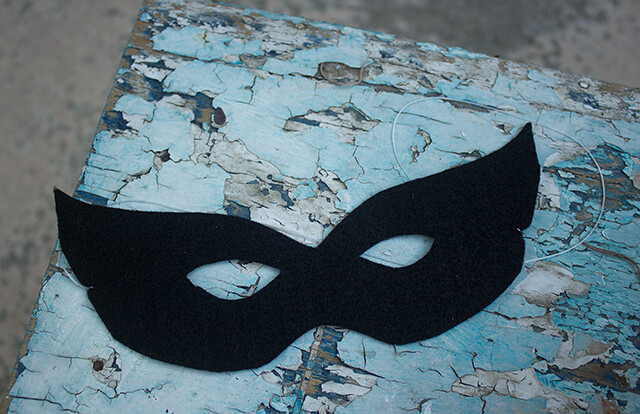
Then, take the stretchy string and measuring around each pumpkin to get the right length. Cut small holes in each side of the mask and then knot the string through them. Stretch the mask over the pumpkin and take a look to get the placement right. If you go with a light color string like I did, you may need to use a sharpie to black it out.
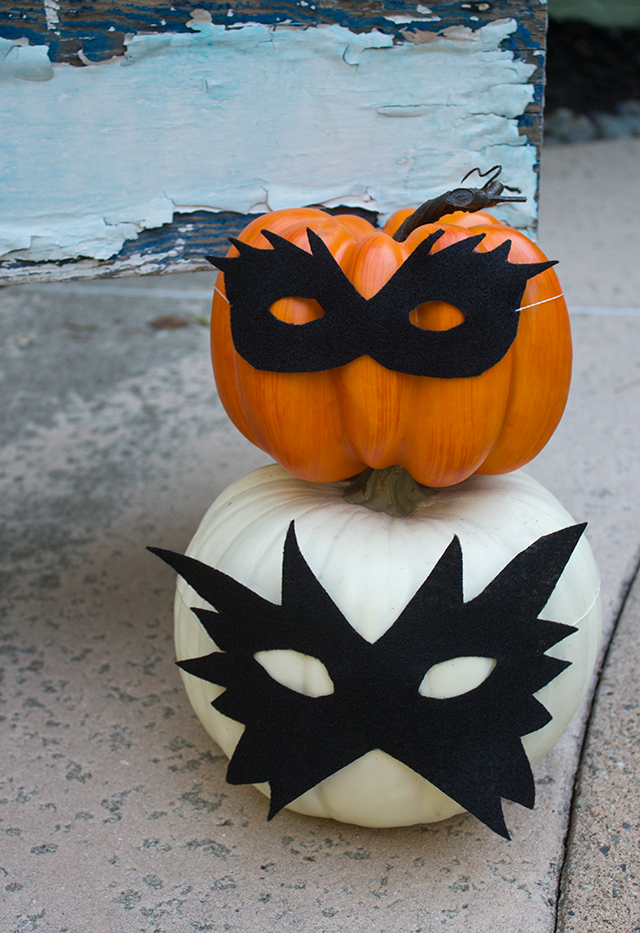
I am down with the simple black, but it would be fun to add different colors for a superhero look as well. The masks would also be cool molded or embellished.
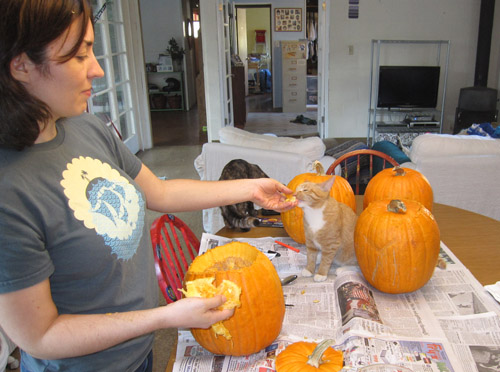
Oh, and I did get two real pumpkins as well. They will live on the front porch until the 31st. I’ll try to convince Nate to carve one, but there’s a good chance I’ll be doing them both with the cats help, of course.
blog comments powered by Disqus